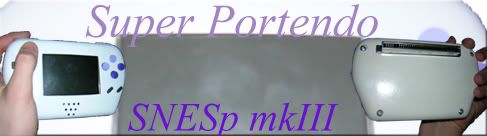
The pins are connected 1 through 31 and 32 through 62 on their respective sides. The cartridge slot is also connected like that. So, I connected 1 to 1, all the way to 62 to 62. The same connections still occur.
That's a normal bird eye view of the board. When you solder the cart onto the BACK of the board, pin 1 on the cart goes into pin 1 on the board, like you have for pins 1 -31. However, pins 32- 62 are reversed! If you made an error on that diagram and the locations are the right way, then check your connections and make sure the points are soldered good (solder on BOTH sides of the board and the wire is going THRU the board.
I'll try redoing it with the wires going through as far as I can. The problem is I don't have small clippers to trim the wire once it's through. I'll try though.
And the cartridge is the best working one I have. The lack of casing means nothing, other than it's just as exposed as everything else is.
you should also try it from the normal position and have the wires coming out the top. and to trim the wires you can use an extra pair or fingernail clippers
Or you can even go to a dollar store and buy one there. I know they have a cheap tool section so check it out. Worse case scenario, use scissors...but not the ones from a craft store with the wavey lines, because your cut wires will have some phunky waves goin on there.
EDIT:::
That fully exposed cart is the best one you have? I'm afraid to see a bad one you have lying around...probably half of it is bitten off.
Actually, it was the worst cartridge condition-wise, and I have 2 SMW carts (this is the 3rd snes i've messed with), so after it was freed of it's eternal prison of dirty plastic with unremovable grime from the last owner, I had a chance to THOUROUGHLY clean the cartridge connectors.
So it's the best cartridge connection-wise. It works about 95% of the time, if not more. I'm using it because I wouldn't want to have this giant problem, later realising the solution was a dirty cartridge that just had to be re-inserted.
I made all the wires nice and pretty. And now it makes the screen blue. Screen of death blue, y'no. NES no cartridge blinking blue. Only this blue is steady blue.
I'd show you but I only have the green and red channels hooked up. I don't want to solder anything until the problem's fixed, so I just touched it.
Any clue? Does the blue screen indicate a bad connection like it does on the NES?
I did everything I can. Nothing is bridged on the board, no cold solder joints, and the relocation has been redone on both ends at least 3 times.
Which makes me think: "What else is left?"
The capacitors are the only thing left. Which ones actually do something? I can replace them but only if I have to. The one to the very right (looking at the board with the cont port at the bottom) has some soldering iron burns on it, but it appear to do nothing but clear up the audio line. Am I correct?
I did previously get an almost TV kind of thing when you get a bad channel, like 1 on basic cable. Y'no, the scratchy white and black with bits of colour mixed in? Does this sound like a cap problem at all?