The Ion64 Worklog! Update: 12/18/10!
Moderator: Moderators


Re: The Ion64 Worklog! Update: 11/16/10
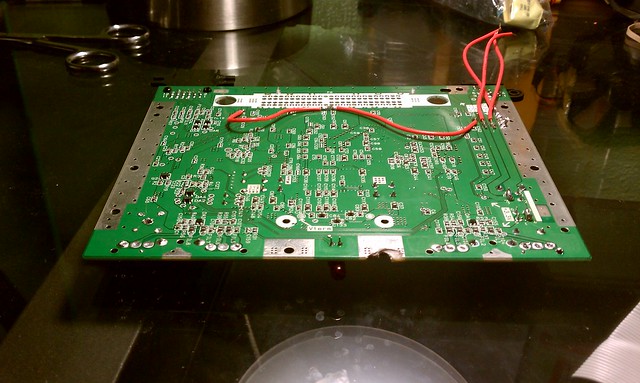
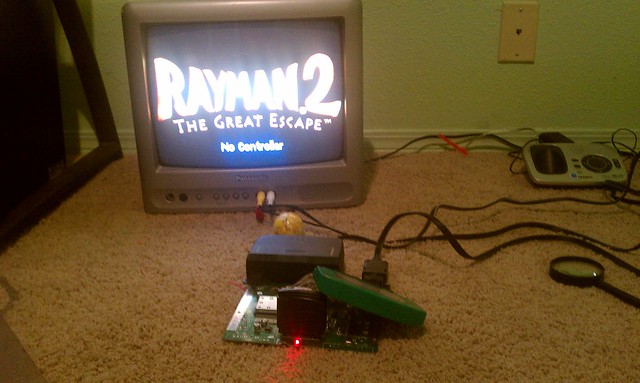
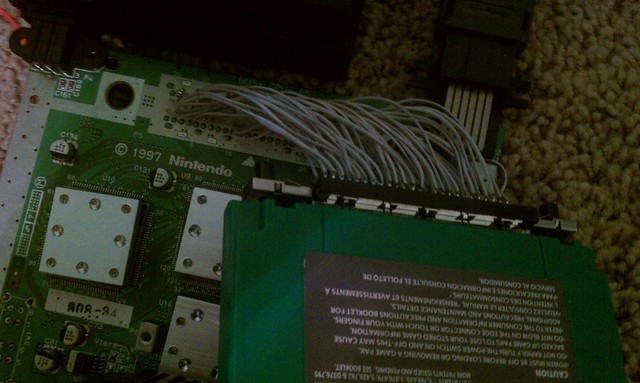
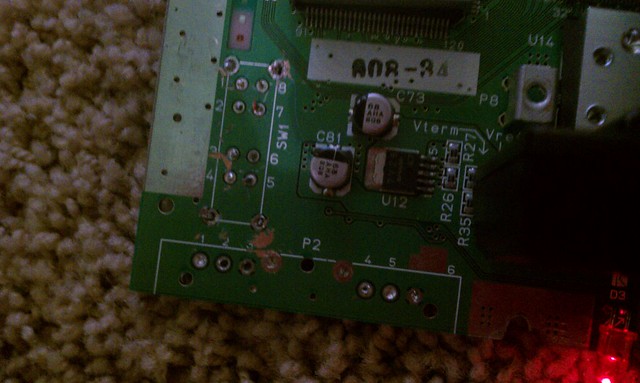
Update Finally! I relocated the cartslot on the mobo, relocated the 5v trace, 3.3v, 12v, ground. Removed the power switch reset button, and controller ports. Next is to pull video from C16, audio from their caps, and U8 wire! Then cut! Pics:
- mymixed
- mymixed

-
jdmlight
- Posts: 795
- Joined: Thu Dec 27, 2007 11:17 pm
- Steam ID: jdmlight
- Location: A boring suburb of Chicago.
Re: The Ion64 Worklog! Update: 11/7/10
I would NOT recommend setting the bare n64 motherboard on the carpet like that. It would be really easy to fry it with some stray static electricity. And that would be awful after you've successfully relocated the cart slot. 
--John (and please call me John, it's really weird to be called by my username)
Fight MS Paint abominations! If you don't have a camera, go here, and pick something 3 megapixels or higher.
Fight MS Paint abominations! If you don't have a camera, go here, and pick something 3 megapixels or higher.
Re: The Ion64 Worklog! Update: 11/7/10
Wow! I didn't even think of that. Although I have never had static ruin anything, or even effect it, I'll move it.
- mymixed
- mymixed
Re: The Ion64 Worklog! Update: 11/7/10
Update 11/26/10!
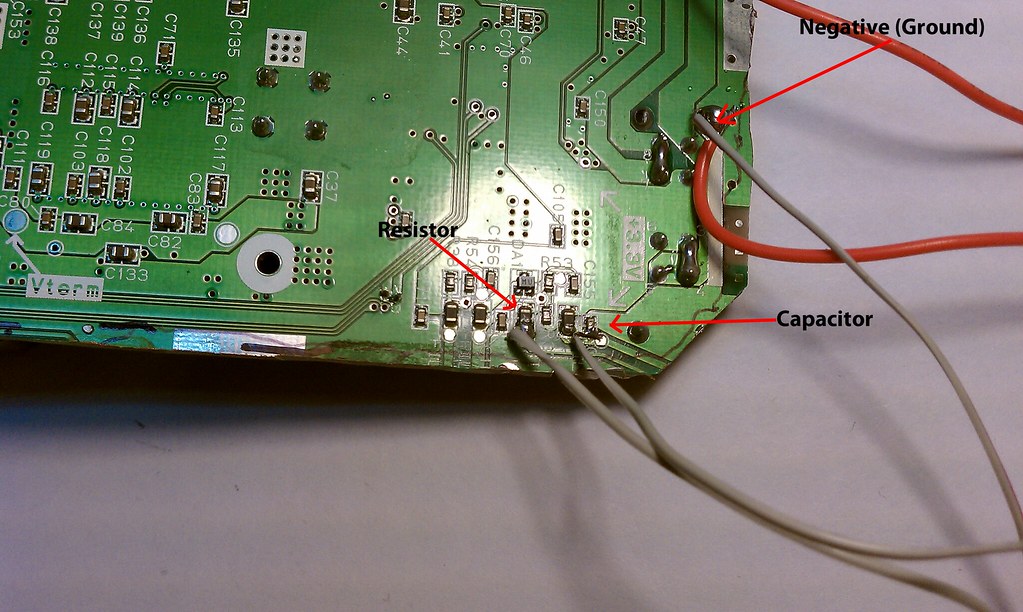
Took apart the controller and soldered to their caps/resistors directly. Relocated Cart slot. Relocated power input.
http://www.flickr.com/photos/28779624@N08/5210213179/" onclick="window.open(this.href);return false;
- mymixed
Took apart the controller and soldered to their caps/resistors directly. Relocated Cart slot. Relocated power input.
http://www.flickr.com/photos/28779624@N08/5210213179/" onclick="window.open(this.href);return false;
- mymixed
Re: The Ion64 Worklog! Update: 11/28/10!
Update 11/28/10!
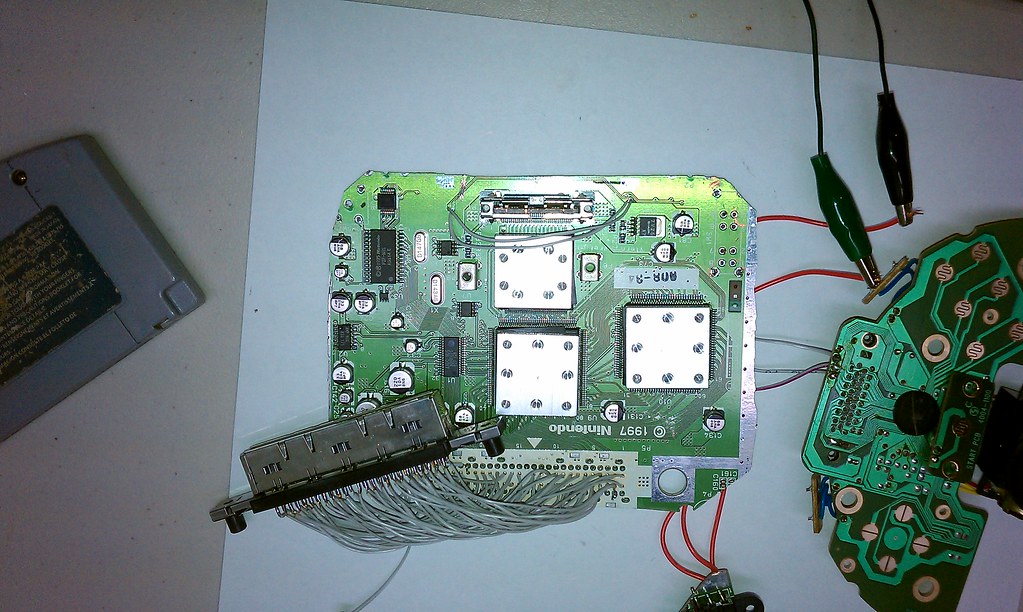
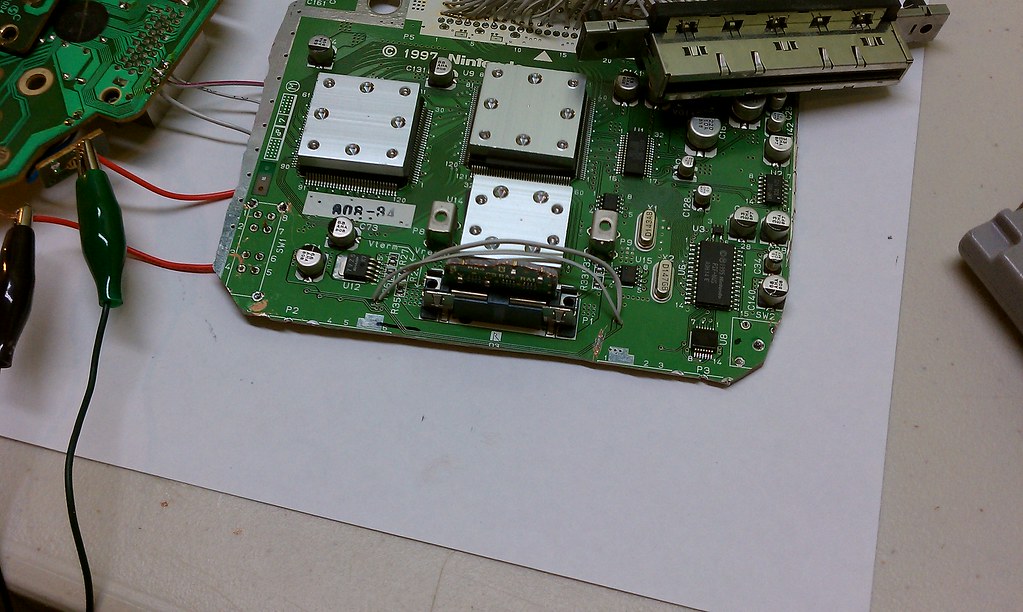
The mobo is cut!
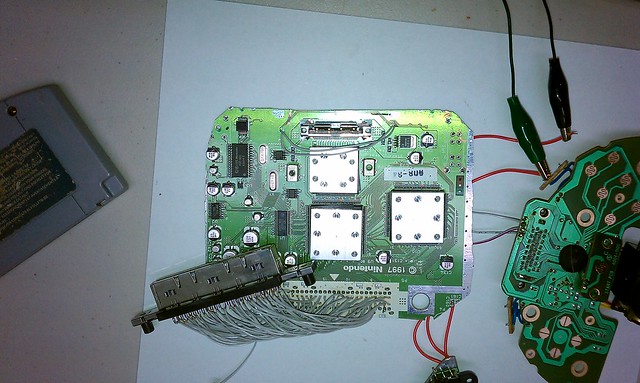
(Larger Image: http://farm5.static.flickr.com/4083/521 ... 3362_b.jpg)
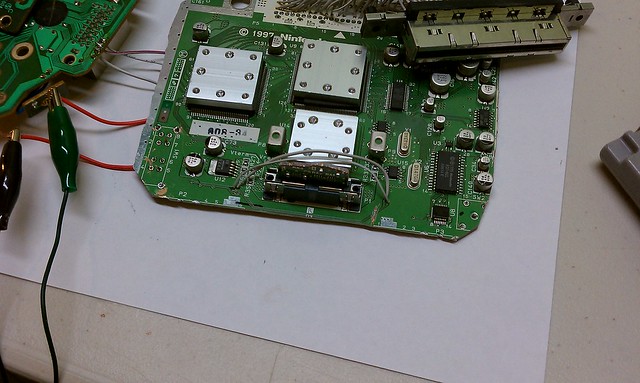
(Larger Image: http://farm6.static.flickr.com/5002/521 ... 10e5_b.jpg)
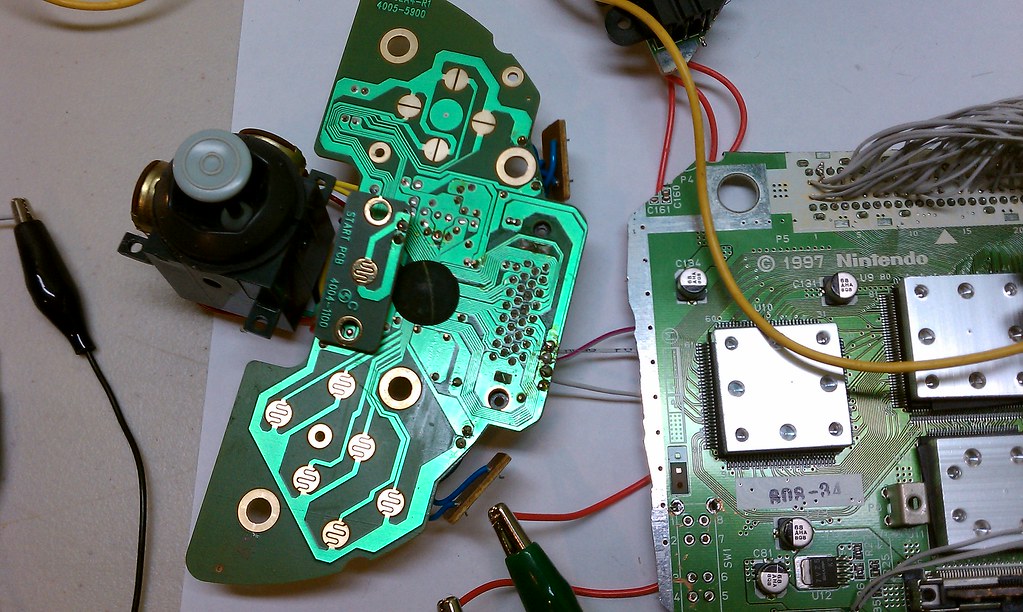
The controller is connected!

(Larger Image: http://farm5.static.flickr.com/4103/521 ... 7391_b.jpg)
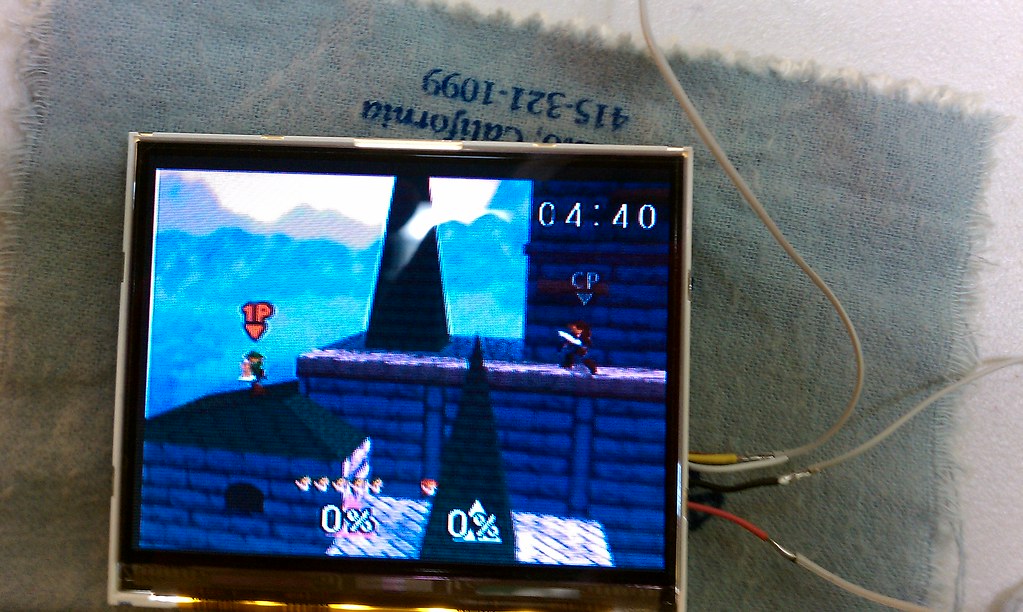
The Screen is connected and it works!
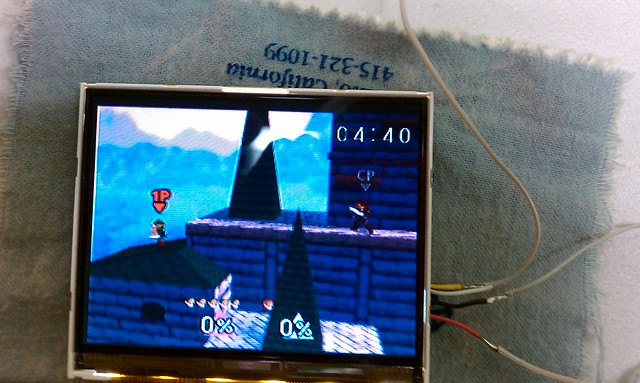
(Larger Image: http://farm6.static.flickr.com/5005/521 ... ecb5_b.jpg)
Here's the capacitors for the controller I soldered to:
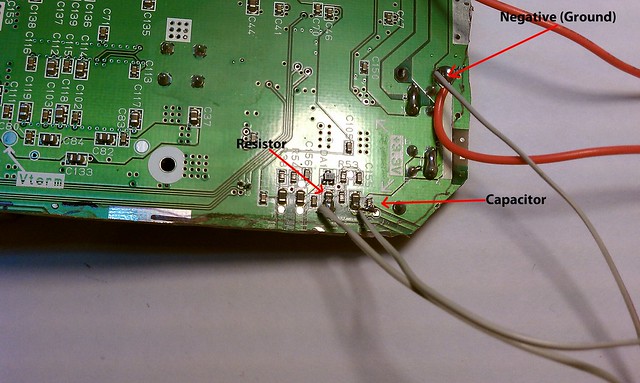
(Larger Image: http://farm6.static.flickr.com/5090/521 ... 0d17_b.jpg)
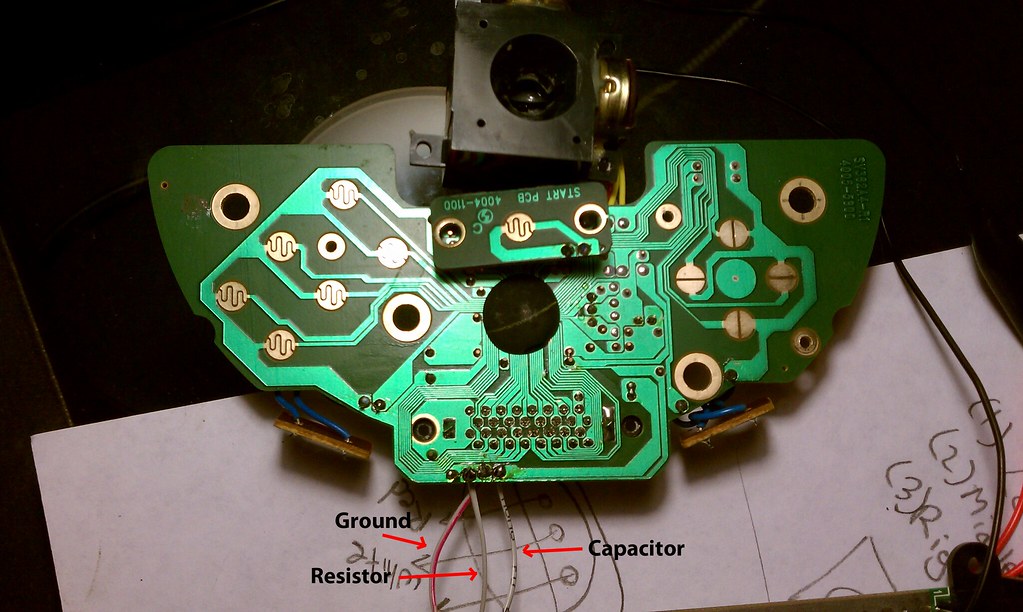
Heres where they go on the controller:

(Larger Image: http://farm6.static.flickr.com/5127/521 ... 4646_b.jpg)
Now to cut the controllers. Anyone have any tips or guides on cutting the Superpad controller?
- mymixed
The mobo is cut!
(Larger Image: http://farm5.static.flickr.com/4083/521 ... 3362_b.jpg)
(Larger Image: http://farm6.static.flickr.com/5002/521 ... 10e5_b.jpg)
The controller is connected!
(Larger Image: http://farm5.static.flickr.com/4103/521 ... 7391_b.jpg)
The Screen is connected and it works!
(Larger Image: http://farm6.static.flickr.com/5005/521 ... ecb5_b.jpg)
Here's the capacitors for the controller I soldered to:
(Larger Image: http://farm6.static.flickr.com/5090/521 ... 0d17_b.jpg)
Heres where they go on the controller:
(Larger Image: http://farm6.static.flickr.com/5127/521 ... 4646_b.jpg)
Now to cut the controllers. Anyone have any tips or guides on cutting the Superpad controller?
- mymixed
Re: The Ion64 Worklog! Update: 11/28/10!
Update 12/18/10:
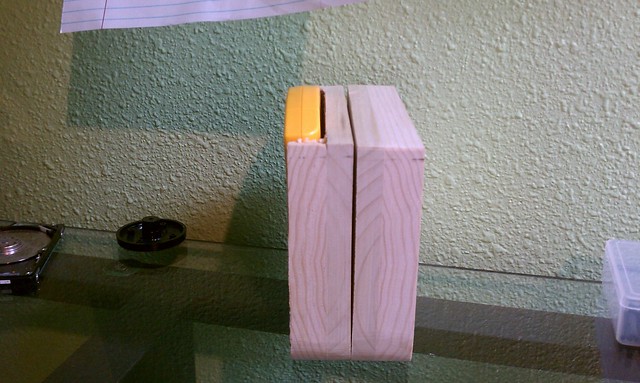
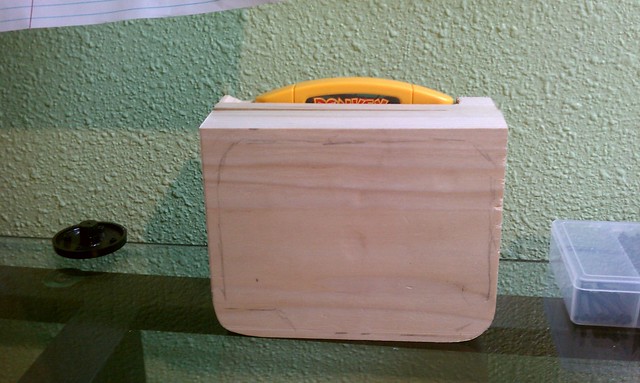
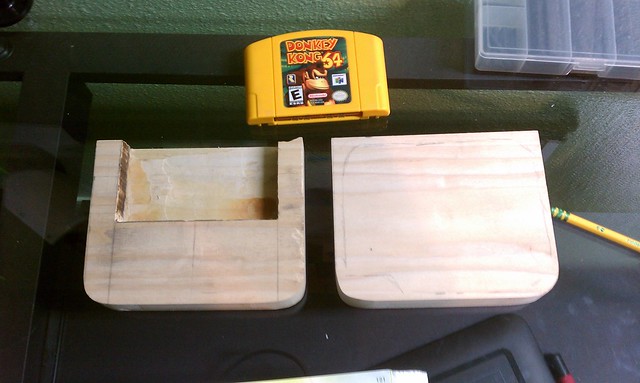
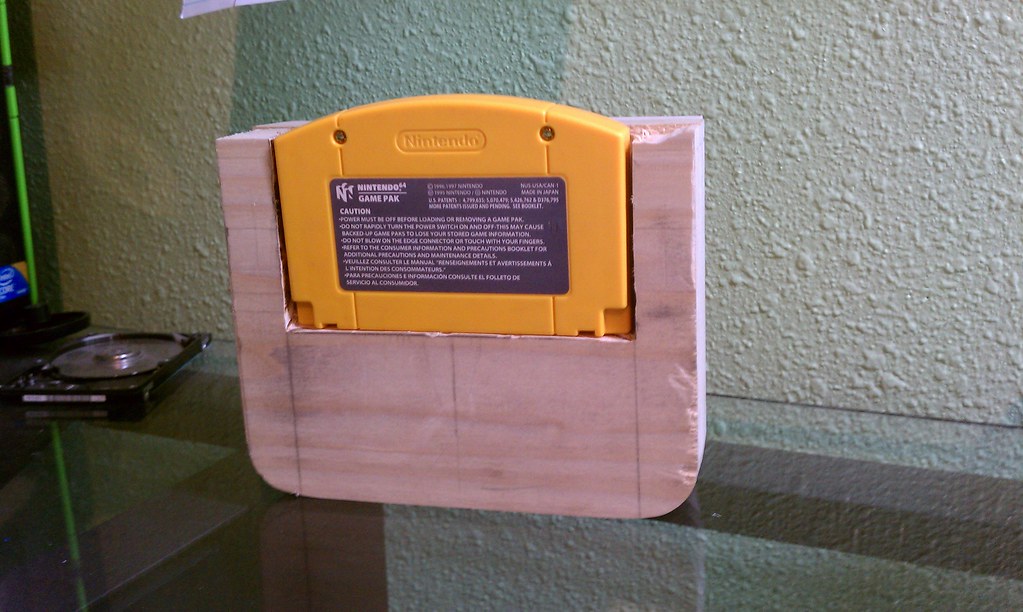
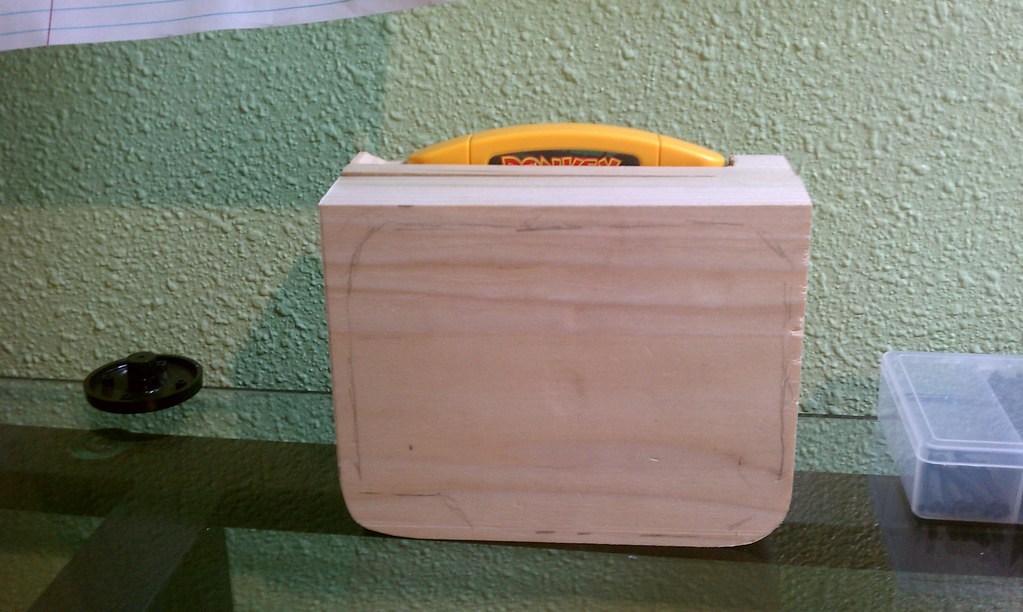
I've made some progress including hooking up the audio amp and working on the case. I'll be hooking up the batteries this weekend. Heres some pics (video soon)

(Larger Image: http://farm6.static.flickr.com/5009/526 ... e5e0_b.jpg)
(Larger Image: http://farm6.static.flickr.com/5004/526 ... 98c4_b.jpg)
(Larger Image: http://farm6.static.flickr.com/5282/526 ... 4b4e_b.jpg)
(Larger Image: http://farm6.static.flickr.com/5206/526 ... 4689_b.jpg)
- mymixed
I've made some progress including hooking up the audio amp and working on the case. I'll be hooking up the batteries this weekend. Heres some pics (video soon)
(Larger Image: http://farm6.static.flickr.com/5009/526 ... e5e0_b.jpg)
(Larger Image: http://farm6.static.flickr.com/5004/526 ... 98c4_b.jpg)

(Larger Image: http://farm6.static.flickr.com/5282/526 ... 4b4e_b.jpg)
(Larger Image: http://farm6.static.flickr.com/5206/526 ... 4689_b.jpg)

- mymixed