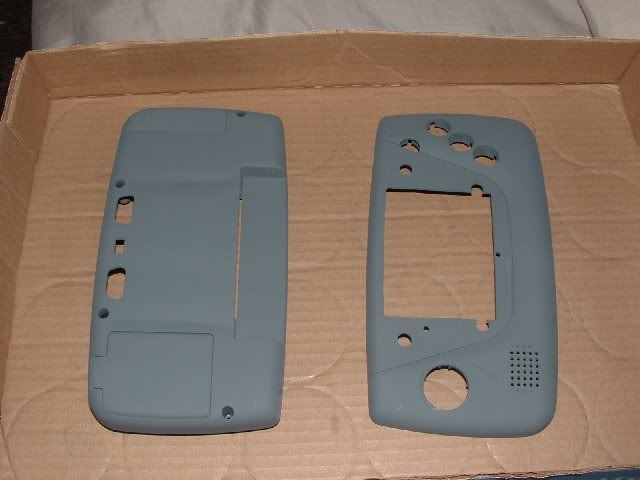
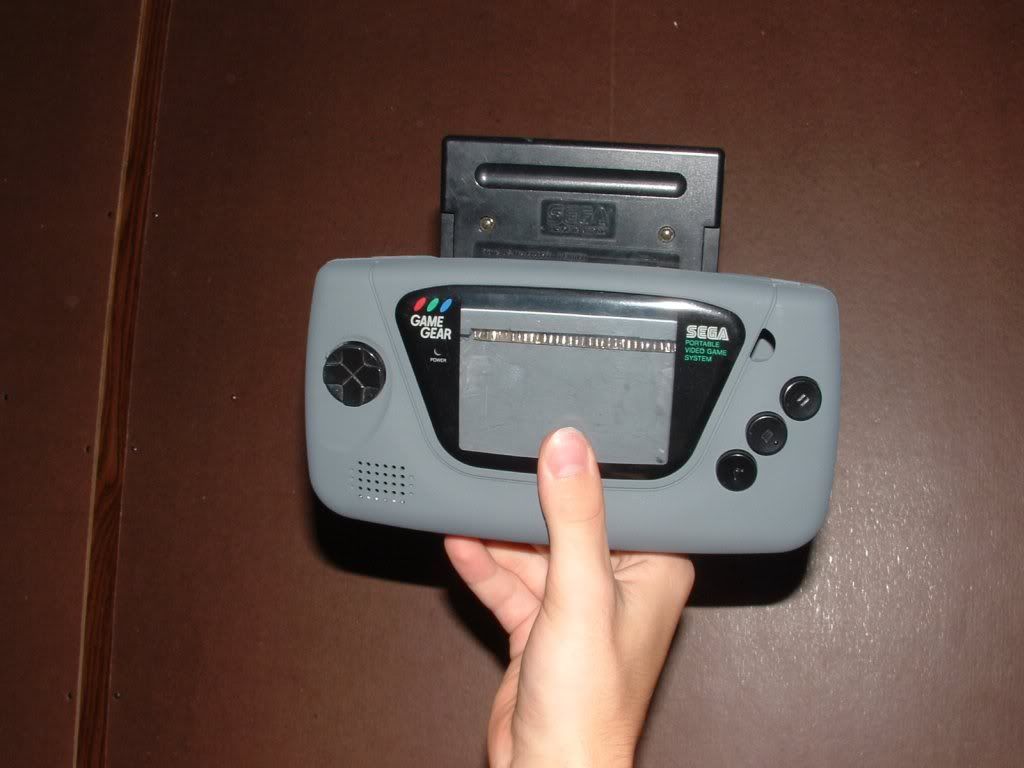
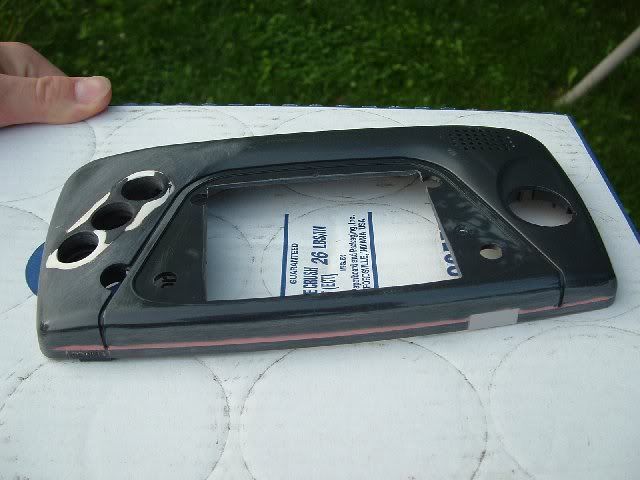
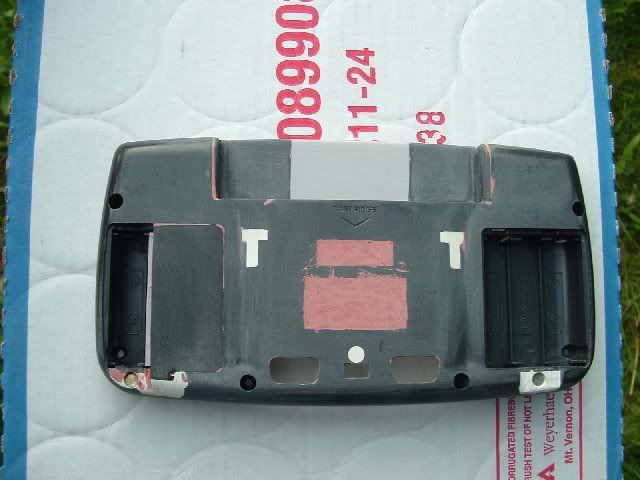
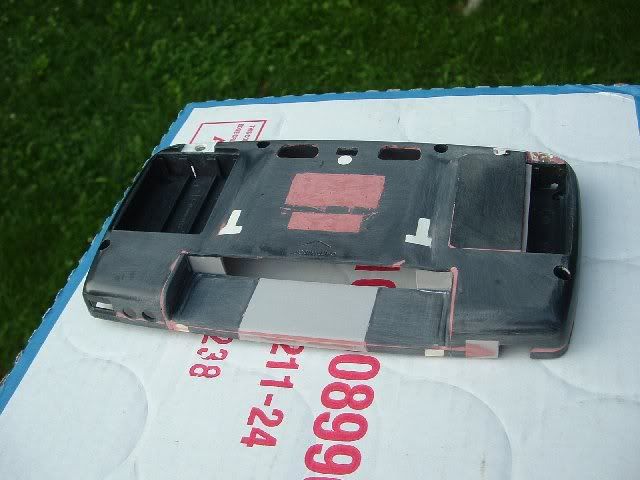
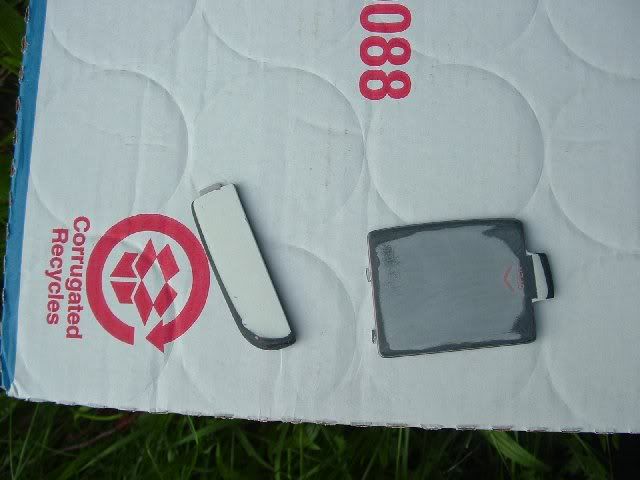
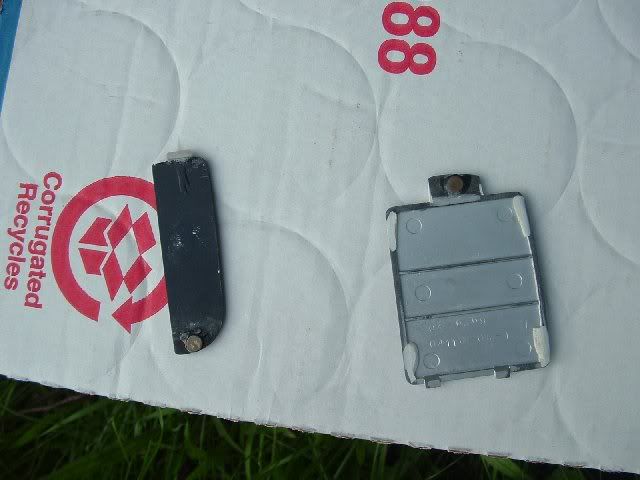
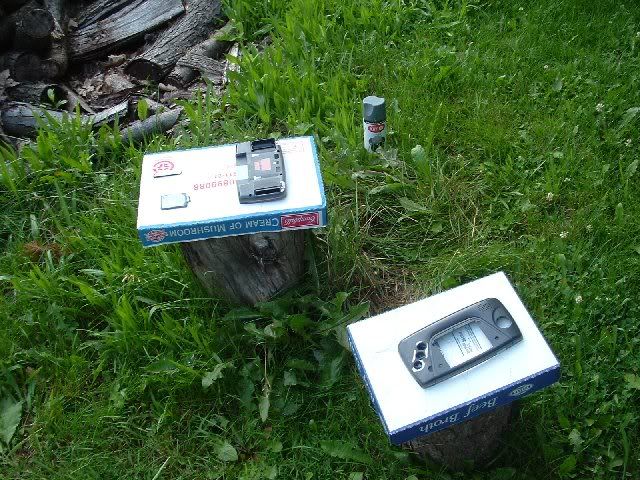
All I've done since my last update is remake the battery lids and add come controller ports.
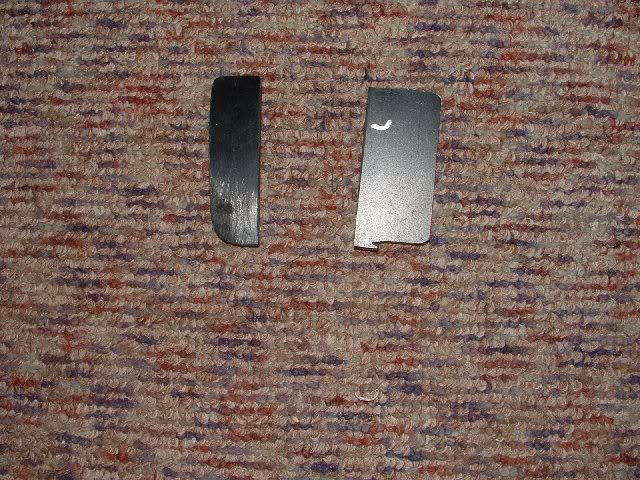
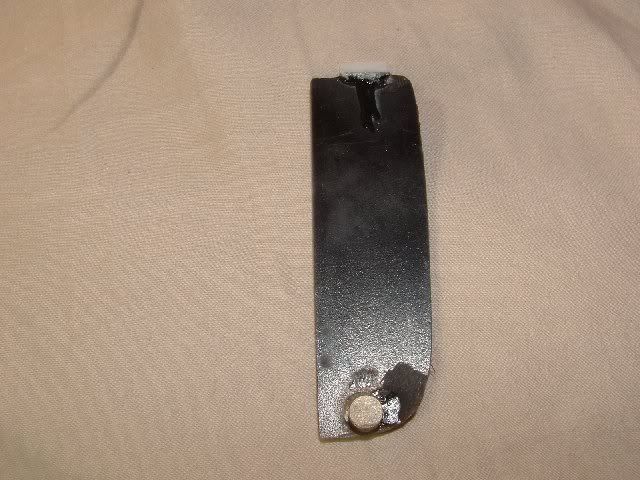
For the right hand side I only needed one lid, and I already had the lid for the other side. So I went ahead and made the 1 AA lid from scratch.
First I dremeled the previously glued plastic out.
http://img.photobucket.com/albums/v510/ ... emoved.jpg
Then dremeled and sanded new pieces from scrap plastic
http://img.photobucket.com/albums/v510/ ... pieces.jpg
http://img.photobucket.com/albums/v510/ ... _place.jpg
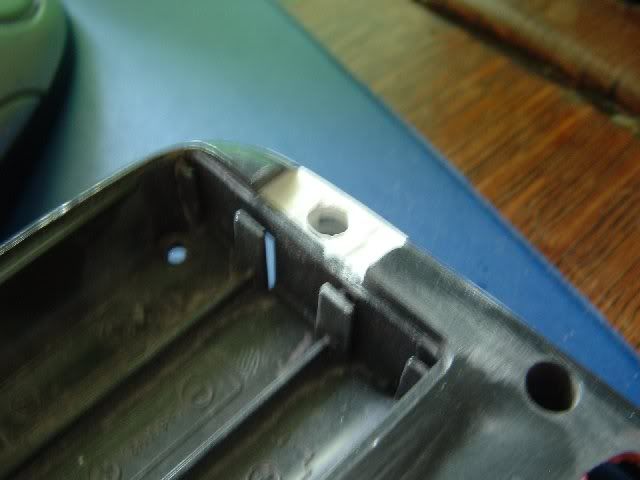
I glued the right side piece in place and superglued it in place. Then put bondo marine putty in the corner, then when hardened dremeld it flat. I decided to use some really powerful tiny magnets from radio shack (part # 64-1895) to hold the lids down. So I drilled a hole for the magnet to fit in. I also put spot putty on the edges of the superglued piece.
http://img.photobucket.com/albums/v510/ ... redone.jpg
The lid was kinda hard because it had to have a tab sticking out that would fit underneath the plastic of the case to hold it in place. So just glued a piece of plastic on and dremeled until it worked.
http://img.photobucket.com/albums/v510/ ... AA_lid.jpg
The lid was a little shorter than the rest of the case, so I put some marine putty on top of the lid and then sanded it to fit.
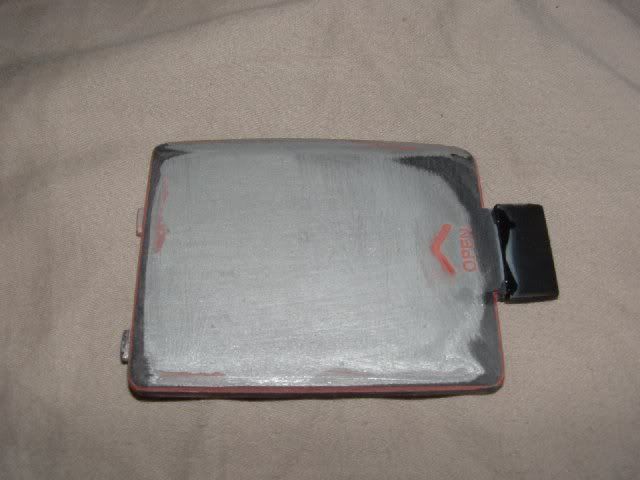
Then, just for the heck of it, I converted the 3 AA lid from a tab setup to magnets. Its really cool when the lid closes all by itself, you have to try it to get it.
I cut off the tab from the lid and glued a piece of plastic on the end
http://img.photobucket.com/albums/v510/ ... AA_lid.jpg
I drilled a magnet hole like before
http://img.photobucket.com/albums/v510/ ... rilled.jpg
BTW, supergluing the magnets in the hole close enough to touch perfectly but not letting them get superglued together was tricky. Thankfully, gel superglue made it easier and I was able to just put it on the back of the magnet in the case, wait for it to dry, then take off the lid (that already had a magnet glued on) adn add extra glue to make it stay there. Though it seems it would be that easy, several times the magnets came out of the hole or got glued to each other, and it was just all around tricky.
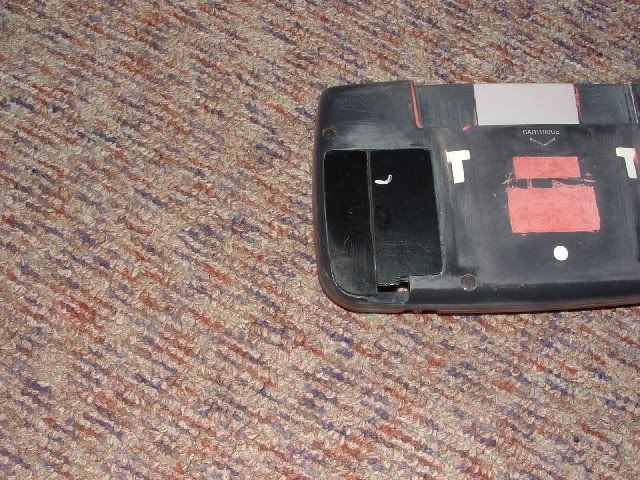
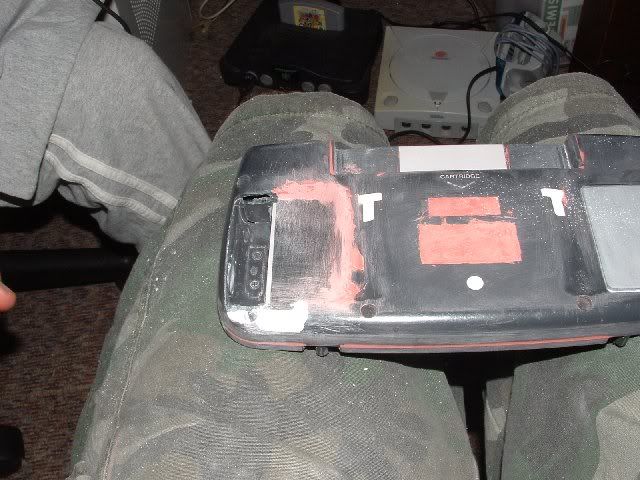
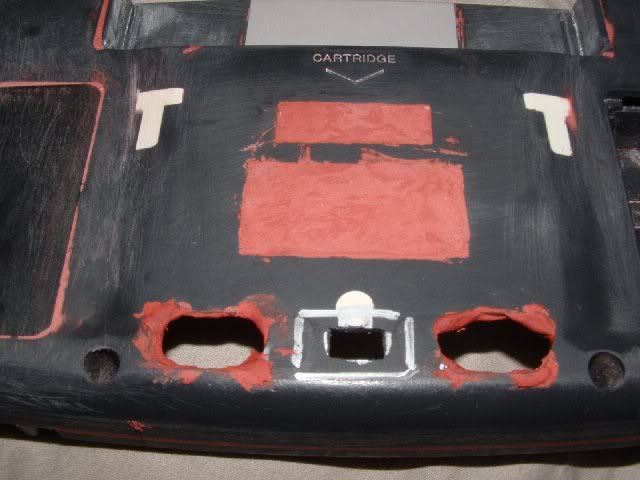
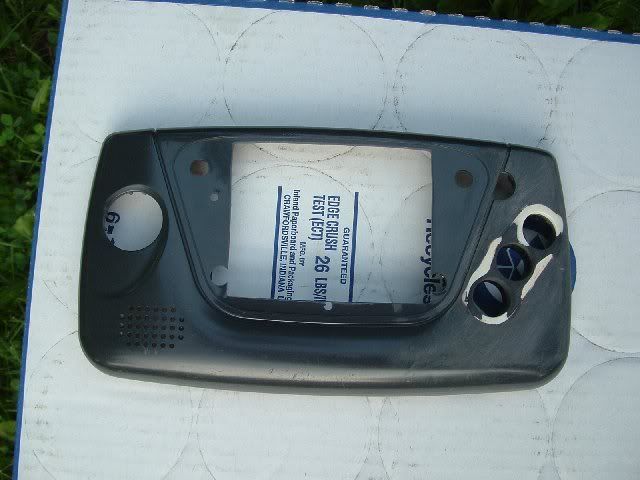
With that done, I moved onto the contorller ports. I could have just bought some sub-d connectors from radio shack, but I wanted them black now silver, and since I already had a Genesis (they ahve black connectors)and no real money to spend on parts, I stole them off my old Genesis portable.
After desoldering them, I cut them in half so that a player 1 internal/external switch could fit inbetween them. Then I just dremeled the holes. They were a tiny bit off so I put some spot putty on.
http://img.photobucket.com/albums/v510/ ... ondoed.jpg
(BTW, even though the spot putty package says now to touch this stuff to your skin I blatantly ignored it because I have no rubber gloves and its too hard to apply with anything other than a finger. If I develop cancer I'll know why.)
The switch hole was just a hole then I sharpened it with a knife.
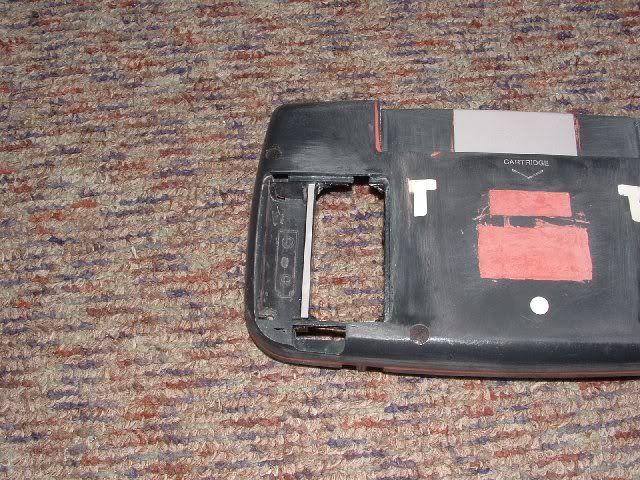
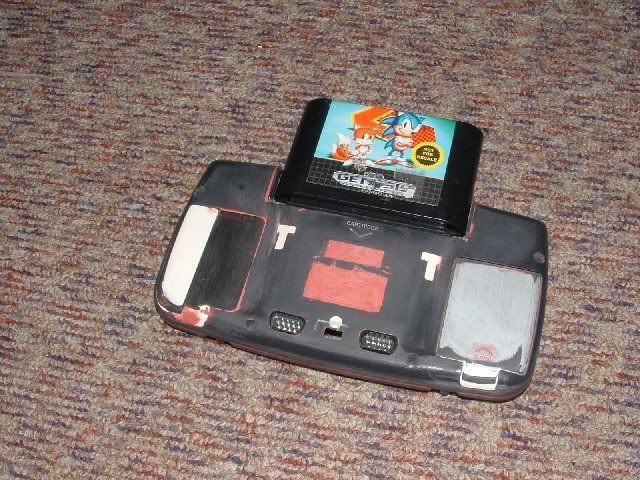
So all caught up now, this is what the back looks like currently
http://img.photobucket.com/albums/v510/ ... y_done.jpg
Still needs fine sanding though.
Right now I'm a bit stuck because I want to keep the TV part of the screen working. I was thinking I could have an antenna on a headphone jack plug into a headphone jack and switch over the TV from Av input to TV mode. But the AV plug/switch (the switch is built into the plug) is somewhat complex and I dont quite understand how it works yet. So if you have any idea on how to do that, post away.
Oh yeah, I also cant decode if I want a headphone jack or AV out. I can't ever remember using the headphones on any of my GameBoys or my DS. And av out seems to be defeating the purpose of the whole project, and I never used it on any of my previous portables. So I dunno.


 It makes me so happy! And I love your GG!
 !
!