(BTW, I don't believe in the theory of evolution myself, but the name sounded too kickass to not use. Just wanted to clear that up.)
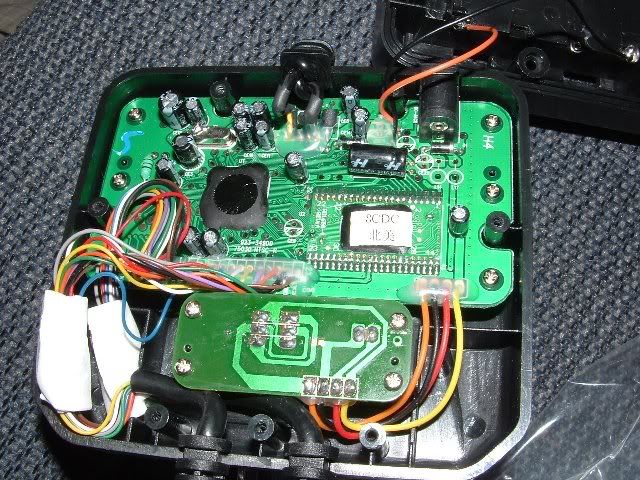
First thing I did was buy a street Fighter 2 Radica at Meijers on sale for $17. I already had the broken Game Gear and a 4" casio pcket TV so I was set!
http://img.photobucket.com/albums/v510/ ... opened.jpg
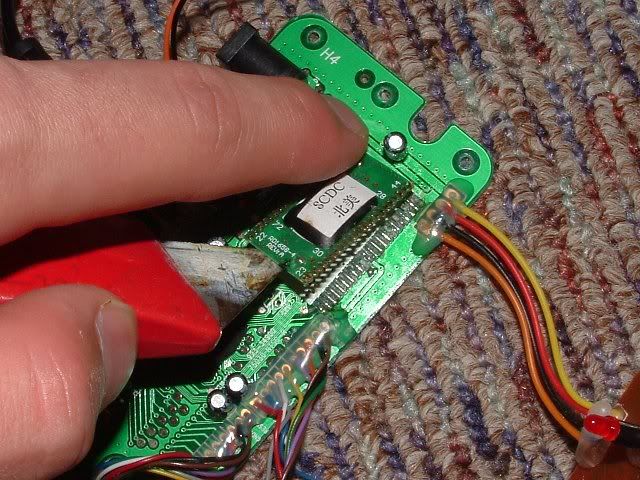
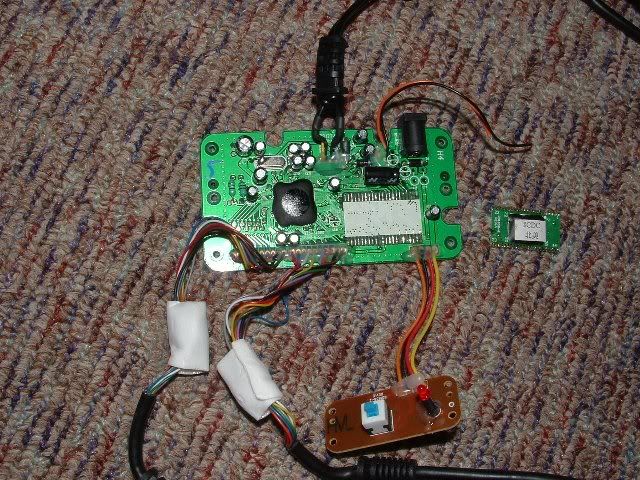
I opened up the radica and then desoldered the rom chip using desoldering braid. It was very tricky because the traces were starting to lift from the heat and I couldn't seem to get all the solder off.
http://img.photobucket.com/albums/v510/ ... ff_rom.jpg
I pried it off with a knife, unknowingly ripping off a couple traces. Thankfully they were repairable by scraping off the green coating and applying flux and solder to the torn trace. It should still work fine.
http://img.photobucket.com/albums/v510/ ... ldered.jpg
I was sick of soldering so I went to work on the case. When you open it there is one weird screw holding the cartrdige slot to the front case, I jsut used needle nose pliars for that. Everything was taken out.
I removed all the stickers and used Goo-Gone to get rid of the sticky residue. I also pulled off the screen and used goo-gone for that stuff left behind.
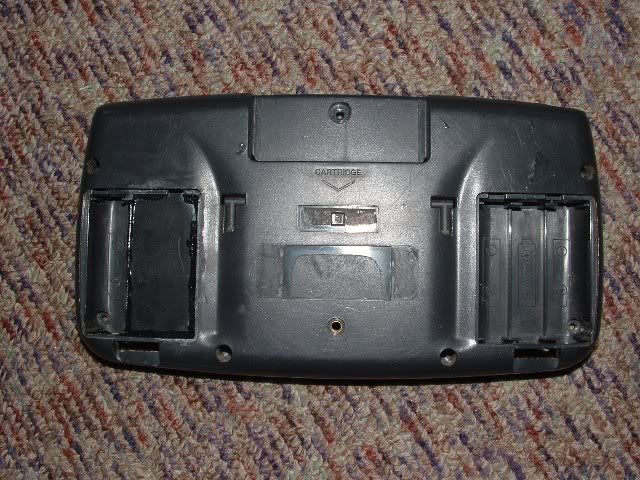
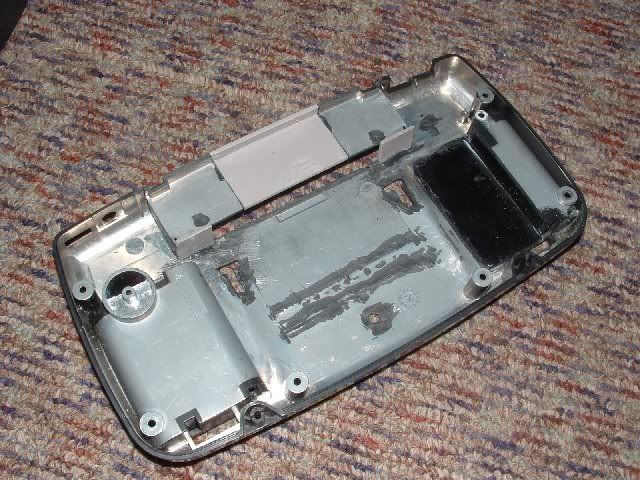
The screen I am using is a super sweet 4" casio pocket TV which will be great for sonic games. The only tricky thing about it is the board for it is very long. It's several inches longer on the right than it is on the left. So since I only needed 4 AA's to power both the screen and the Radica, it was pointless to have the extra 2 AA space, so I dremeled it out and glued plastic in it's place.
http://img.photobucket.com/albums/v510/ ... holder.jpg
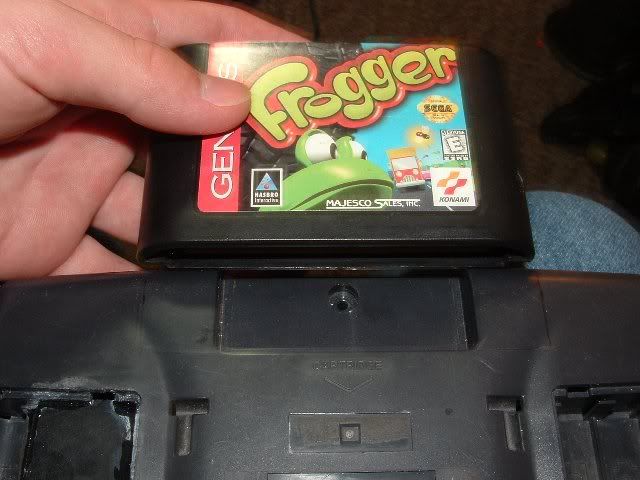
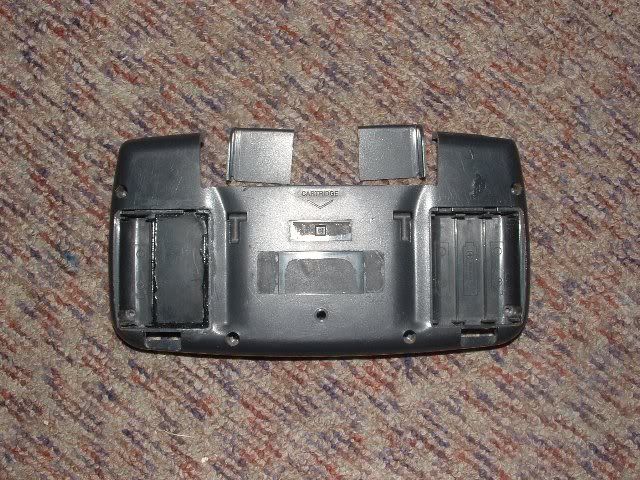
I wanted the whole thing to look very much like a stock Game Gear, so I wanted the cartridge to slide down just like the real GG cartridges. To do that I had to widen the slot. So I used a Genesis cartridge and marked where I needed to cut.
http://img.photobucket.com/albums/v510/ ... _lines.jpg
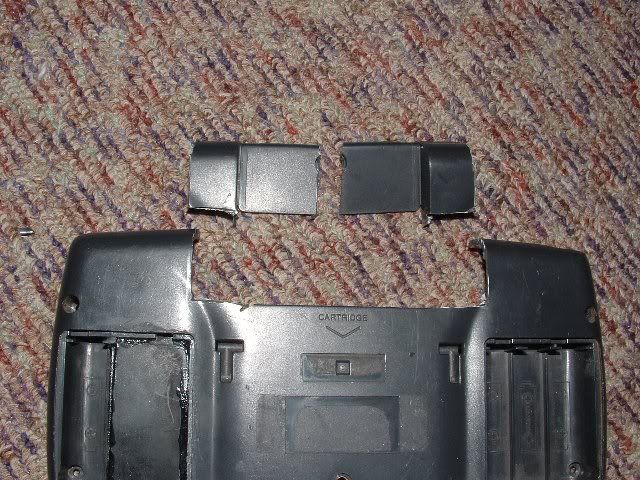
Then I dremeled along the drawn lines
http://img.photobucket.com/albums/v510/ ... hopped.jpg
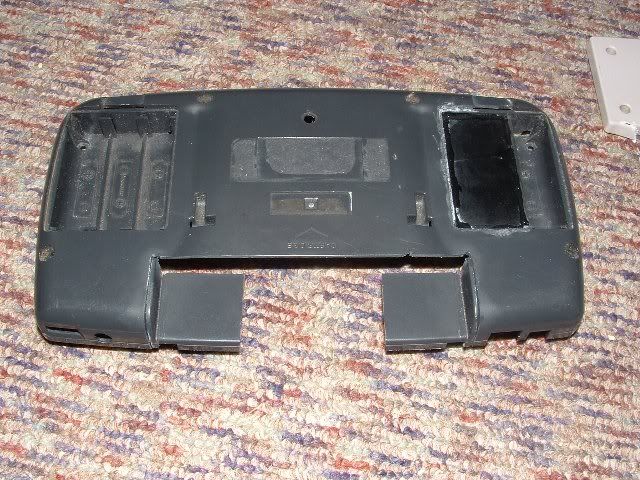
I dremeled and the hand sanded the cut pieces (with 60 grit sandpaper) and the cut part of the case until they fit together perfect.
http://img.photobucket.com/albums/v510/ ... sanded.jpg
Then I superglued the pieces in place. I used a cart to hold them in place while I applied glue.
http://img.photobucket.com/albums/v510/ ... _glued.jpg
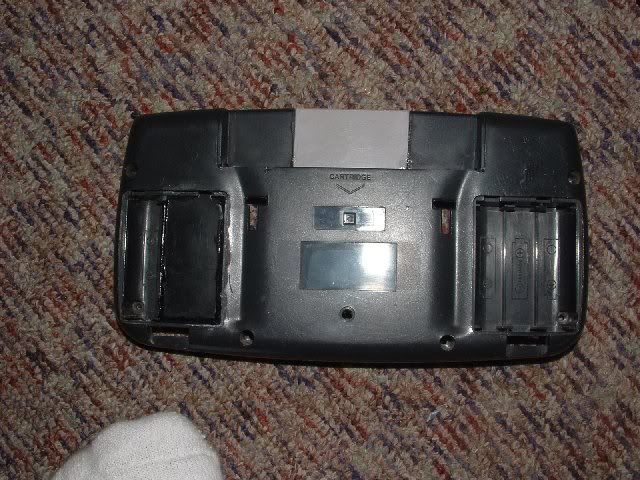
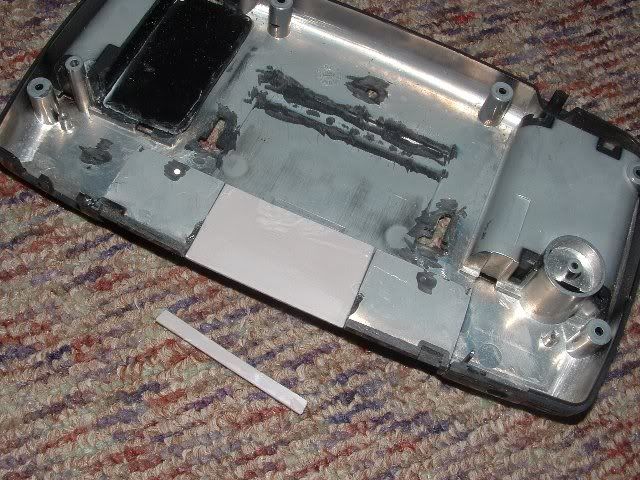
There was still a huge gap inbetween so I dremeled a piece of plastic from...an NES controller (I know, blasphemy, but it was the only availabe scrap plastic). I sanded it to fit the superglued it in place.
http://img.photobucket.com/albums/v510/ ... _glued.jpg
Then I dremeled and sanded an even smaller piece-
http://img.photobucket.com/albums/v510/ ... _piece.jpg
-then superglued it in place.
For added support for the cartridge connector I dremeled-sanded-glued a couple small pieces at the left and right of the slot.
http://img.photobucket.com/albums/v510/ ... upport.jpg
Then I let that dry and I went to work on converting the 2 button game gear into a 3 button genesis.
(note: I actually went through all the work of adding another Game Gear button below the first two, even made a post from scratch out of bondo. Took several hours. But it didn't fel "genesisy" enough. So I did this instead.)
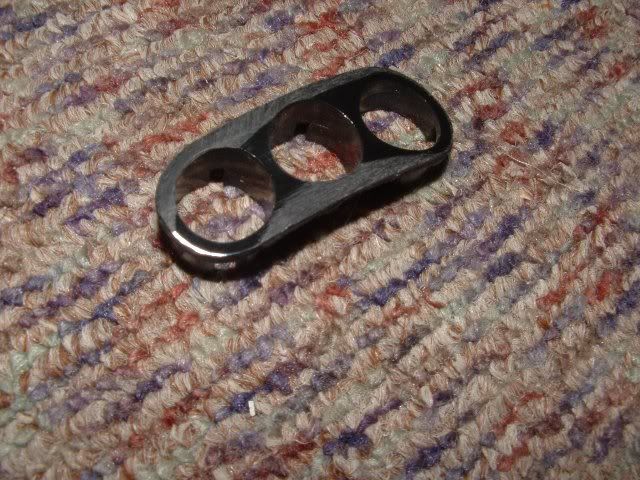
I dremeled the ABC button holder plastic from a scrap Genesis controller. Now if you've ever looked at these things you'll notice that they are shaped WEIRD. It's not even close to flat, so I sanded it a bit flatter.
http://img.photobucket.com/albums/v510/ ... sanded.jpg
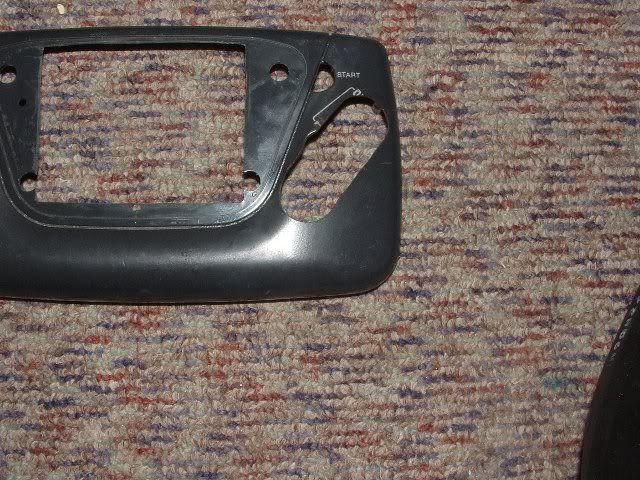
I dremeled the hole for it in the GG case.
http://img.photobucket.com/albums/v510/ ... le_cut.jpg
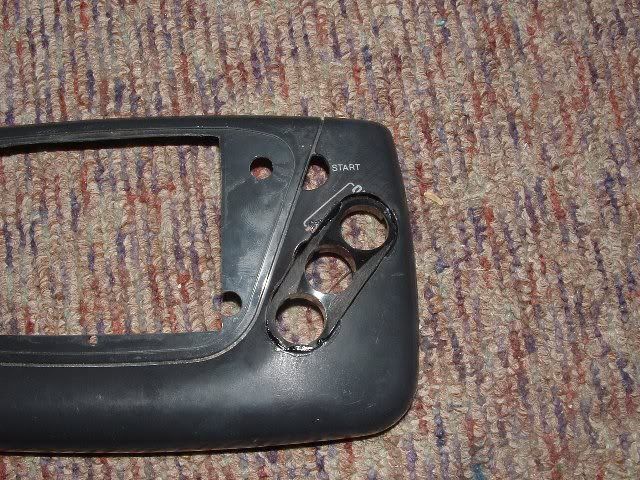
Then superglued it in place.
http://img.photobucket.com/albums/v510/ ... _glued.jpg
I also glued a piece of plastic over the place the DC jack used to be since I'm not going to have one (whats the point in wall powering a portble?).
All the glueing is done, bondo time! There are two types of bondo I am using here, marine putty stick and spot putty. The marine putty is very strong (as hard as normal plastic) when hardened and can be used to fill large gaps easily. But since it's so hard it takes a lot of effort to sand. Which is why I also have spot putty. It's very wimpy so you can't use it to fill gaps, but you can fill hairline cracks and other small things with it, and since it's so wimpy it's super easy to sand. So it can be used for small imperfections without taking forever to sand off.
First the marine putty.
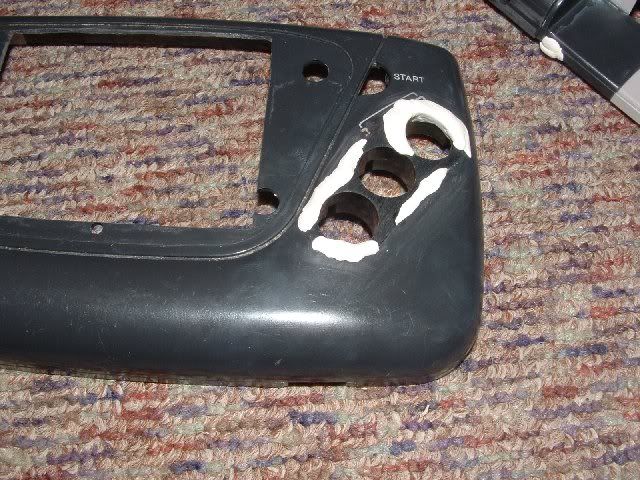
I first cleaned the case. Then cut a small hunk of putty and kneaded it, then stuck it in and around the ABC buttons.
http://img.photobucket.com/albums/v510/ ... ndo-ed.jpg
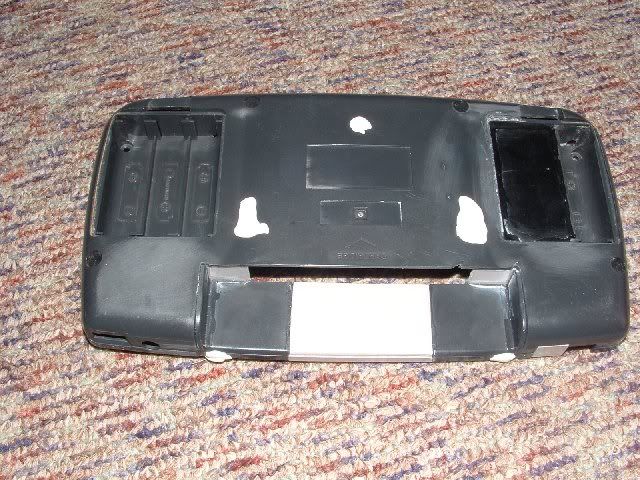
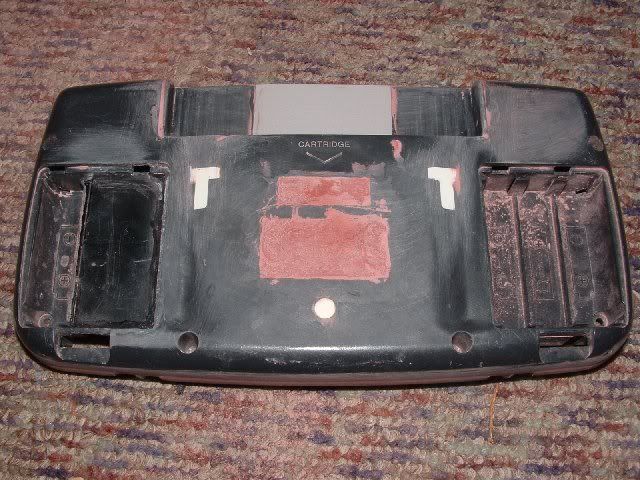
Then I cut another hunk off (only cut small pieces since the stuff hardens fast) and filled the holes on the back.
http://img.photobucket.com/albums/v510/ ... ndo-ed.jpg
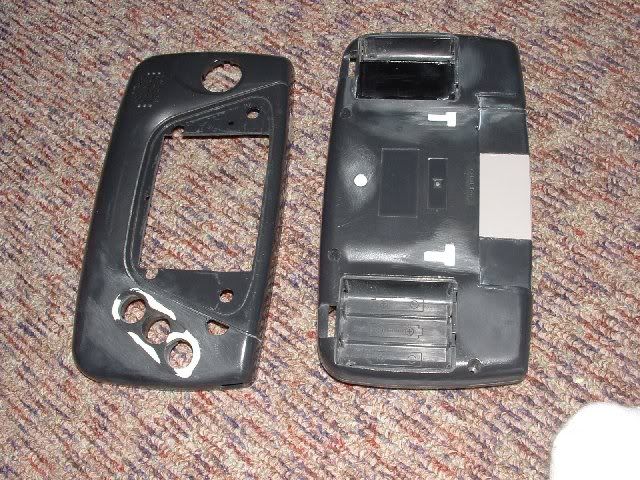
The next day I sanded all the bondo spots flat.
http://img.photobucket.com/albums/v510/ ... y_done.jpg
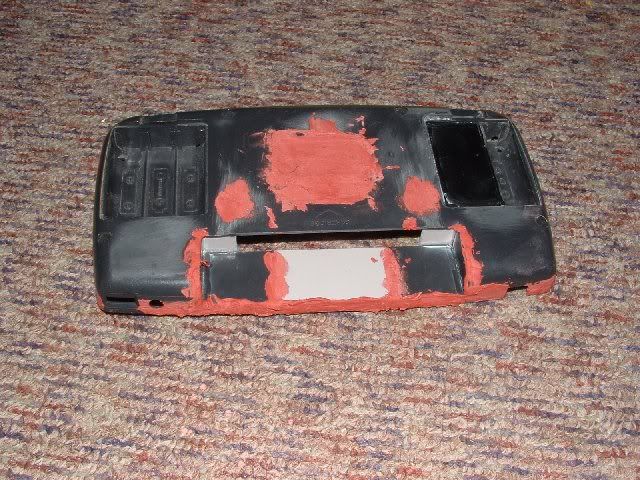
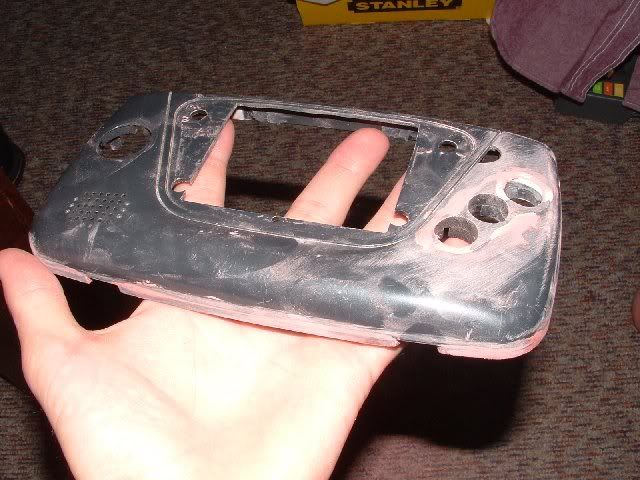
Then I cleaned the case again and started on the spot putty. I did all the sides because there was this weird line-thing that goes around the entire side of the case and it has always bugged me. It's ugly!
http://img.photobucket.com/albums/v510/ ... y_back.jpg
(I forgot to take a pic of the spot putty on the front)
Then I sanded it all with a medium grade sand paper (120 grit).
http://img.photobucket.com/albums/v510/ ... sanded.jpg
http://img.photobucket.com/albums/v510/ ... needed.jpg
You can see the back needs another layer on the the place the labels used to be.
Well, thats all I've done so far. Next up is a little more bondo on the back, fine grit sanding the case, the painting, and finally the wiring. EXCITINGZ!!!

BTW, I am in need of a right side battery lid. No I didn't lose mine it was missing when I bought it. I'm willing to trade or a small amount of cash.
Y'know, I have yet to see a GG with both battery lids... Is it that hard to keep track of two lids?