And yes, those shoulder buttons are the devil. I am still configuring mine as we speak...
PortaCube WIP (UPDATED: 12/20)
Moderator: Moderators
Re: PortaCube WIP (UPDATED: 12/06)
Looking good! I can't compliment you enough on the neatness of this portable 
And yes, those shoulder buttons are the devil. I am still configuring mine as we speak...
And yes, those shoulder buttons are the devil. I am still configuring mine as we speak...


Re: PortaCube WIP (UPDATED: 12/06)
Thanks Tchay - I hope someone finds some of this info helpful.....or just neat to look at to get better ideas on wiring. I'm also a bit of a neat freak. 
No pics for todays update though.
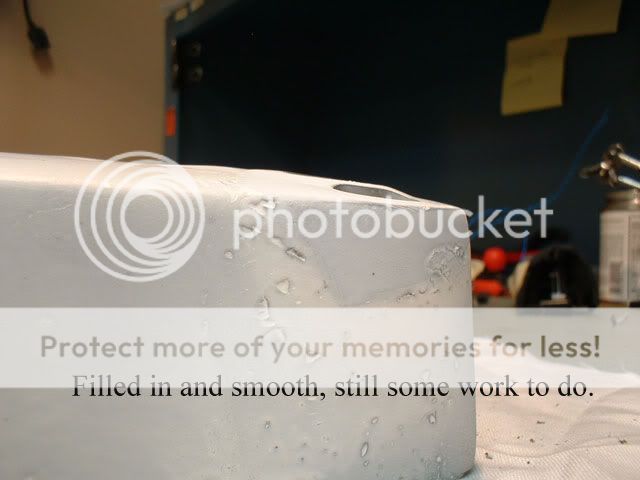
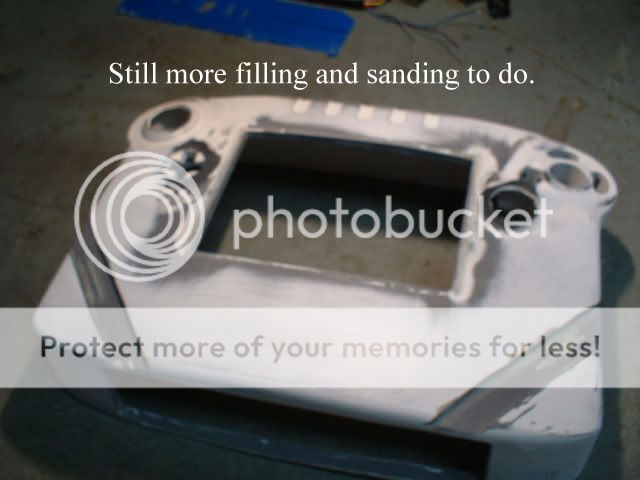
Today I sanded. and sanded. then sanded some more. Applied more epoxy (I'm addicted tot he stuff now). Then sanded and sanded and sanded some more. a lot of freaking sanding plastic.
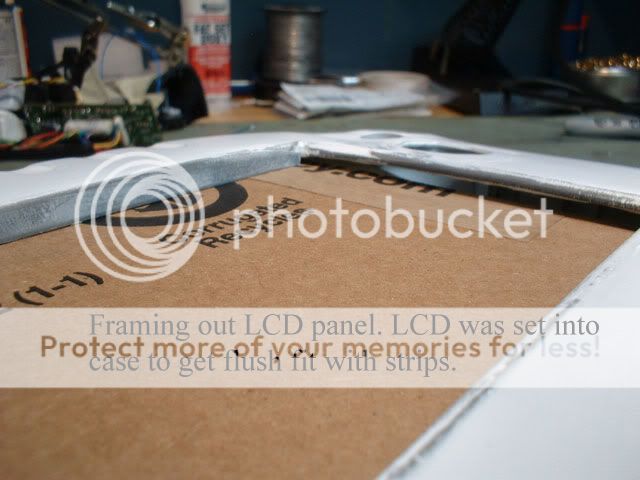
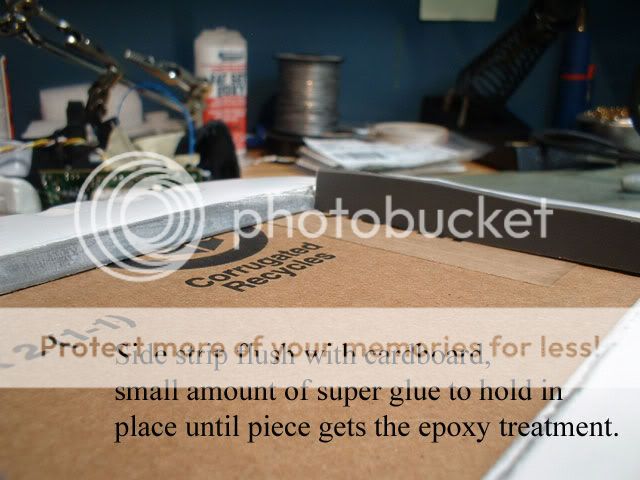
I also worked on starting to frame out my LCD panel, reset the power switch and connected the remaining cube housing being used to the rear panel of my case. I did a dry fit and you know....it feels pretty good in the hands. Also started priming the case, hope to start laying the black down on Thursday.
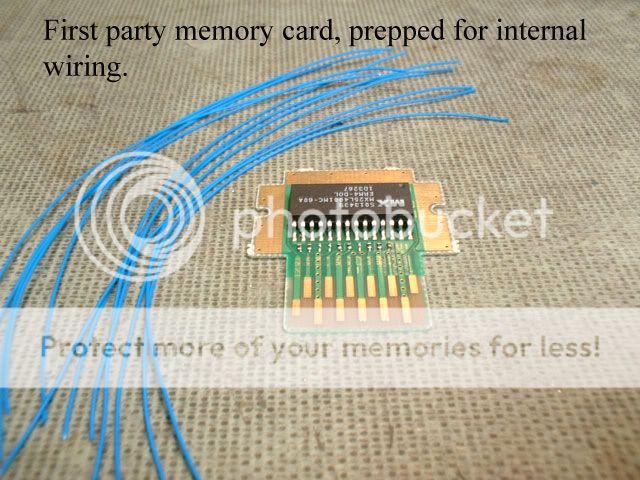
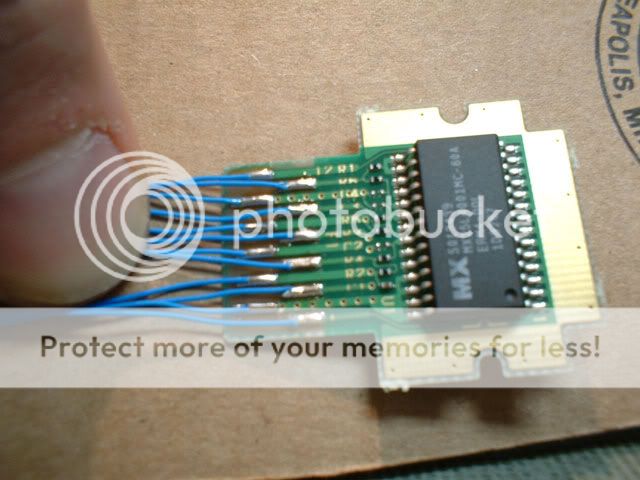
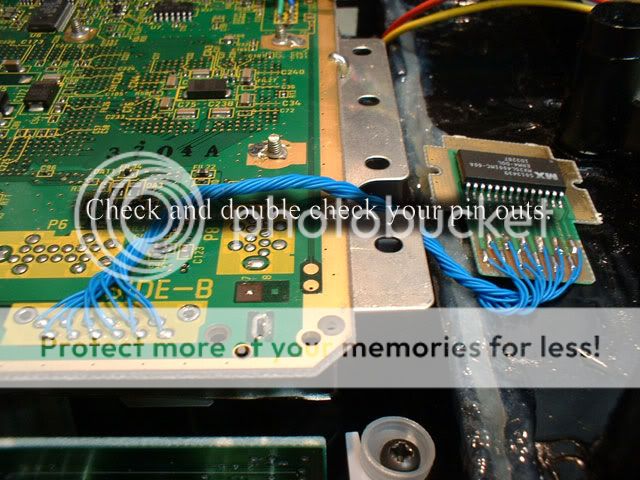
Decided I'm going with internal memory only, will wire that tomorrow. I cut some holes for my switch plate, which is clear (!) - so when it rumbles, blue light will shine out the bottom -same applies to the battery charge circuit (using daft mikes info). So you'll be able to look up inside this unit when it is completed.
Pics tomorrow!
No pics for todays update though.
Today I sanded. and sanded. then sanded some more. Applied more epoxy (I'm addicted tot he stuff now). Then sanded and sanded and sanded some more. a lot of freaking sanding plastic.
I also worked on starting to frame out my LCD panel, reset the power switch and connected the remaining cube housing being used to the rear panel of my case. I did a dry fit and you know....it feels pretty good in the hands. Also started priming the case, hope to start laying the black down on Thursday.
Decided I'm going with internal memory only, will wire that tomorrow. I cut some holes for my switch plate, which is clear (!) - so when it rumbles, blue light will shine out the bottom -same applies to the battery charge circuit (using daft mikes info). So you'll be able to look up inside this unit when it is completed.
Pics tomorrow!
Re: PortaCube WIP (UPDATED: 12/06)
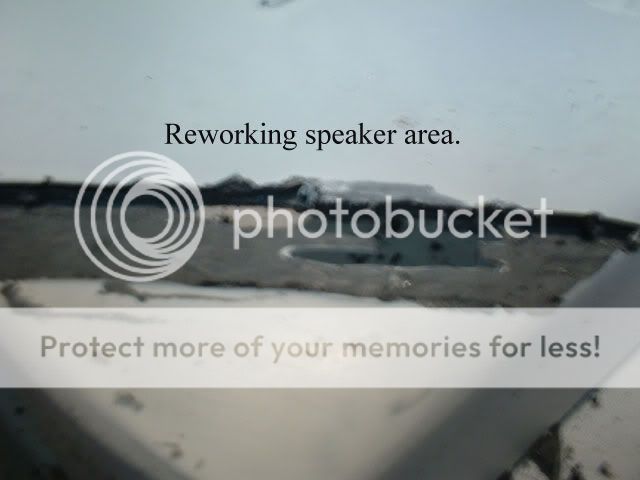
Today I wired the memory card and worked on my case - including making a big change to my speaker area. Initially I had tried to make small lines on an angle and have a couple of those lines go deep enough to be used as audio ports. Well, I found a nice little dremel 'router' type bit and though I'd make my lines look better.
 Yeah, I had screwed it up from the start - so I gutted the area and filled the slots I had. I also sanded and filled and sanded....I also completed framing my LCD panel.
Tomorrow is more case work and getting the controller pcb's set up so the switched work properly.
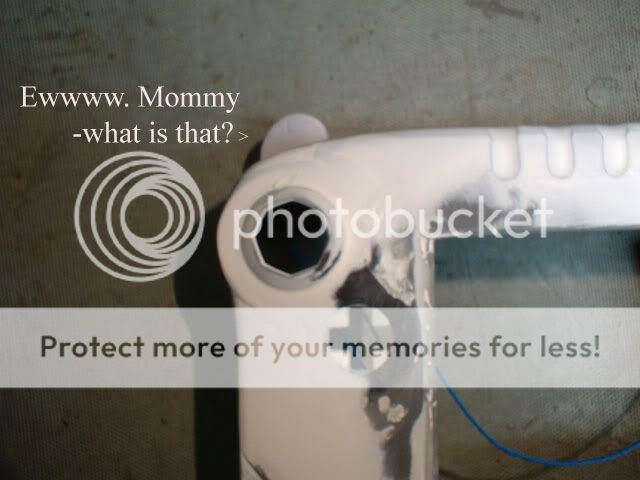
Begin.
This is what that big hole is looking like today.

Tomorrow is more case work and getting the controller pcb's set up so the switched work properly.
Begin.
This is what that big hole is looking like today.
-
argelfraster
- Posts: 984
- Joined: Sun Sep 07, 2008 3:14 pm
- Contact:
 Argelfraster likes this.
Re: PortaCube WIP (UPDATED: 12/09)
Two items stick wiring and an attempt at the dreaded shoulder button. I got the left one installed today!
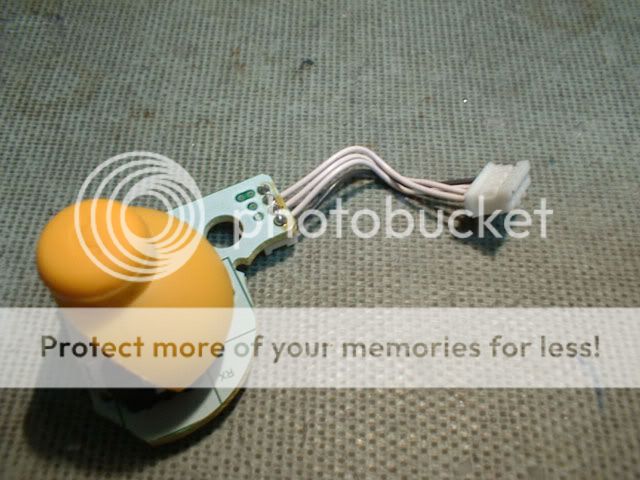
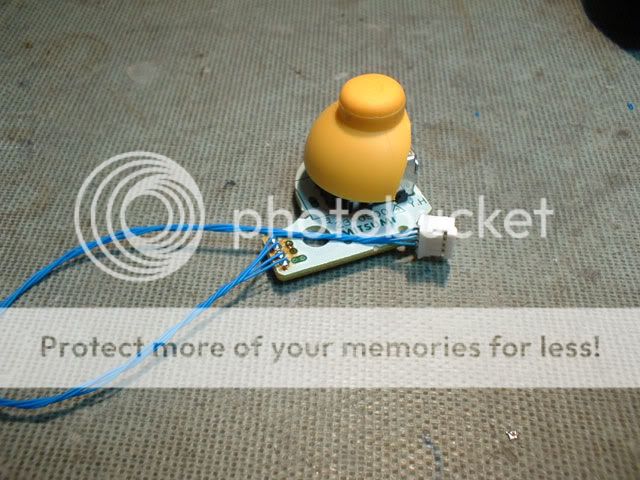
I've been putting this off. Feeling pretty good about this, aside from the skin tag appearance
Who knows - it may look better when all assembled....I hope.
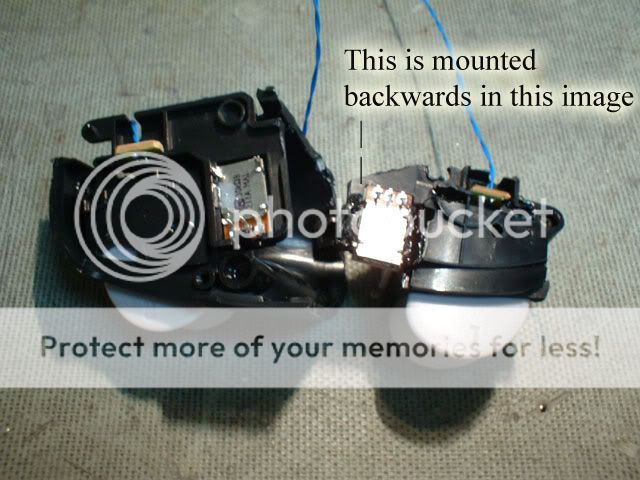
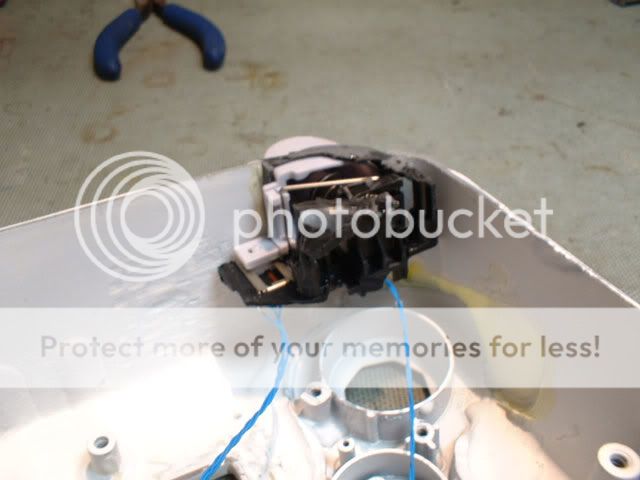
whew!
I've been putting this off. Feeling pretty good about this, aside from the skin tag appearance
Who knows - it may look better when all assembled....I hope.
whew!
-
thewise1
- Portablizer Extraordinaire
- Posts: 1413
- Joined: Sun Jan 04, 2009 8:18 pm
- Location: Sitting on my pile of authentic minnesota dirt
Re: PortaCube WIP (UPDATED: 12/10 LEFT SHOULDER)
Awesome portable. That's probably the cleanest gcube trigger relocation in a long time. I haven't even tried it and I know it's hard.


Re: PortaCube WIP (UPDATED: 12/10 LEFT SHOULDER)
Thanks!
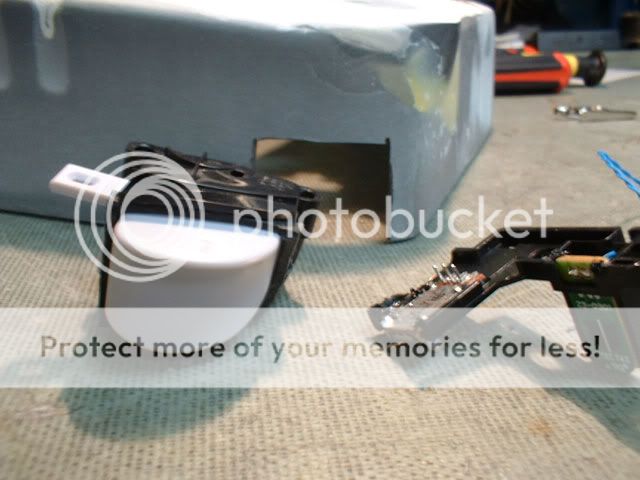
I know I can tell you that a few times the thought 'if you screw this up, it's toast' came to mind. It's clean enough you can insert and remove very easily the board the stick and d-pad are on. There is a small bit of hesitation in the release though, think that is the button rubbing on the frame.
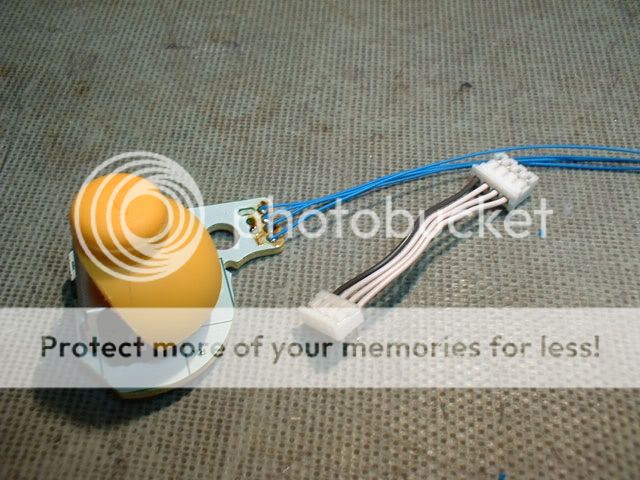
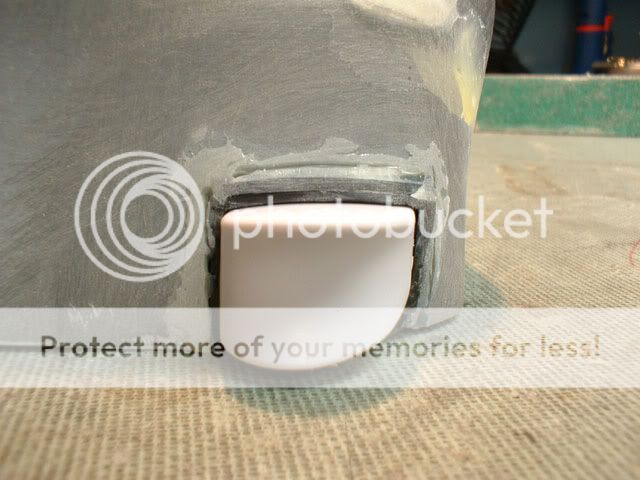
The right shoulder button is now wired and installed. It was a bit trickier than the left, and there's going to be a lot of filling gaps by toothpick action. Overall I'm pretty happy with how they turned out - not perfect, but certainly workable and hopefully functional!
The clear bottom plate is cut and all the switches and rotary dial holes are cut out. Know that the plate that is going to be installed is my third attempt. The first one had switch/dial holes cut out using the circular dremel cutting wheel. It was messy, messy like the speaker slots. Since you will be able to see inside the unit - the plate had to look better.
My second plate was going good - was using the small router like bit on the dremel and had cut out my battery switch hole, really nice actually....then I drilled it on the foam not thinking and the back pressure as the bit dug in caused a big break across the plastic. All the way through.
The third I tried to learn from my previous mistakes and was able to get all five holes cut out. They aren't as pretty as they should be, but they get the job done! ;P
For the speaker holes I opted to mimic the psp sound holes. I cut out one vertical hole (instead of the horizontal way the psp is) over where each speaker is going to be mounted. The front cuts seem to help break up the larger face of the unit.
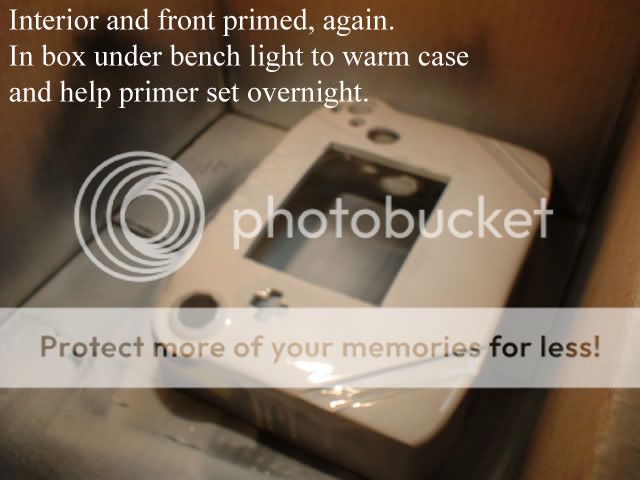
Also sanded some more, of course. The front case was primed and the rear portion with the cube attached was taped off and sprayed sating black. Then I sprayed the front case after a final sanding/cleaning. I layered it on all over it, hung it on a coat hanger and sprayed the inside as well.
It's under a small lamp until tomorrow.
I know I can tell you that a few times the thought 'if you screw this up, it's toast' came to mind. It's clean enough you can insert and remove very easily the board the stick and d-pad are on. There is a small bit of hesitation in the release though, think that is the button rubbing on the frame.
The right shoulder button is now wired and installed. It was a bit trickier than the left, and there's going to be a lot of filling gaps by toothpick action.
The clear bottom plate is cut and all the switches and rotary dial holes are cut out. Know that the plate that is going to be installed is my third attempt. The first one had switch/dial holes cut out using the circular dremel cutting wheel. It was messy, messy like the speaker slots. Since you will be able to see inside the unit - the plate had to look better.
My second plate was going good - was using the small router like bit on the dremel and had cut out my battery switch hole, really nice actually....then I drilled it on the foam not thinking and the back pressure as the bit dug in caused a big break across the plastic. All the way through.
The third I tried to learn from my previous mistakes and was able to get all five holes cut out. They aren't as pretty as they should be, but they get the job done! ;P
For the speaker holes I opted to mimic the psp sound holes. I cut out one vertical hole (instead of the horizontal way the psp is) over where each speaker is going to be mounted. The front cuts seem to help break up the larger face of the unit.
Also sanded some more, of course. The front case was primed and the rear portion with the cube attached was taped off and sprayed sating black. Then I sprayed the front case after a final sanding/cleaning. I layered it on all over it, hung it on a coat hanger and sprayed the inside as well.
It's under a small lamp until tomorrow.
Re: PortaCube WIP (UPDATED: 12/12)
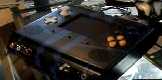
I'm almost finished, the only connections I have to make are a few switches, the AV and power leads. Here is the front case, I used Krylon satin black.
The install is much further along, some of my mounting points to secure a few items is made of epoxy - small amounts, just enough to hold. I thought it was going to be a chore setting the right clearance for my buttons - the ABXY buttons had to have their centers filled with a hard setting glue. The soft tack switched fit inside the hole and they would not activate. I trimmed some off of the B button and set them all in and found a sweet, stable spot real quick. Also got a good setting on my d-pad. C-stick is the only item that needs to be further secured.
Have to wire up my selector switch for the controller options.
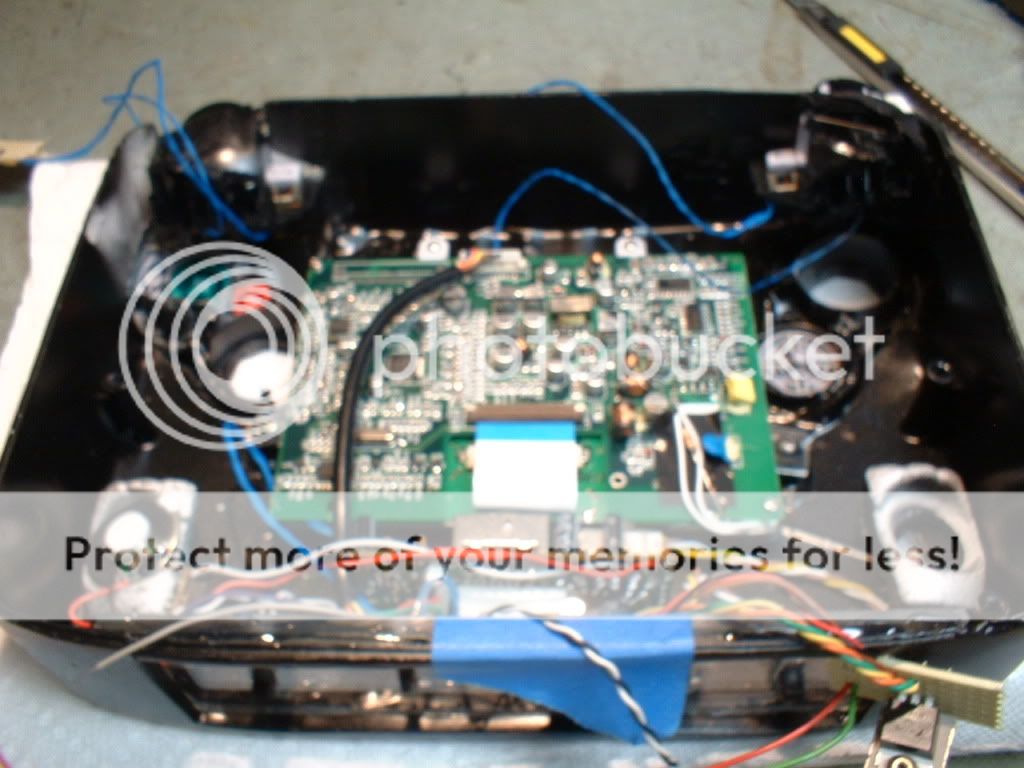
Re: PortaCube WIP (UPDATED: 12/13 - painted / install started)
The unit is at home today, the next couple of weeks will be for testing purposes - see what needs beefed up, ect.
Will post moar tomorrow when I've had a chance to use it.
Will post moar tomorrow when I've had a chance to use it.
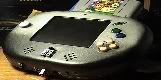
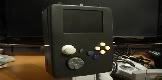
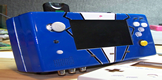
Re: PortaCube WIP (UPDATED: 12/20)
The screen is an InterAct Mobile Monitor for the PSONE, I'm happy with it so far. Here are a few shady videos of the unit being played by either the wavebird or the built in controller.
http://www.youtube.com/watch?v=yr6yT6UHjNY
http://www.youtube.com/watch?v=jtDoSvzYRko
http://www.youtube.com/watch?v=kxKxIqUDtII
http://www.youtube.com/watch?v=yr6yT6UHjNY
http://www.youtube.com/watch?v=jtDoSvzYRko
http://www.youtube.com/watch?v=kxKxIqUDtII
-
thewise1
- Portablizer Extraordinaire
- Posts: 1413
- Joined: Sun Jan 04, 2009 8:18 pm
- Location: Sitting on my pile of authentic minnesota dirt
Re: PortaCube WIP (UPDATED: 12/20)
So is it a reliable screen then?
If so it may be a nice psone screen replacement with that board being much smaller and still 5"
If so it may be a nice psone screen replacement with that board being much smaller and still 5"
Re: PortaCube WIP (UPDATED: 12/20)
well ,it IS a screen for a psone. (psone screen is equivalent to screen for psone)
Re: PortaCube WIP (UPDATED: 12/20)
It's not the Sony screen.
Ok, so the unit is home and I've been playing it. Here's a laundry list of things to fix:
The Y button does not work - I suspect this is a solder joint on the controller pcb.
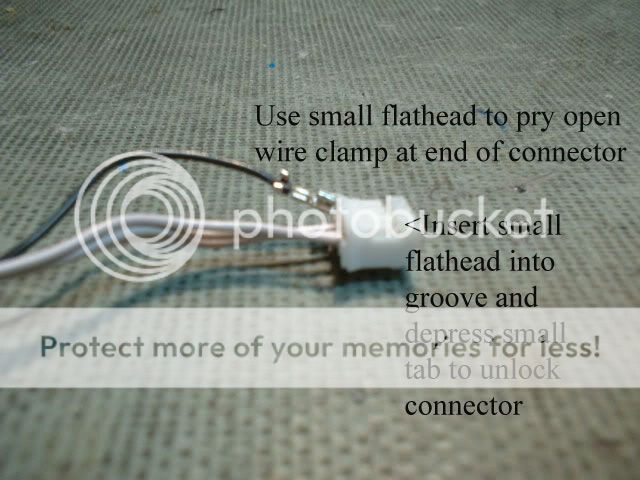
The C-Stick...somehow I switched the movement in the wiring (!) - up is actually left, right is up, ect. I must have reversed the harness when wiring it because I did one wire at a time. Hopefully I'll be able to release the pins in the small white plug and reverse them.
No fan - the fan in this unit has not turned on - going to have to hard wire it to see if it even works at all.
When making up a few final connections I managed to get some solder (strand coming from roll, not melted blobs) to short out my protection pcb....so....I think I need to disconnect the leads for it to reset...or maybe I killed the board (!) - at any rate I'm not running off the batteries right now.
The unit is loud, while this isn't a big issue - I'm considering sending a lower voltage to the audio amp ic.
Once I make these repairs / adjustments then the unit will get a light sanding and a final coat of paint. Though all this stuff is going to be waiting until after the holidays now, I know when I open the unit up it's going to be a couple day process.
Ok, so the unit is home and I've been playing it. Here's a laundry list of things to fix:
The Y button does not work - I suspect this is a solder joint on the controller pcb.
The C-Stick...somehow I switched the movement in the wiring (!) - up is actually left, right is up, ect. I must have reversed the harness when wiring it because I did one wire at a time. Hopefully I'll be able to release the pins in the small white plug and reverse them.
No fan - the fan in this unit has not turned on - going to have to hard wire it to see if it even works at all.
When making up a few final connections I managed to get some solder (strand coming from roll, not melted blobs) to short out my protection pcb....so....I think I need to disconnect the leads for it to reset...or maybe I killed the board (!) - at any rate I'm not running off the batteries right now.
The unit is loud, while this isn't a big issue - I'm considering sending a lower voltage to the audio amp ic.
Once I make these repairs / adjustments then the unit will get a light sanding and a final coat of paint. Though all this stuff is going to be waiting until after the holidays now, I know when I open the unit up it's going to be a couple day process.
Re: PortaCube WIP (UPDATED: 12/20)
No problems with the disc drive?!?!?!?!tzt2 wrote:It's not the Sony screen.
Ok, so the unit is home and I've been playing it. Here's a laundry list of things to fix:
The Y button does not work - I suspect this is a solder joint on the controller pcb.
The C-Stick...somehow I switched the movement in the wiring (!) - up is actually left, right is up, ect. I must have reversed the harness when wiring it because I did one wire at a time. Hopefully I'll be able to release the pins in the small white plug and reverse them.
No fan - the fan in this unit has not turned on - going to have to hard wire it to see if it even works at all.
When making up a few final connections I managed to get some solder (strand coming from roll, not melted blobs) to short out my protection pcb....so....I think I need to disconnect the leads for it to reset...or maybe I killed the board (!) - at any rate I'm not running off the batteries right now.
The unit is loud, while this isn't a big issue - I'm considering sending a lower voltage to the audio amp ic.
Once I make these repairs / adjustments then the unit will get a light sanding and a final coat of paint. Though all this stuff is going to be waiting until after the holidays now, I know when I open the unit up it's going to be a couple day process.
APPLAUSE!!!!!!!!!!!!!!!!!!!!!