“Hacking Videogame Consoles” includes full instructions to make not one, not two, but EIGHT portable gaming systems!Now you may be wondering “Wait, I thought it covered only 4 systems – the Atari 2600, NES, SNES and PSone?” Well, you’re right, but for each system there’s 2 different style portable projects for it – making a total of 8 projects. Here’s how it works:
- The first project per system uses a hand-built case you can make with templates, X-Acto knives, plastic and thin aluminum.
- The second project per system uses a CNC-cut case. A CNC machine* is any type of cutting machine that uses computer files to accurately control the pieces it makes. These machines cut using drill bits, lasers and sometimes water/plasma jets. This allows for the creation of highly accurate pieces but the machines are sometimes hard to find (However you can order pre-cut CNC project pieces from this site, alleviating your need to go searching for such a machine)
Alright, with that out of the way here’s the 8 portables you can make with “Hacking Videogame Consoles”
#1 – Nintendo Entertainment System Portable (Hand-built case)
Chapter 7
Support, parts list, materials online and information page for this project
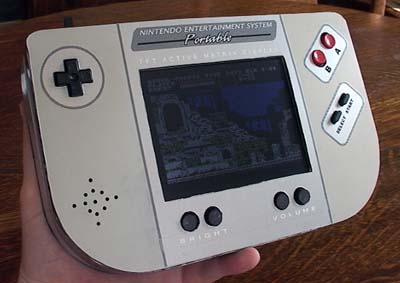
The hand-built NES from the front. It uses a hacked 5″ PSone screen for the display and contains an entire original model NES motherboard.
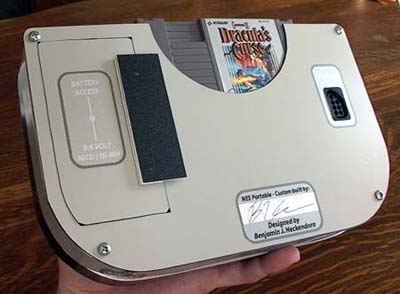
The rear of the unit. The cartridge slides down the back and the battery door can be seen to the left. To the right is the Player 2 controller port.
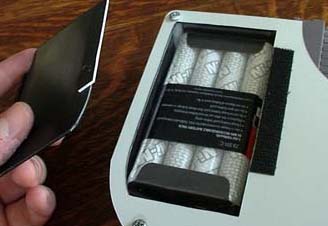
The system runs off an 8-pack of Ni-MH rechargeable batteries, the same kind that are standard in most RC controlled cars. They can be charged using the same type chargers as the RC cars (which are fairly cheap compared to many consumer battery chargers)
The unit’s total size measures 9.25″ x 5.75″ x 1.75″ and weighs a little over 1 lb with battery and game cartridge.
#2 – Nintendo Entertainment System Portable (CNC-cut case)
Chapter 8
Support, parts list, materials online and information page for this project
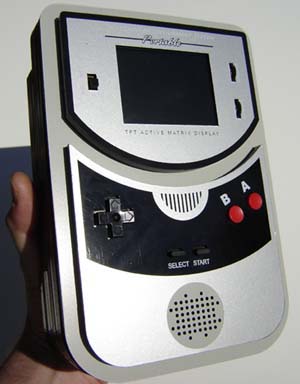
This portable project uses case parts cut by a CNC machine. This allows for accurate alignment of screen holes and more complex features such as the speaker holes near the bottom and the curves in the raised portions such as the screen riser and controls. Most of an original NES motherboard is inside, with the cartridge slot rewired 90 degrees. The screen is a 3″ TFT active matrix display from a pocket television.
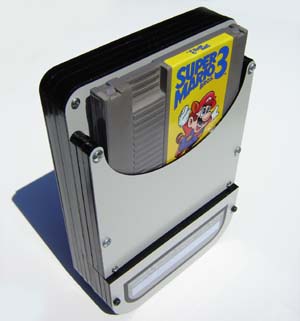
Here’s the rear of the portable. The cartridge slides down the back and sits flush with the top of the case.
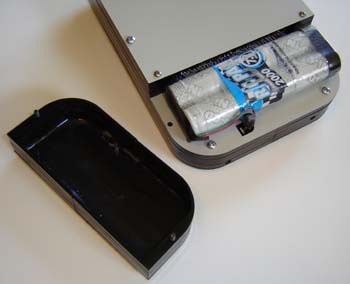
This portable uses a large Ni-MH battery pack for extended life. As with the hand-built NES batteries these are fairly common and can be charged using cheap wall adapters from you local Radio Shack.
The unit’s total size measures 8.5″ x 5.75″ x 2″ and weighs about 1.5 lbs with battery and game cartridge.
#3 – Super Nintendo Entertainment System Portable (Hand-built case)
Chapter 10
Support, parts list, materials online and information page for this project
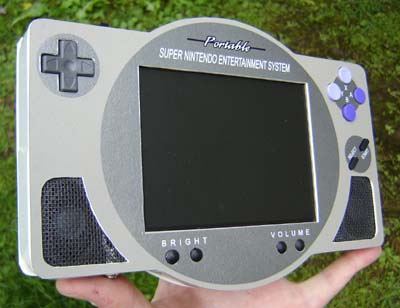
This portable uses the new smaller version of the SNES (often called the “mini SNES”) and has a 5″ PSone screen for the display.
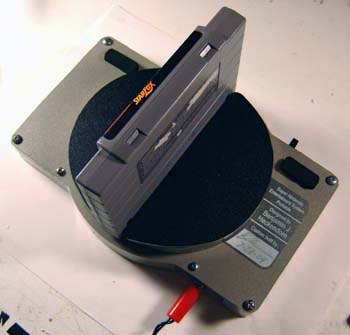
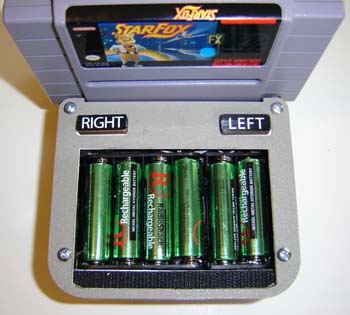
On the back the cartridge inserts at a 90 degree angle (which keeps you from having to rewire the tricky cartridge slot of the SNES) The left and right shoulder buttons can be seen, and the 6 AA Ni-MH rechargeable batteries insert under the black half-circles on either side of the cartridge. (You know, for balance!) Note the charge jack in the lower right – the batteries can be charged without taking them out of the unit.
The unit measure 8.25″ x 5.625″ x 1.5″ Despite the cartridge it’s actually quite thin…
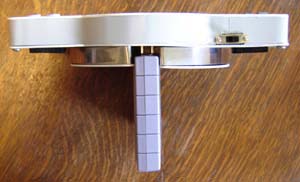
…which makes it a little trickier to build than the hand-made NES but it’s worth it. Thin is cool!
#4 – Super Nintendo Entertainment System Portable (CNC-cut case)
Chapter 11
Support, parts list, materials online and information page for this project
Also uses the small “mini-SNES” The screen is a 3″ TFT active matrix pocket television. It’s a much more compact system overall, measuring 4.75″ x 6.75″ x 1.75″
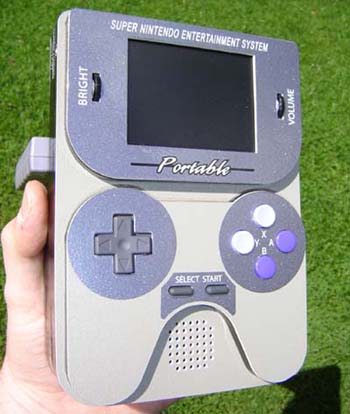
As with the other SNES the cartridge sticks out the back. In this photo you can see the charge jack (uses the standard RC car plug), the battery door and the shoulder buttons.
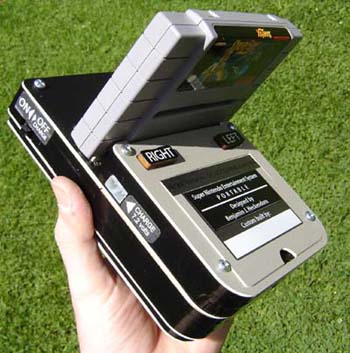
Here’s a view of the 6 AA Ni-MH rechargeable batteries that power this portable. As with the other SNES portable they can be charged within the game system itself.
#5 – Playstation 1 Portable (Hand-built case)
Chapter 13
Support, parts list, materials online and information page for this project
Here’s the hand-built PSone portable from the book. It has a 5″ PSone screen (finally the screen ends up where it belongs 🙂 and measures 8.625″ x 6″ x 2″ It has both analog control sticks, though the right-side one is custom made to save space.
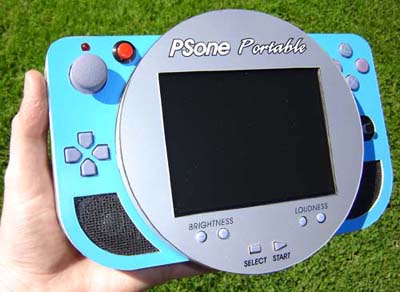
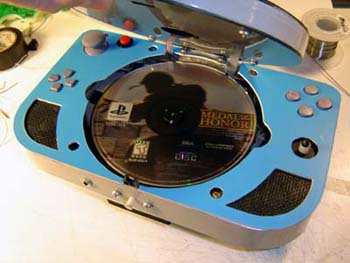
There’s a small button which allows the lid to open revealing the game beneath. Stereo speakers flank the screen/lid and a disconnect switch keeps the unit from running with the lid open.
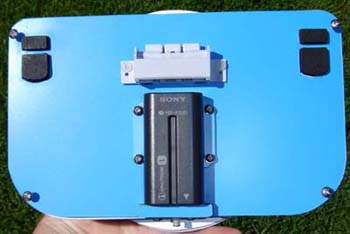
The rear of the unit. You can see the memory card/Player 2 and the left and right shoulder buttons. This portable uses a Sony Infolithium Type “L” rechargeable battery – the kind in Sony Mavica still cameras and their line of digital camcorders.
#6 – Playstation 1 Portable (CNC-cut case)
Chapter 14
Support, parts list, materials online and information page for this project
Front of the CNC-built PSone portable. It has both analog sticks mounted on their original circuit board for simplicity, while the D-pad and triggers have new boards underneath. The display is a 3″ TFT active matric pocket TV.
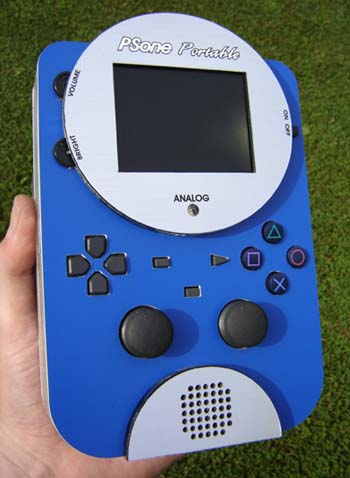
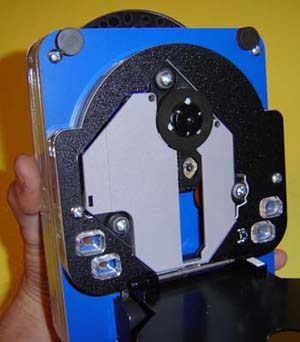
The CD drive with the lid open. Magnets hold it shut and you can also see the clear acrylic shoulder buttons. (You’re free to paint/color your project’s buttons any way you please, but I think this looks cool personally!)
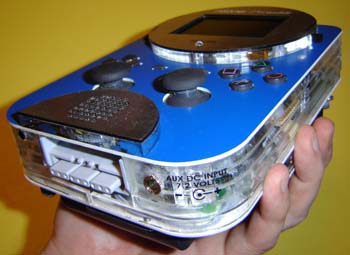
Here’s a angled view of the unit. Note how clear acrylic has been used – you can see right inside the thing! (Hopefully the soldering job looks OK 🙂 The Player 2/Memory card port is also visible.
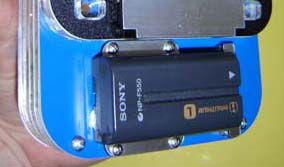
This unit also uses a Sony Infolithium Type “L” battery, which clips on the back below the CD drive.
This PSone portable measures 5″ x 7.75″ x 2″ and weighs about a pound.
#7 – Atari 2600 Portable (Hand-built case)
Chapter 16
Support, parts list, materials online and information page for this project
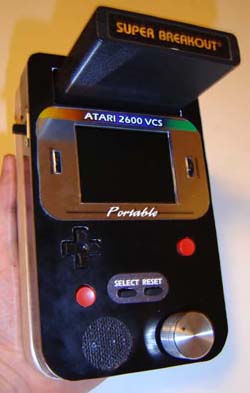
A fairly simple portable, it measures 7.25″ x 4.5″ x 1.5″ and includes the paddle controller (silver knob on lower right) whereas the joystick had been replaced with a plastic joypad/trigger from a NES controller. The screen is a 3″ TFT active matrix display from a pocket TV.
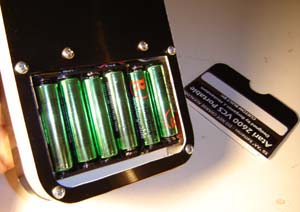
As with the SNES’s this portable runs off 6 AA Ni-MH batteries.
#8 – Atari Portable (CNC-cut case)
Chapter 17
Support, parts list, materials online and information page for this project
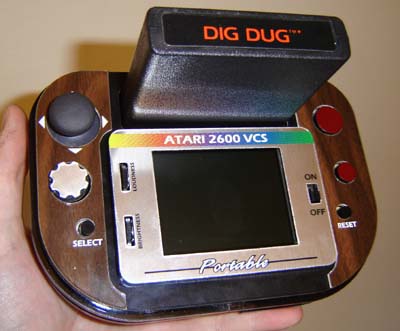
This is a nice little compact Atari 2600 portable with a 3″ TFT active matrix display. Note how it uses a Playstation analog stick for the controller! The silver serrated thing below it is the paddle knob – this thing is quite custom! It measures 6.5″ x 4.5″ x 2″.
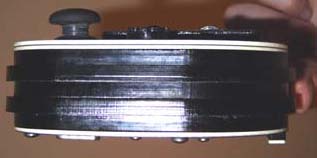
Here’s a side view of the unit. Note how the acrylic walls vary in thickness – this gives the unit a certain “industrial” look (and also kind of resembles the edges of a PS2… 🙂
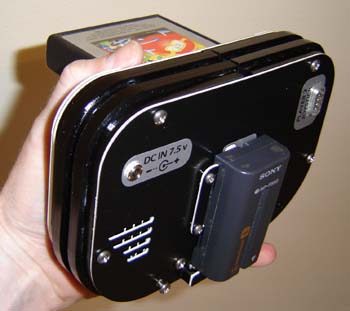
Speaking of Sony here’s the battery pack on this unit – a Sony Infolithoum Type L that it clips on the back. You can also see the auxiliary power input jack and the player 2 joystick port.
LCD Screen Types Used
For simplicity, only two different model portable screens are used for all these projects:
- The 5″ PSone screen. This model was released back in 2000 and is still pretty easy (and cheap) to find today.
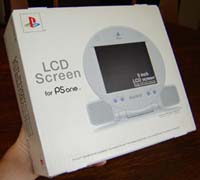
Click the photo to automatically find this screen on eBay
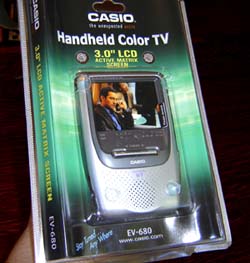
- A 3″ Casio EV-680 pocket television. This is a pretty recent model of pocket TV and is available at many retail electronic outlets. Radio Shack also sells a version of it under the brand “Cinevision” which looks (and is) exactly the same but is often cheaper (And comes in a small green box rather than a plastic shell)

