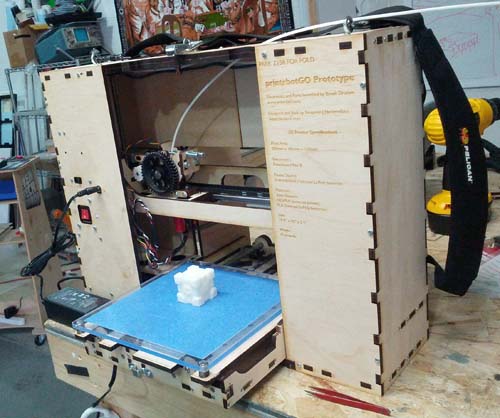
printrbotGO and a Companion Cube. Click for larger version
I just can’t stop building portable 3D printers! Check out my new printrbotGO – an all new design in collaboration with printrbot.com
The goal here was to create an interesting, functional, sturdy design and then have it be available pre-built or as a kit. This is the first prototype and will be demonstrated at World Maker Faire New York weekend of September 28th – 30th.
Specs:
- Printrboard electronics, steppers, pulleys, extruders and hot ends (all existing commodity parts from one source)
- Print size 200mm x 185mm x 150mm. Not sure why I lost that 15mm on the Y axis, will probably have that at 200 as well in the future.
- Runs off a wall wart power brick or internal Li-Polymer batteries. We estimate 2 hours print time in PLA.
- Folds up to a size of 19″ x 14.5″ x 5.5″ – can fit in a plane’s overhead bin.
- Much smaller “deployed” footprint than my previous models.
For lots of build photos and more details, click below!
printrbotGO Making Of
The process started by making a custom mount for the printrbot Wooden Laser Cut extruder. I seem to have misplaced those photos. I always start with the extruder since a) it’s the heart of the system b) it’s a known size that can’t be adjusted, thus everything must be designed around it.
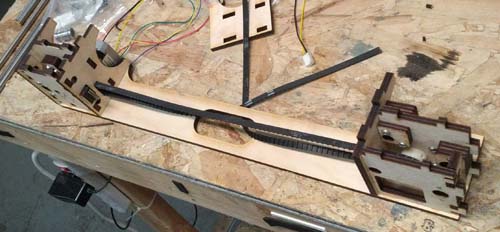
Here is the X carriage guide before the rods were put in. This assembly also has the captive nuts that drive the Z up and down.
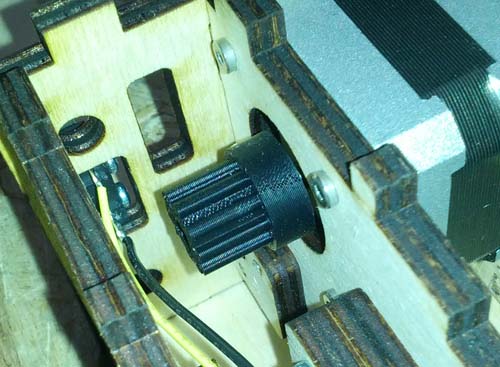
This printer uses the standard printrbot 10 tooth XL pulleys – this particular one was printed off Thingiverse. Since this photo I’ve used their nice new plastic cast pulleys. This printer uses the smaller printrbot steppers so as to be compact as possible.
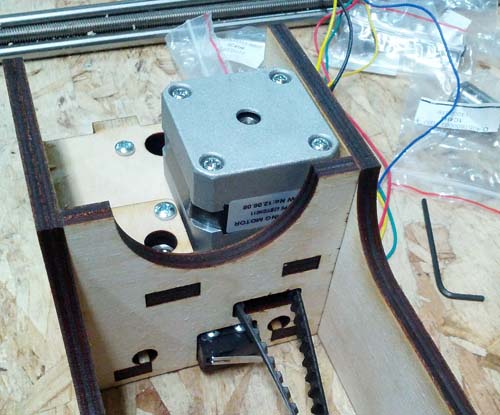
Top view of the motor. The 2 holes to the left of it are for the Z rod and Z screw drive. I offset them from each other (that is, they are not in a straight line row) to add a bit of stability. You can also see the X axis pulley and the X home limit switch.
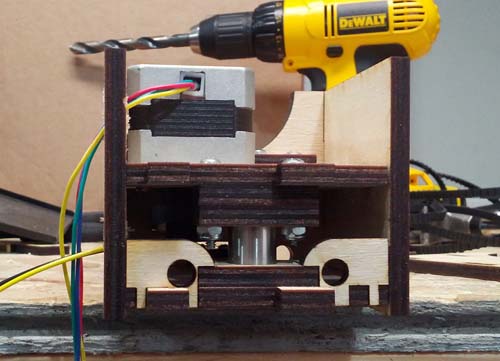
End view of the previous assembly. Note the linear bearing captive between the wood layers, and the 2 end caps for the X axis rods.
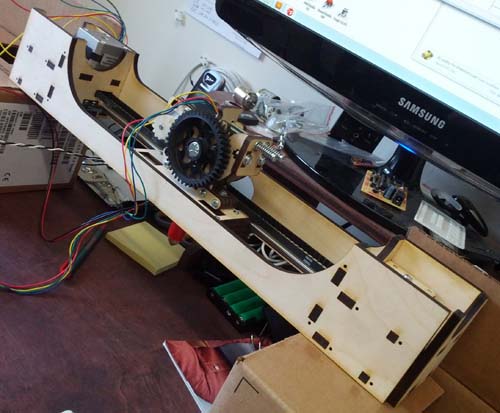
The completed X carriage. It has cross-supports on both sides to make this unit as rigid as possible. Though it printed well, my previous portable printer was a bit wobbly, so I’m going overboard on this one.
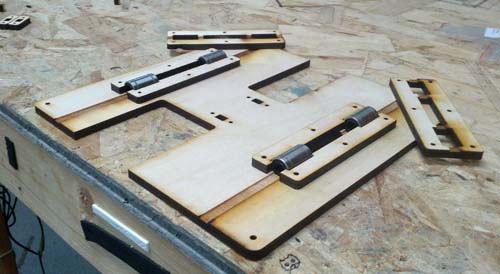
Now comes the Y carriage. This is a RepRap style machine, which means the print head itself moves left and right, but the Y axis moves the printed object itself. I prefer this method because it evens out the work each axis has to do.
Think of it this way, if you move the print head itself in X, Y and Z, the Y axis must move the X and Z axis, and the X must move the Z.
Using the RepRap method the only axis with “double duty” is Z, as it must lift the X carriage up and down. However Z is the least important (as it moves far, far less often than X and Y)
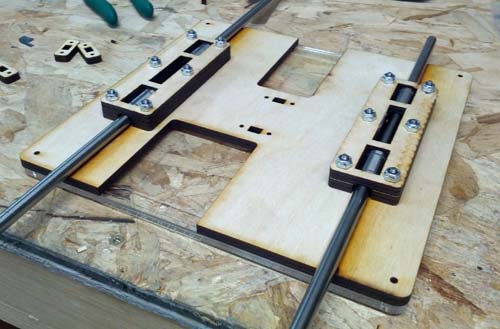
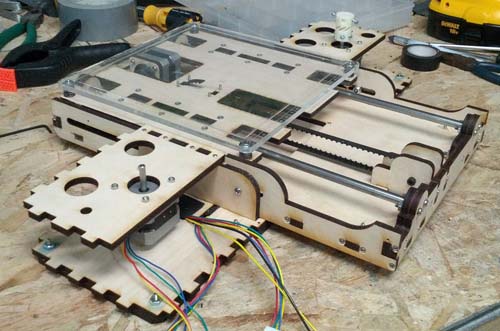
The linear bearings are “captured” between the layers of wood and secured with lock nuts. The large gaps you see are so this frame can pass over the Y axis stepper motor and idler pulley.
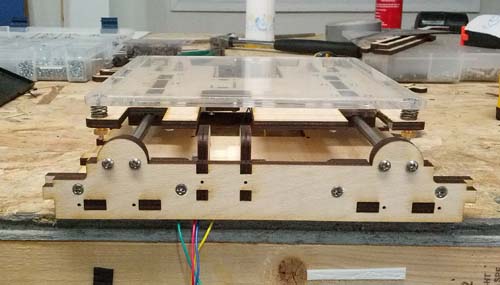
On one end of the Y axis the rods go into special end caps that can slide left and right a small amount. This helps the machine to “self align” itself.
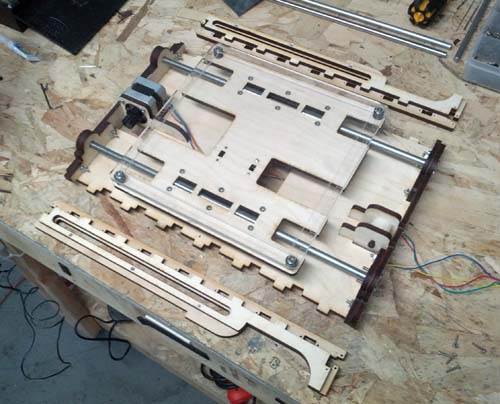
The sides of the Y carriage assembly have special rails. These will allow the carriage to slide in and out of the main printer body. Having the entire Y carriage move was the key to keeping this unit’s footprint as small as possible.
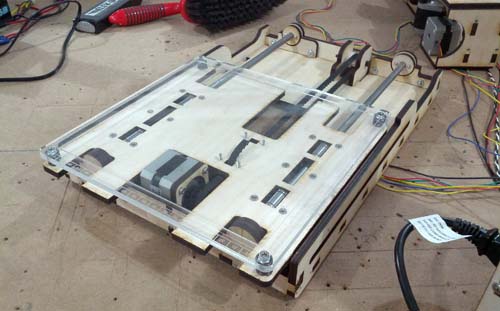
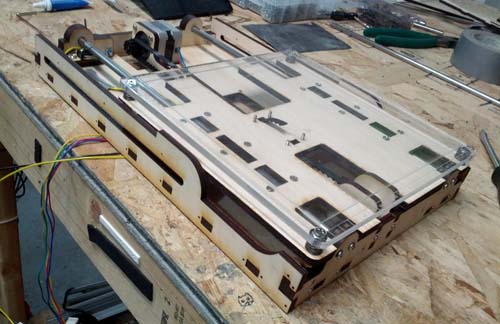
Next we check that the Y carriage can fully move to either end. It didn’t quite make it to the 200mm I was shooting for, I’ll probably figure out the problem in the next revision.
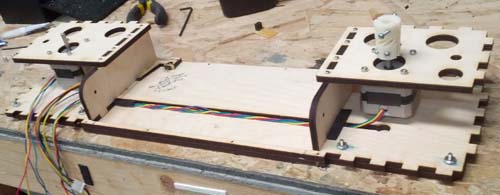
Here is the base of the unit. Note how the Z motor wiring has its own little path under where the Y carriage will slide. The small holes on the inner side pieces are where the Y carriage pivot bolts will be.
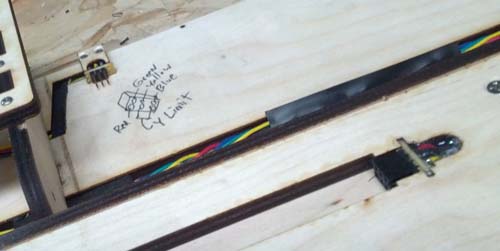
Wiring wrangling is one of the toughest parts in any project, especially one like this. The trick I came up with, was to have the Y carriage “disconnect” when you fold the unit back up. A pair of header jacks make this possible.
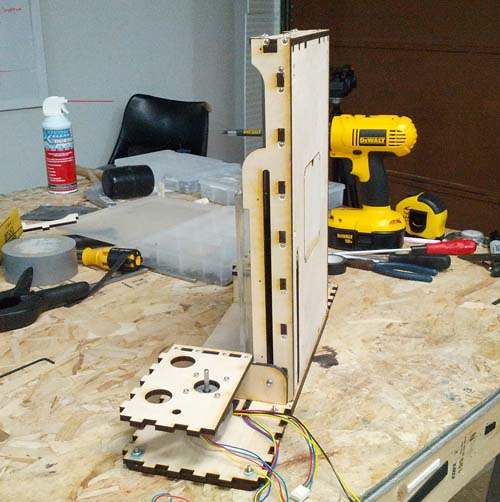
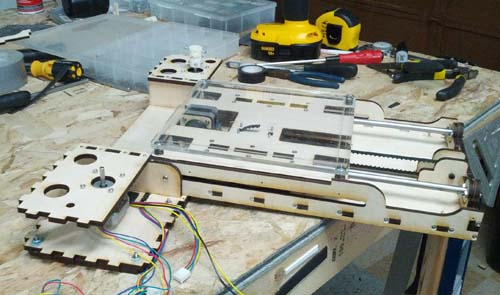
The above shows the 3 stage test of the folding mechanism.
- Y carriage is upright, acting as the side of the unit.
- Y carriage rotates down and out, 90 degrees.
- Y carriage slides into main unit, connects the cabling and is ready to go!
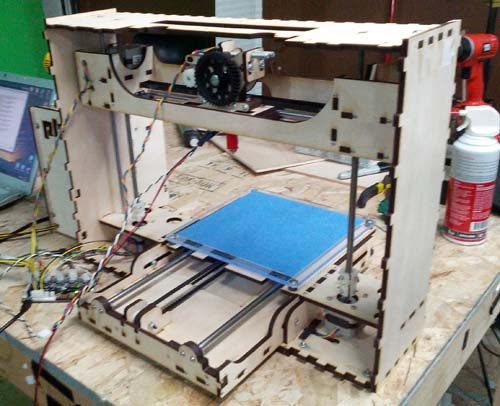
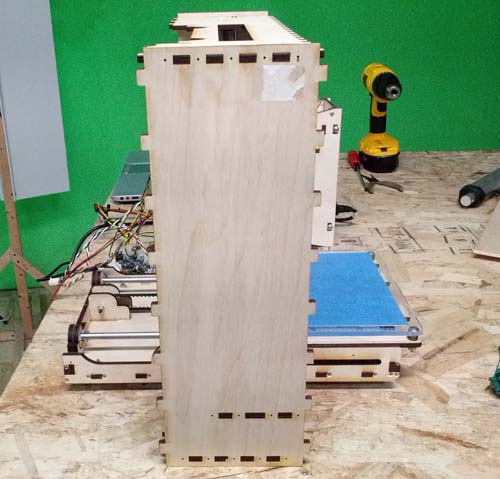
The printer without the front and back on. At this time I can finally do a test print!
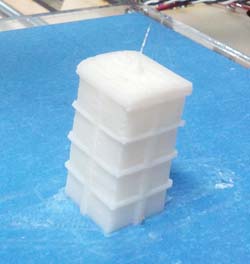
It’s that thing from that Doctor Who show I’ve never seen. (Yes, I know, I just lost Geek Points)
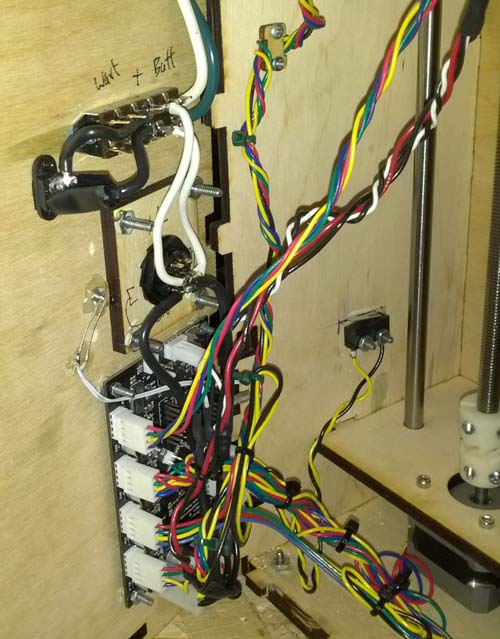
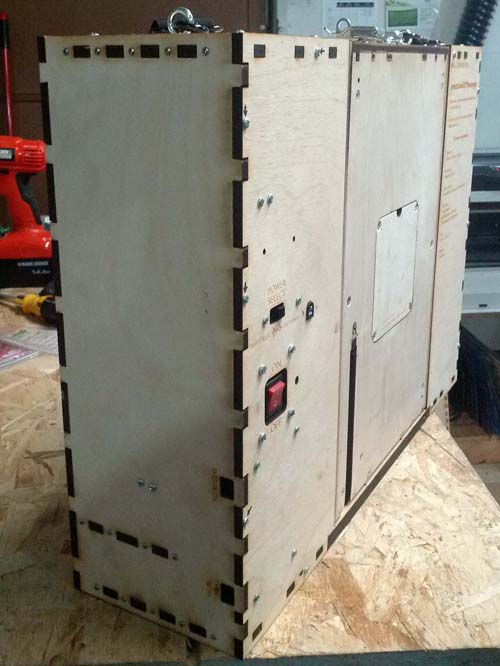
The main wiring inside the unit. It uses a standard printrboard (works great!) and I used an old slide switch I’ve had laying around for years to select from external or internal power. There’s an ON/OFF switch after that, and an LED indicator light. SD card and microUSB ports are accessible on the left side of the unit. You can also see the Z home limit switch as well.
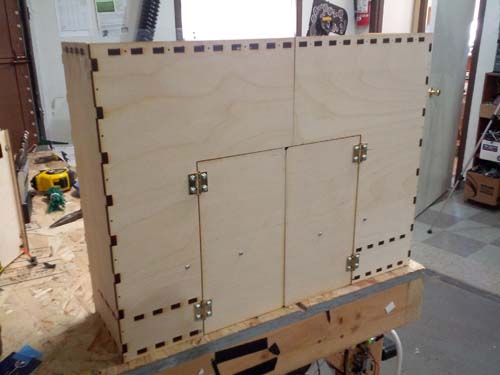
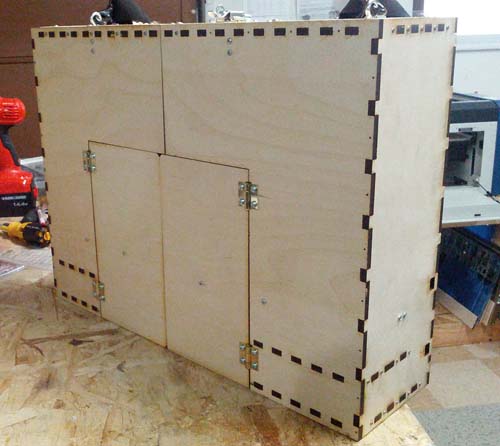
The rear of the unit has a pair of “barn doors”
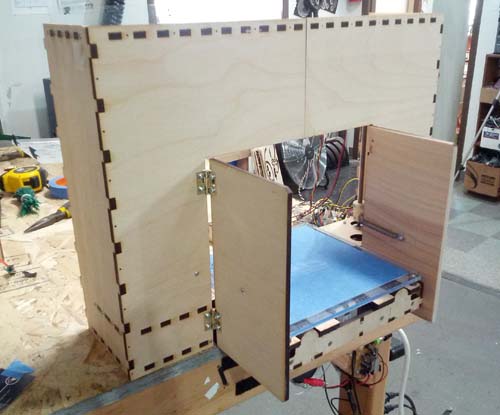
When the Y carriage is pushed through, it opens the spring loaded doors. The doors also help keep the unit stable as they are flush with the table but the Y carriage is not (it sits above the 12mm thick unit base)
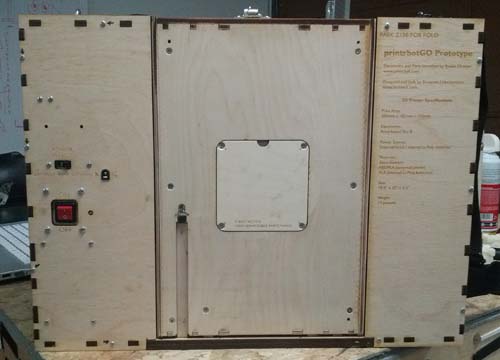
Front of the unit. The bottom of the Y carriage is well sanded to help it slide in smoothly. It was meant to fit tightly so it’d be sturdy, but this also means it has to be super flush and flat. On the left you can see the main ON/OFF switch, power select switch, and external wall wart power input.
Well that’s about all I have to say about the printrbotGO portable 3D printer! Stay tuned for details on how you can order your own, in the meantime here’s a demo video:
For more information on printrbot parts and electronics, check out printrbot.com!

Nice build 🙂
But why so big if it is meant to be portable ?
I would definitely love one of these and know how to program one and more!
I’m curious – how long would it take to print a spherical, hollow object with a diameter of 15cm and walls of perhaps 2 mm ?
Christian
Great portable printer.
However:
1) where to store the filament?
2) why is it so much more expensive then the regular Printrbot Jr?
3) where to store the wall wart?
Is that… Yes, it is a companion cube! Guess you’ll have to incinerate him…*sob*
I like the portal2 cube, so cute.
Hey Ben
I would like to say I love your show and watch it ritually. I like the 3D printer episode and also the retro raspberry pi PC episode. I would like to know if you have thought of or seen of anyone design a 3 axis cnc machine based around the the Raspberry Pi. I Think such a device would be a great Idea as it will be a small form factor system for cnc machining.