|
|
|||||
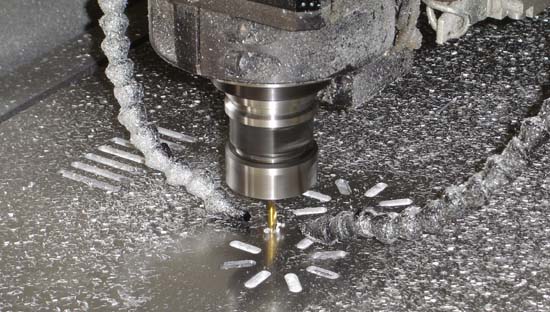
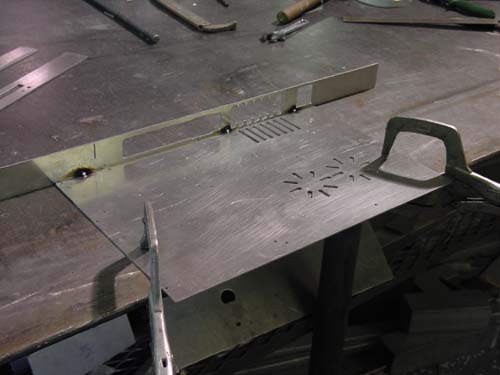
Dateline: Early July, 2006 Now it's time for the real meat and potatoes of the project - a case. We all know that's what makes it really special. For this device, I decided to make my first all-aluminum casing, both to sink heat and to support the weight of the water, DVD drives and large screen. I created the case by routing parts out of .080" aluminum and having it welded together, as shown below:
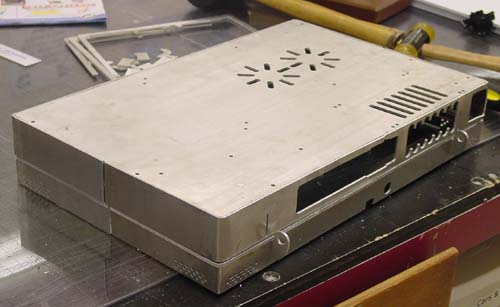
All this aluminum work was done at Jim Greeley Signs and Awnings, so if you're in the Wisconsin area of the Midwest and need some hi-tech signage or something, why not look them up? Tell 'em Ben sent ya! After the case was assembled I then painted it with several layers of enamel and let it dry a good solid week before doing anything else.
Dateline: Mid July - 2006 Troubleshooting. And then more troubleshooting. After that, yes, troubleshooting. With the case finished I have been able to install components and try out the system.
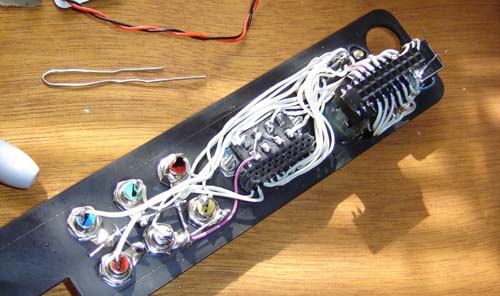
This is the wiring on the rear breakout AV panel. Plugs from the Xbox 360 motherboard insert into these headers, along with plugs from the monitor. It's kind of the Grand Central Station of video/audio signals in the unit.
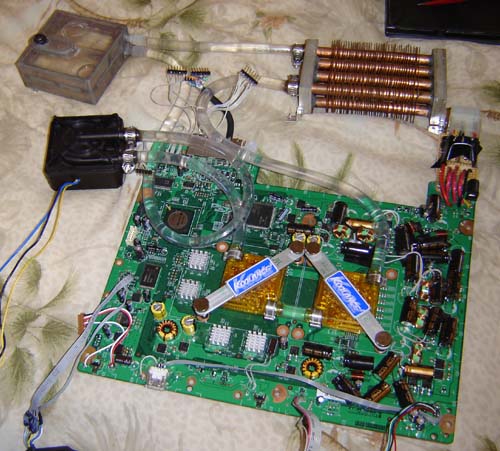
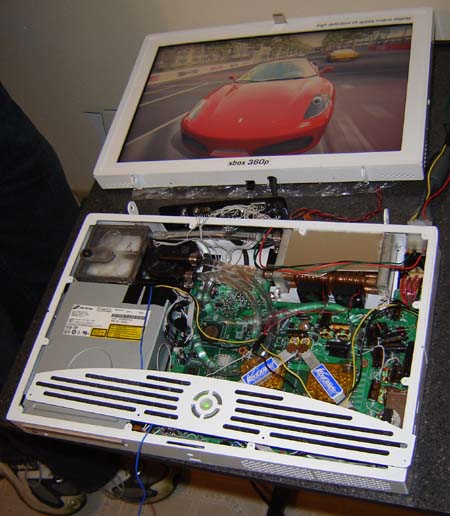
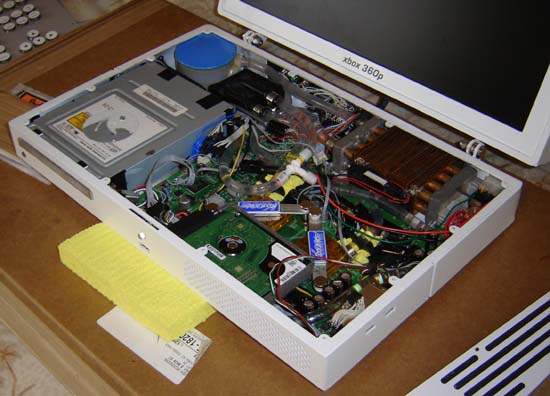
This is the first photo of the unit in the casing and running. However, I kept finding bugs (mostly with the water-cooling but also with other things) so the last few days have been a vicious cycle of: 1)test system 2)find problem 3) tear it all apart 4) fix problem 5) put it back together 6) find new problem. 7) get discouraged and drink beer 8) go at it again
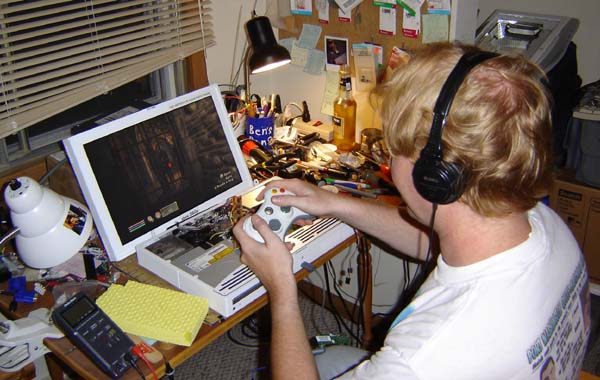
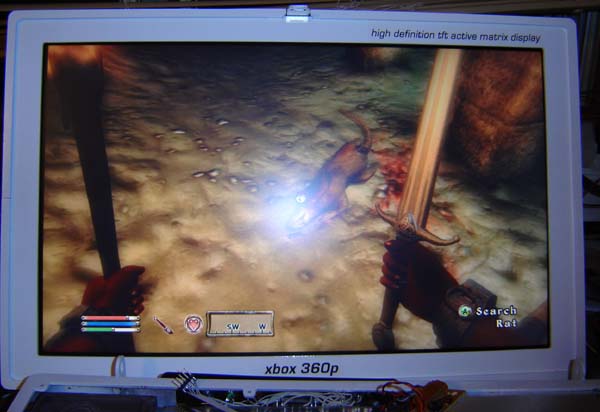
Here I am late the night of August 4th, playing Oblivion on the system. No speakers yet, just headphones (they plug into the right side of the monitor) The goal here is to play until a problem crops up - note the sponge at the ready. Bits of sponge are also packed inside the system in case of mishap. I start saying to myself - "Oh water-cooling, what a BRILLIANT idea Ben!"
We'll fast-forward now to the end of August. Testing continues, profanities fly and the reservoir goes through 5, yes, FIVE revisions before I finally build one the way I should have all along. In the end I use a piece of square aluminum tubing with top and bottom caps and threaded-in hose barbs. A month of my life, gone forever. Sigh. At least next time I know what NOT to do.
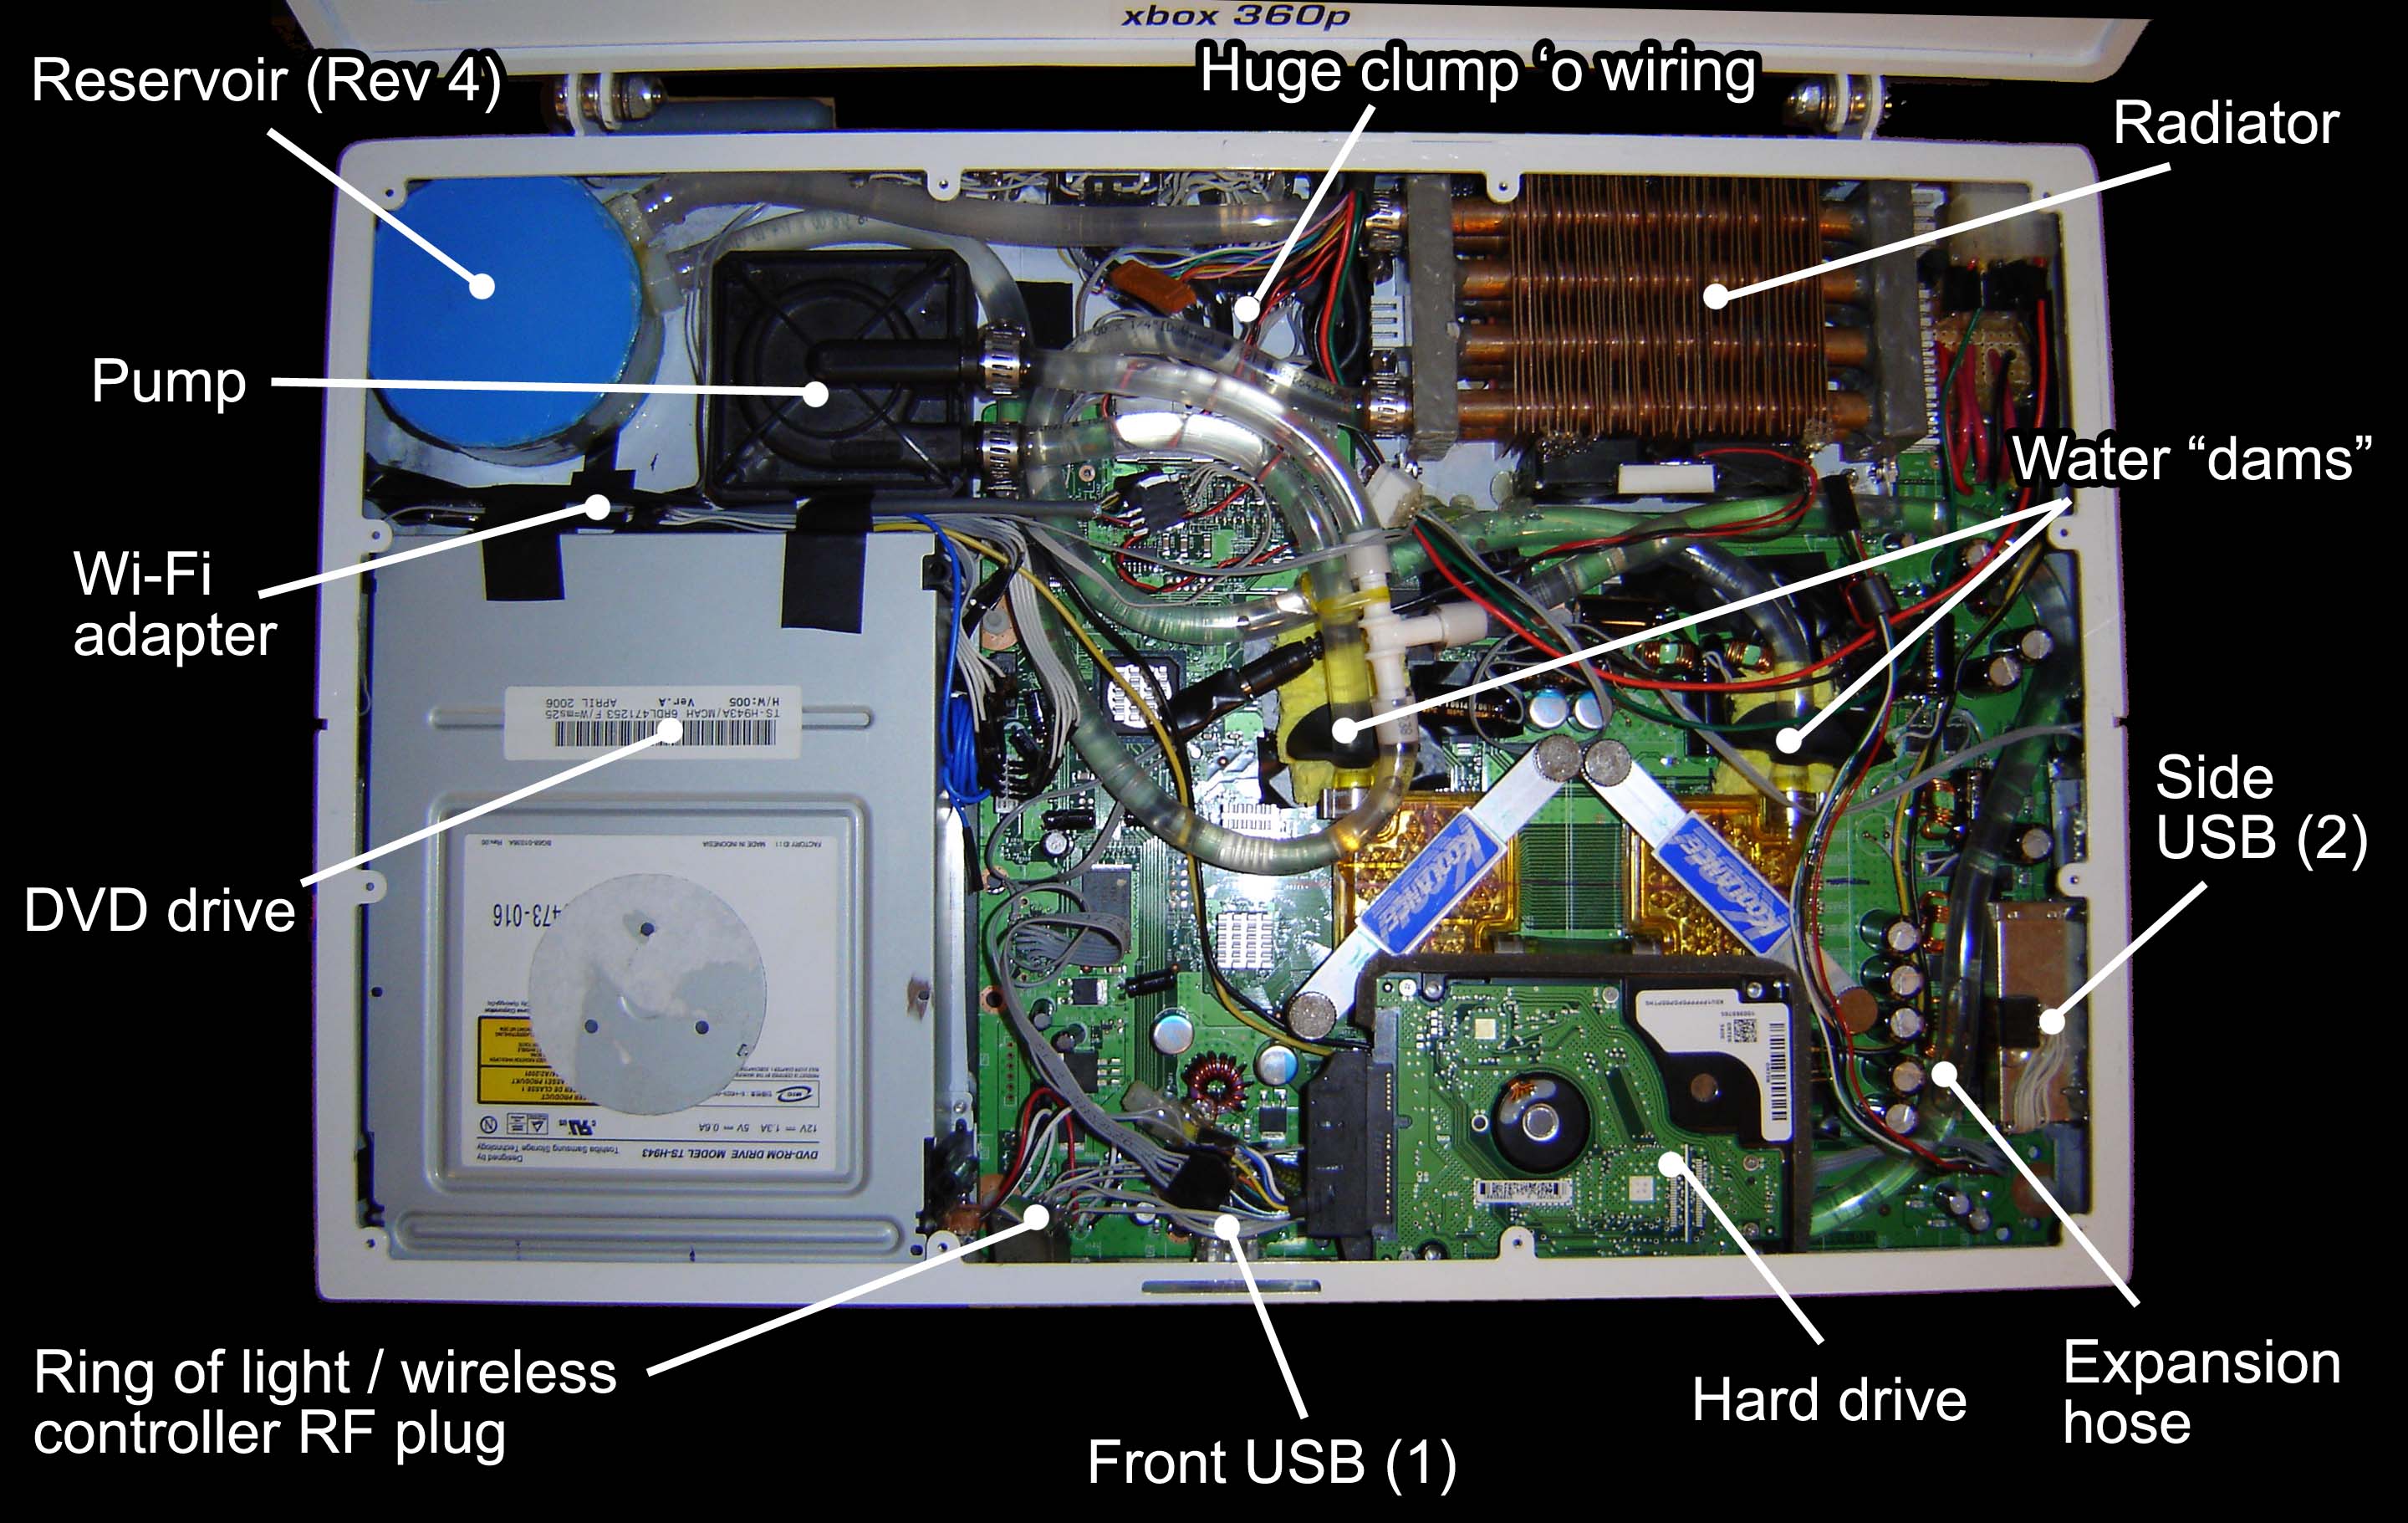
The inside of the Xbox 360 laptop case, with labels:
With the troubleshooting out of the way it's time to install the final components and finish up the unit! It's about f**king time, I say!
Final assembly and finished photos
|
|||||