|
|
|||||
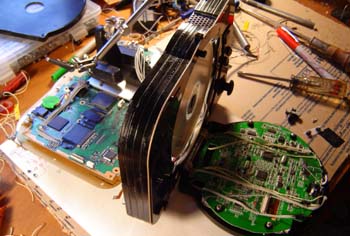
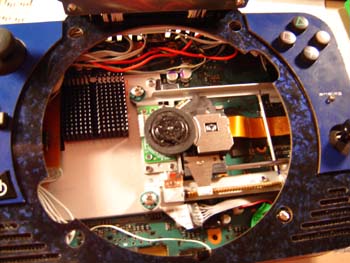
Once all the guts are wired the halves of the case get folded together. This shows the 3 main parts - the back, front and screen.
Then the screws on the DVD drive are attached to the CPU's heat sink. Near the bottom you can see the DVD spinner motor's ribbon cable connected to the extended port.
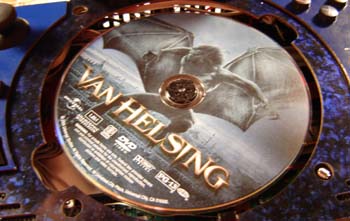
It's a good idea to test the drive with a DVD you don't care about - you know, in case it gets scratched or something:
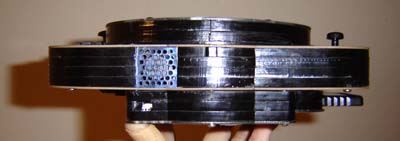
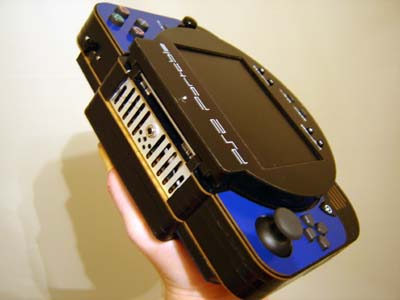
With all that tested the unit can then be screwed together. The side view of it is right here:
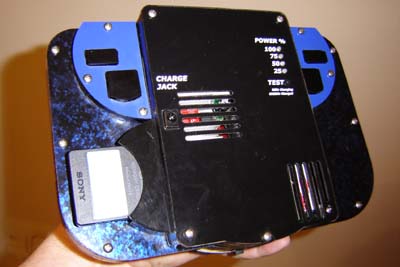
Here's the back of the unit. I didn't label the shoulder buttons because it should be pretty obvious what they are. (That'd be just more decals for me to have to draw which takes away valuable time from building this thing and drinking MGD) The charge jack, test LED's and memory card can all be seen, along with the blue/black marble texture of the unit.
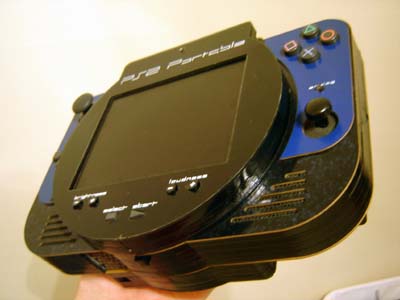
Here's some different angles of the unit for your perusal:
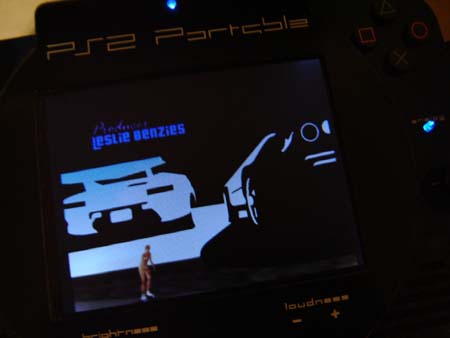
And here's an in-game photo. Sorry the only 2 PS2 games I have are both called Grand Theft Auto something, so it kind of limits the pictures I can take. I don't know if the crispness of the RGB input is very evident in the photo but it's there! There's 2 blue LED's on this thing - one to indicate power ON (top) and the other is an illuminated button that toggles analog on/off (right)
So that's it - the story of how I build my PS2 Portable! Hopefully it's been somewhat informative and maybe even a little enlightening. Now I must get back to working on some other belabored projects and take a break from portables for a little bit... but don't worry - I'll be back!
|
|||||