|
|
|||||
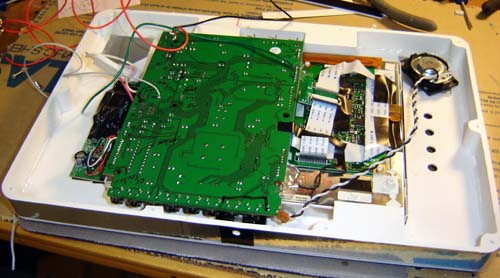
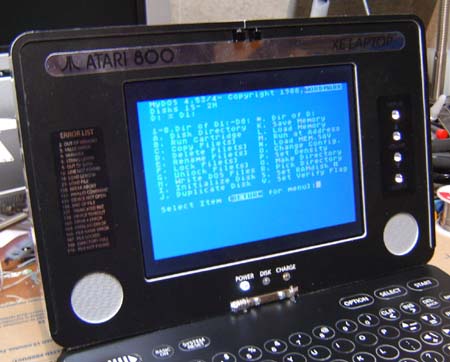
First we shove in the screen. It's an 8" TFT active matrix one that originally had a TV tuner, CompactFlash picture viewer (how useful) and some other crap. I compacted it down to just a PCB and the glass for use in this project. There's a lot of ribbon cable between the main board and the glass so I could position things with relative ease.
Next I installed the speakers from the TV along with the screen controls (the 4 main buttons at least) and shockingly enough - a headphone jack. It's the thing on the left with all the wires. For some reason that won't be understood until the end of time I rarely put headphone jacks in my projects. Figured I should shake things up a bit with this one.
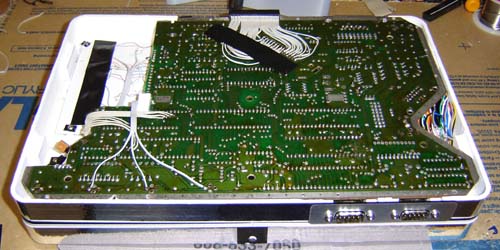
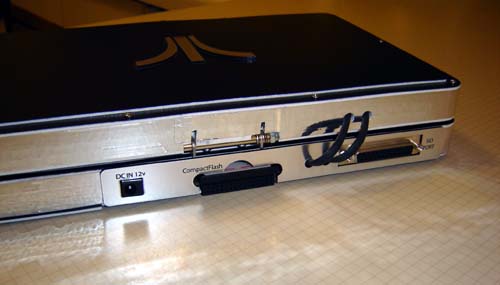
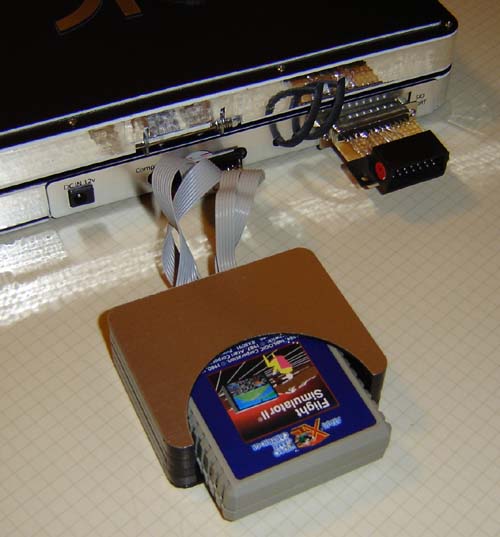
Below you see the motherboard of the Atari XEGS and how it attaches to the main laptop. The power and audio/video connections go through some heat shrink tubing. There's also a port to plug in for attaching the joysticks and a final plug to connect the keyboard (upper left, the green thing)
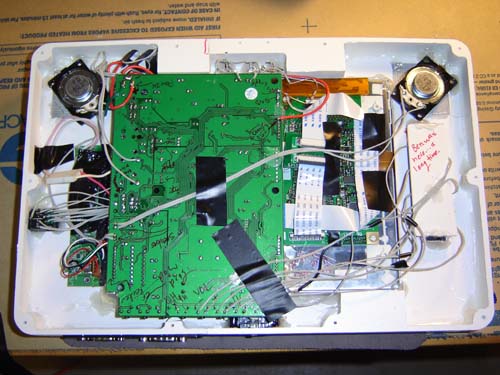
Here's a view under the motherboard as it's plopped into the main case. Quite a maze of wires.
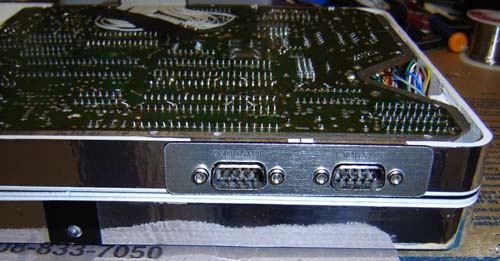
The motherboard laid flat, along with the joystick ports.
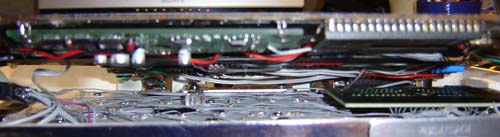
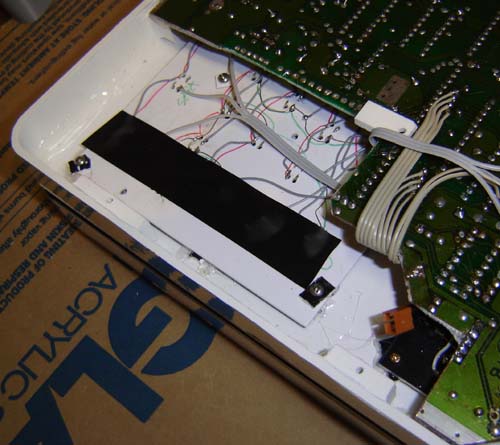
Higher view of previous. Note the gap on the left, this is where the battery pack goes.
Closer view of this opening. You can see the wires on the right snaking around the board, these are for the joystick controls.
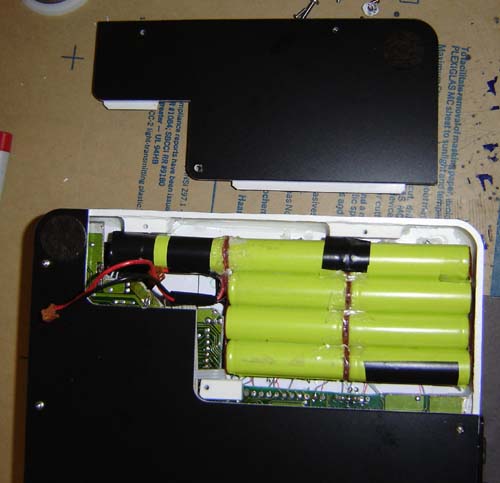
Here's the battery pack shown in the unit, along with the door to cover it. These Ni-MH rechargeables were from the original TV. Felt pads were added so you can slide this thing across your new marble countertops with confidence.
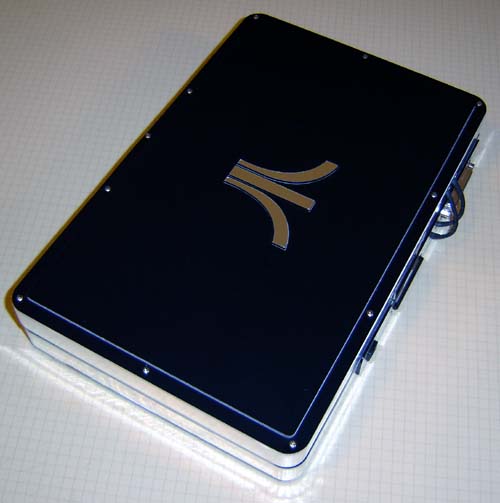
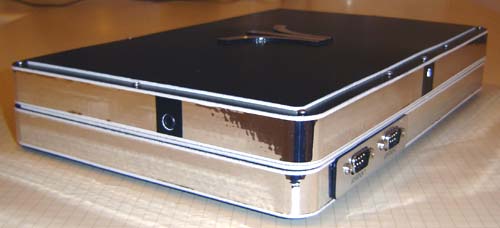
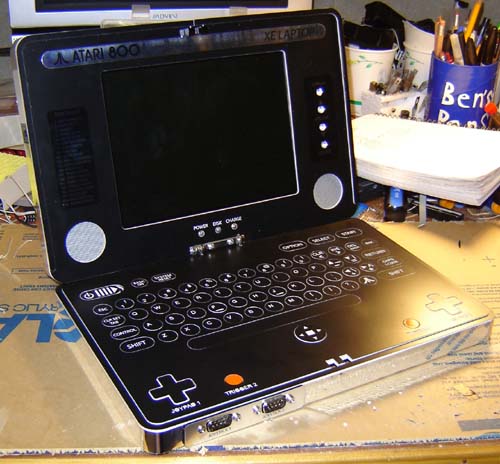
And now here's some more photos of the finished unit:
There you have it, stories and pics from my latest computer laptop project. I guess now I should branch out and try some other systems after giving the old '800 a couple whacks. What can I say, I'm biased for it! Still, I think it's time to move on. But... to what? Stay tuned! Back to the Benheck.com
Homepage
|
|||||