Come see me in a week, and tell me about your table THEN.
The Retro64 Worklog. NEWS: Finished! Got nice pics!
Moderator: Moderators
-
palmertech
- Senior Member
- Posts: 3225
- Joined: Sat Feb 02, 2008 1:40 am
- Location: California, land of the homeless and hippies


-
deviouskoopa
- Posts: 144
- Joined: Tue Dec 30, 2008 2:19 am
- Location: Virginia Tech
-
jjhammerstein
- Senior Member
- Posts: 1562
- Joined: Tue Nov 18, 2008 7:15 pm
- Location: Southern CT
- Contact:
-
deviouskoopa
- Posts: 144
- Joined: Tue Dec 30, 2008 2:19 am
- Location: Virginia Tech
Oh ok haha... shows how much of this topic I've read >_>Mario wrote:I've been posting about stuff for the portable since, like, page 4.I just now got an N64, though.
You may have said this before, but I forget, are you doing an in-depth guide for the n64-portable, like your NES instructable? That was amazing...
I might make a tutorial for this, too. 
But if you want one that's already written up, look at bacteria's N64p/GBA portable, here.
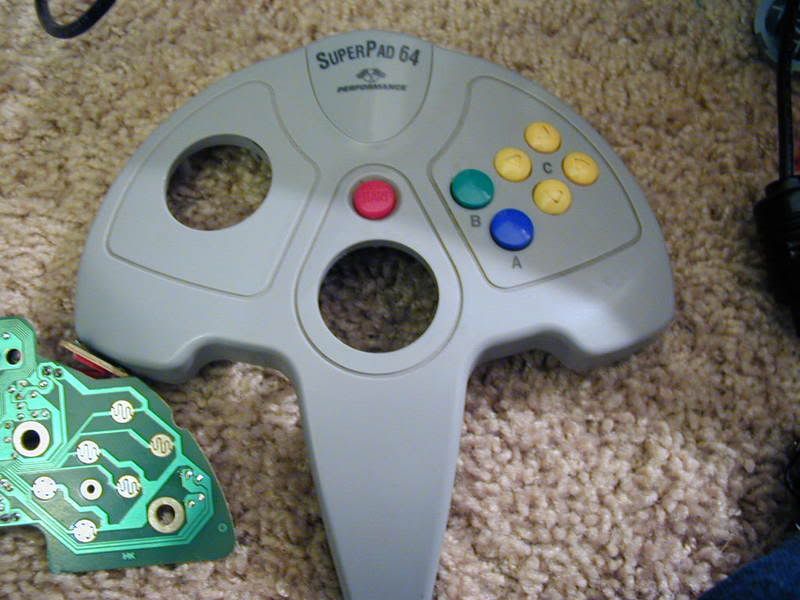
I have the 3rd party controller I plan to use, it is called a Superpad 64. The board inside is quite large, but the cool thing about this controller is that most of it can be removed. The left and right sides can be chopped off leaving about a 2x2 inch board. (5x5cm) Here is what the controller looks like:
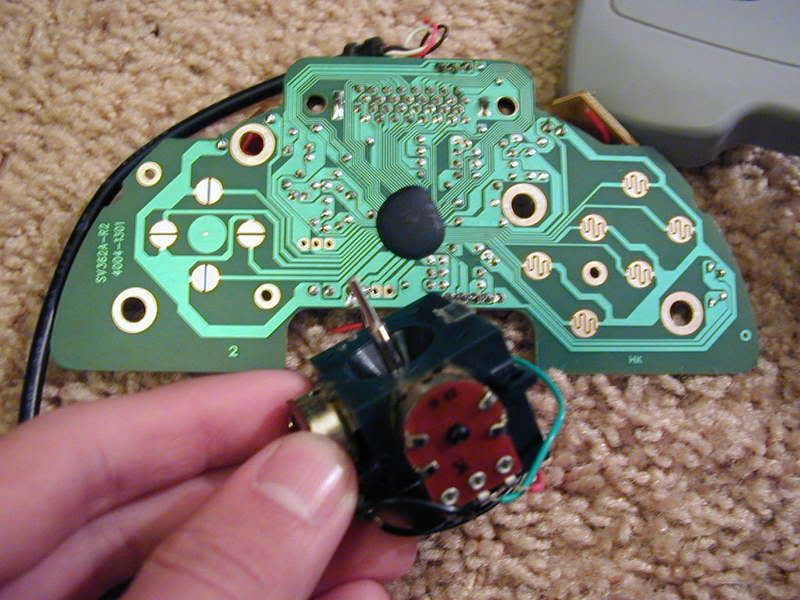
Taken apart with the giant joystick assembly:
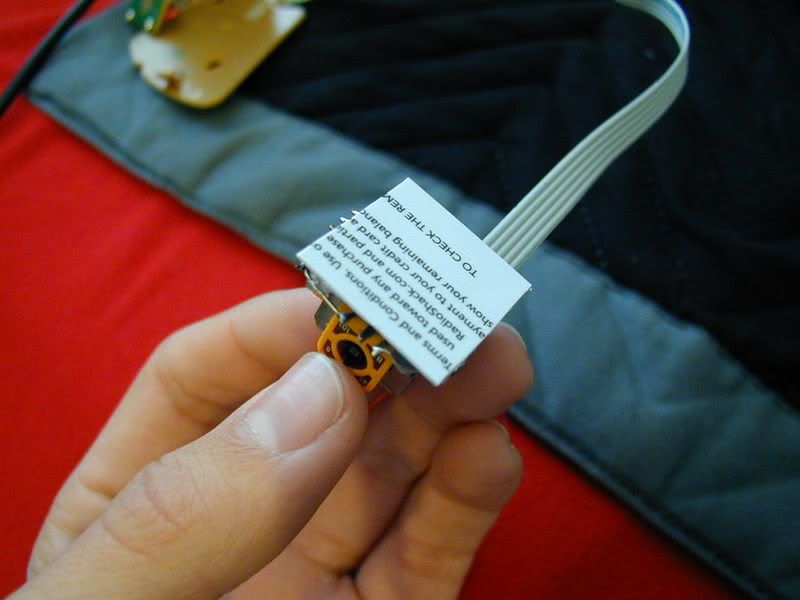
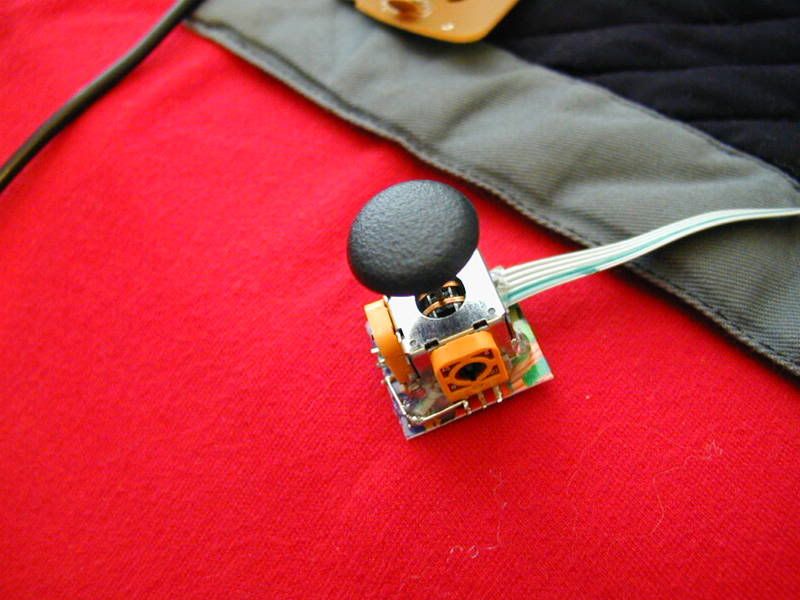
Attached the new joystick:

Glued a piece of plastic on the bottom:
And the finished mod:
Sorry for so many pictures. They're of small file size, so they should load quickly.
Misc. Notes
:lol::lol:
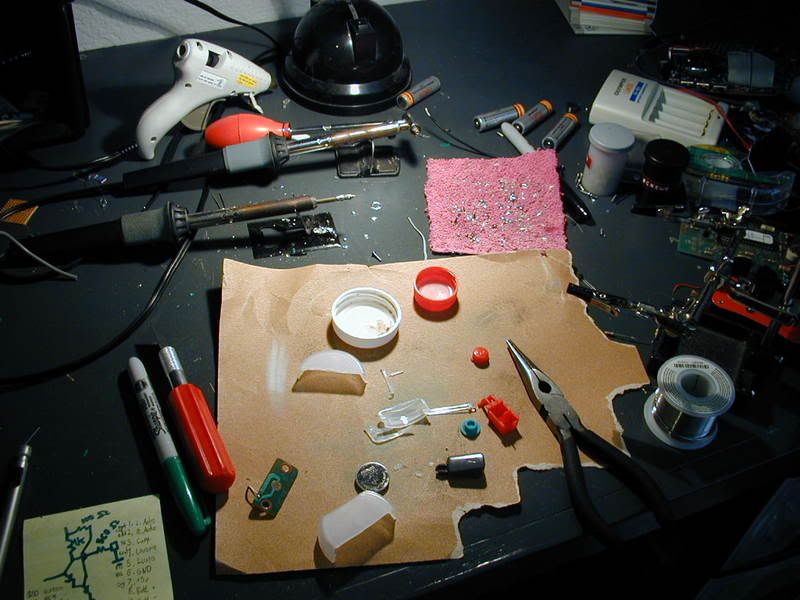
That last picture is the workspace. You can see soldering and desoldering irons and a hot glue gun. The plastic bottle caps are for the portable. The joystick has to be right above the Z button, so the joystick will sit on top of the cap and the Z button will be behind it. Idea taken from bacteria's N64/GBA portable.
But if you want one that's already written up, look at bacteria's N64p/GBA portable, here.
I have the 3rd party controller I plan to use, it is called a Superpad 64. The board inside is quite large, but the cool thing about this controller is that most of it can be removed. The left and right sides can be chopped off leaving about a 2x2 inch board. (5x5cm) Here is what the controller looks like:
Taken apart with the giant joystick assembly:
Attached the new joystick:
Glued a piece of plastic on the bottom:
And the finished mod:
Sorry for so many pictures. They're of small file size, so they should load quickly.
Misc. Notes
TI regulators are switching regulators, right? Specifically, the PTH08080WAx?timmeh87 wrote:Only 'switching' or 'dc-dc' type regulators will conserve power like vskid was explaining. Im pretty sure that everyone here is using one to get 3.3v anyways. But if you are dealing with something like a 7805 then the same amount of current goes in as comes out - and you lose tons of power.
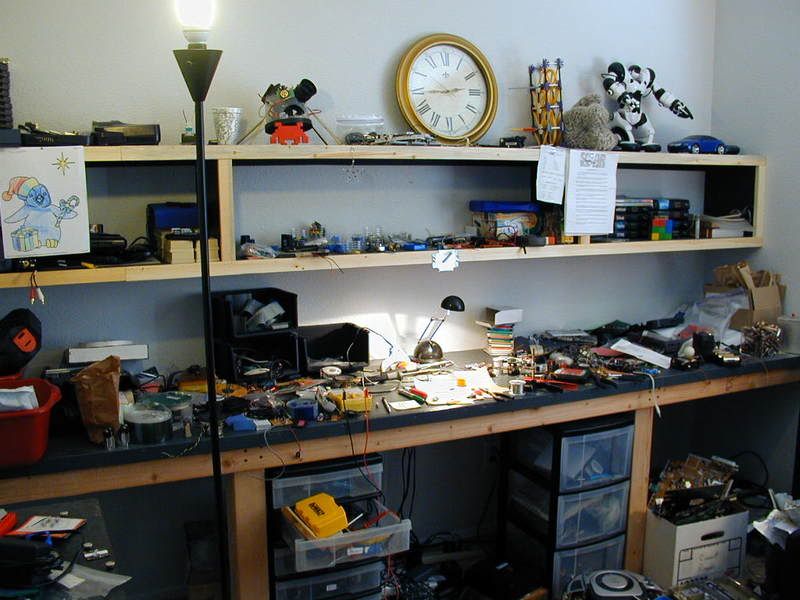
I take it I haven't yet posted a picture of my workbench:palmertech wrote:You think THATS bad?
Come see me in a week, and tell me about your table THEN.
That last picture is the workspace. You can see soldering and desoldering irons and a hot glue gun. The plastic bottle caps are for the portable. The joystick has to be right above the Z button, so the joystick will sit on top of the cap and the Z button will be behind it. Idea taken from bacteria's N64/GBA portable.
Last edited by Mario on Mon Jan 12, 2009 4:04 pm, edited 1 time in total.

-
deviouskoopa
- Posts: 144
- Joined: Tue Dec 30, 2008 2:19 am
- Location: Virginia Tech
-
deviouskoopa
- Posts: 144
- Joined: Tue Dec 30, 2008 2:19 am
- Location: Virginia Tech
A couple random things I forgot to mention:
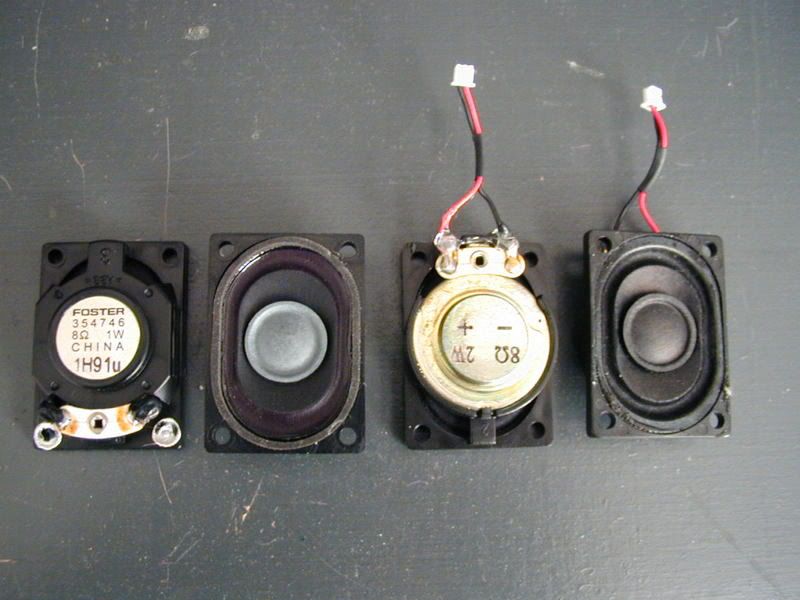
I have alternate speakers for the PSOne screen. The speakers that came with it distorted high-pitched audio even at very low volumes. These speakers are 1W. I have some from taking apart a monitor, they are the exact same size and shape as the original ones, but they are 2W. Now you have to turn the volume up all the way before it distorts.
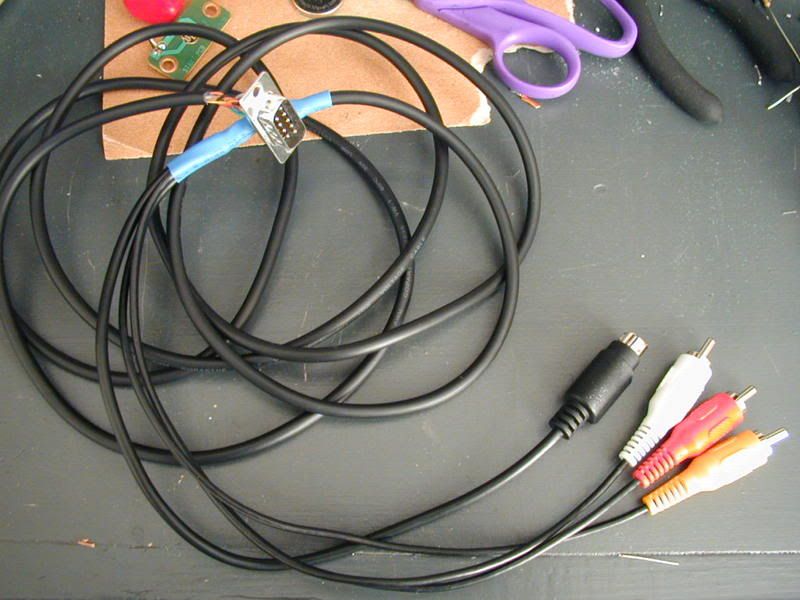
I built an A/V cable for the portable, it has a serial plug on one end and S-Video, Composite, and L and R audio plugs at the other. The same port will also be used for charging. Here is the pinout and a pic:
Pin:
1. Left Audio
2. Right Audio
3. Composite Video
4. Chroma (S-Video)
5. Luma (S-Video)
6. GND
7. +5v
8. Battery Charge +
9. Battery Charge -
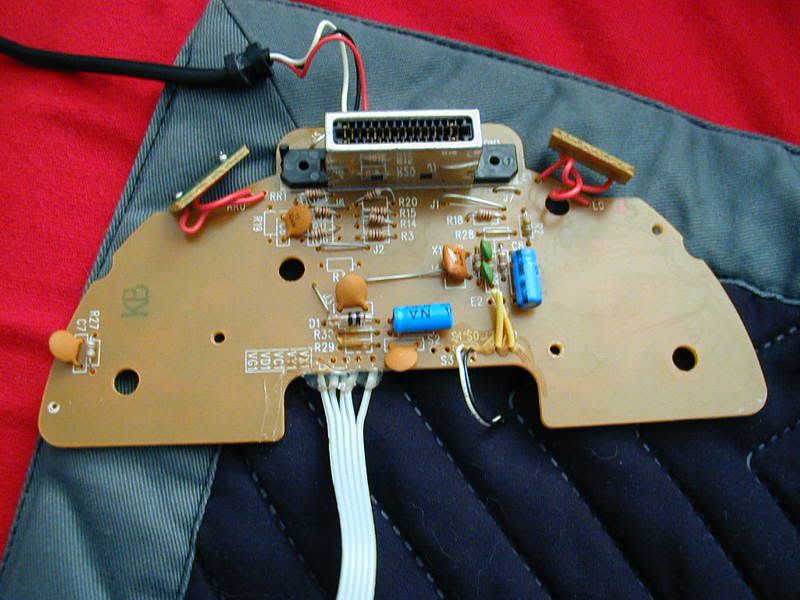
The other side of the N64 controller PCB:
I have alternate speakers for the PSOne screen. The speakers that came with it distorted high-pitched audio even at very low volumes. These speakers are 1W. I have some from taking apart a monitor, they are the exact same size and shape as the original ones, but they are 2W. Now you have to turn the volume up all the way before it distorts.
I built an A/V cable for the portable, it has a serial plug on one end and S-Video, Composite, and L and R audio plugs at the other. The same port will also be used for charging. Here is the pinout and a pic:
Pin:
1. Left Audio
2. Right Audio
3. Composite Video
4. Chroma (S-Video)
5. Luma (S-Video)
6. GND
7. +5v
8. Battery Charge +
9. Battery Charge -
The other side of the N64 controller PCB:
Last edited by Mario on Mon Jan 12, 2009 7:13 pm, edited 1 time in total.
-
jjhammerstein
- Senior Member
- Posts: 1562
- Joined: Tue Nov 18, 2008 7:15 pm
- Location: Southern CT
- Contact:
-
jjhammerstein
- Senior Member
- Posts: 1562
- Joined: Tue Nov 18, 2008 7:15 pm
- Location: Southern CT
- Contact: