|
|
|||||
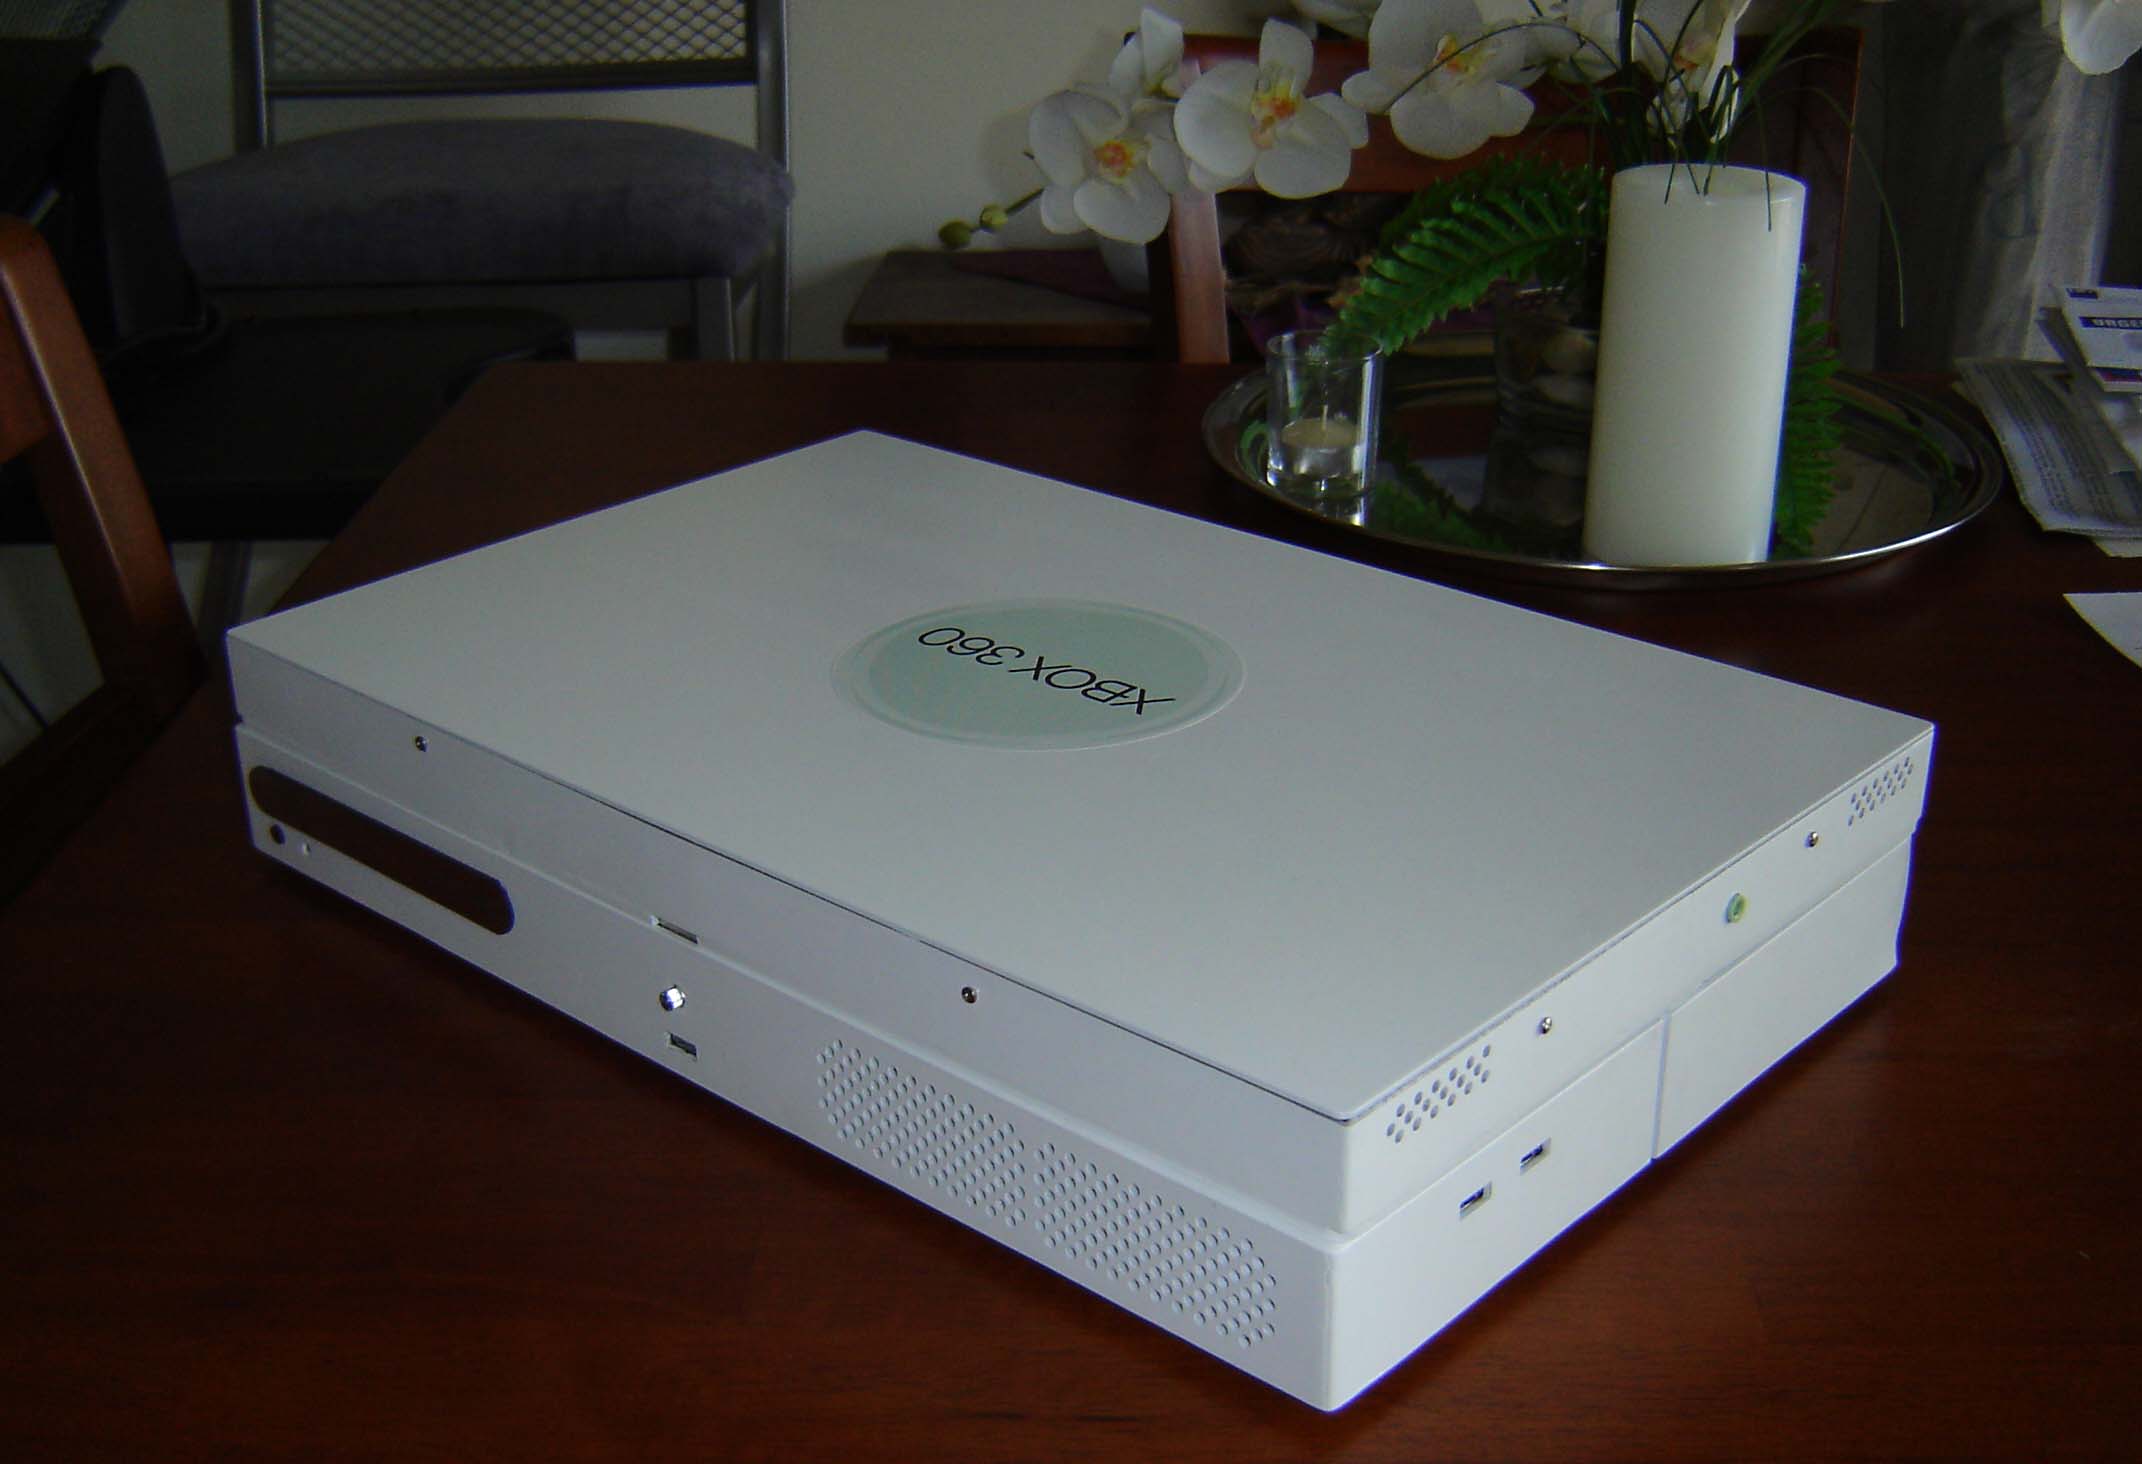
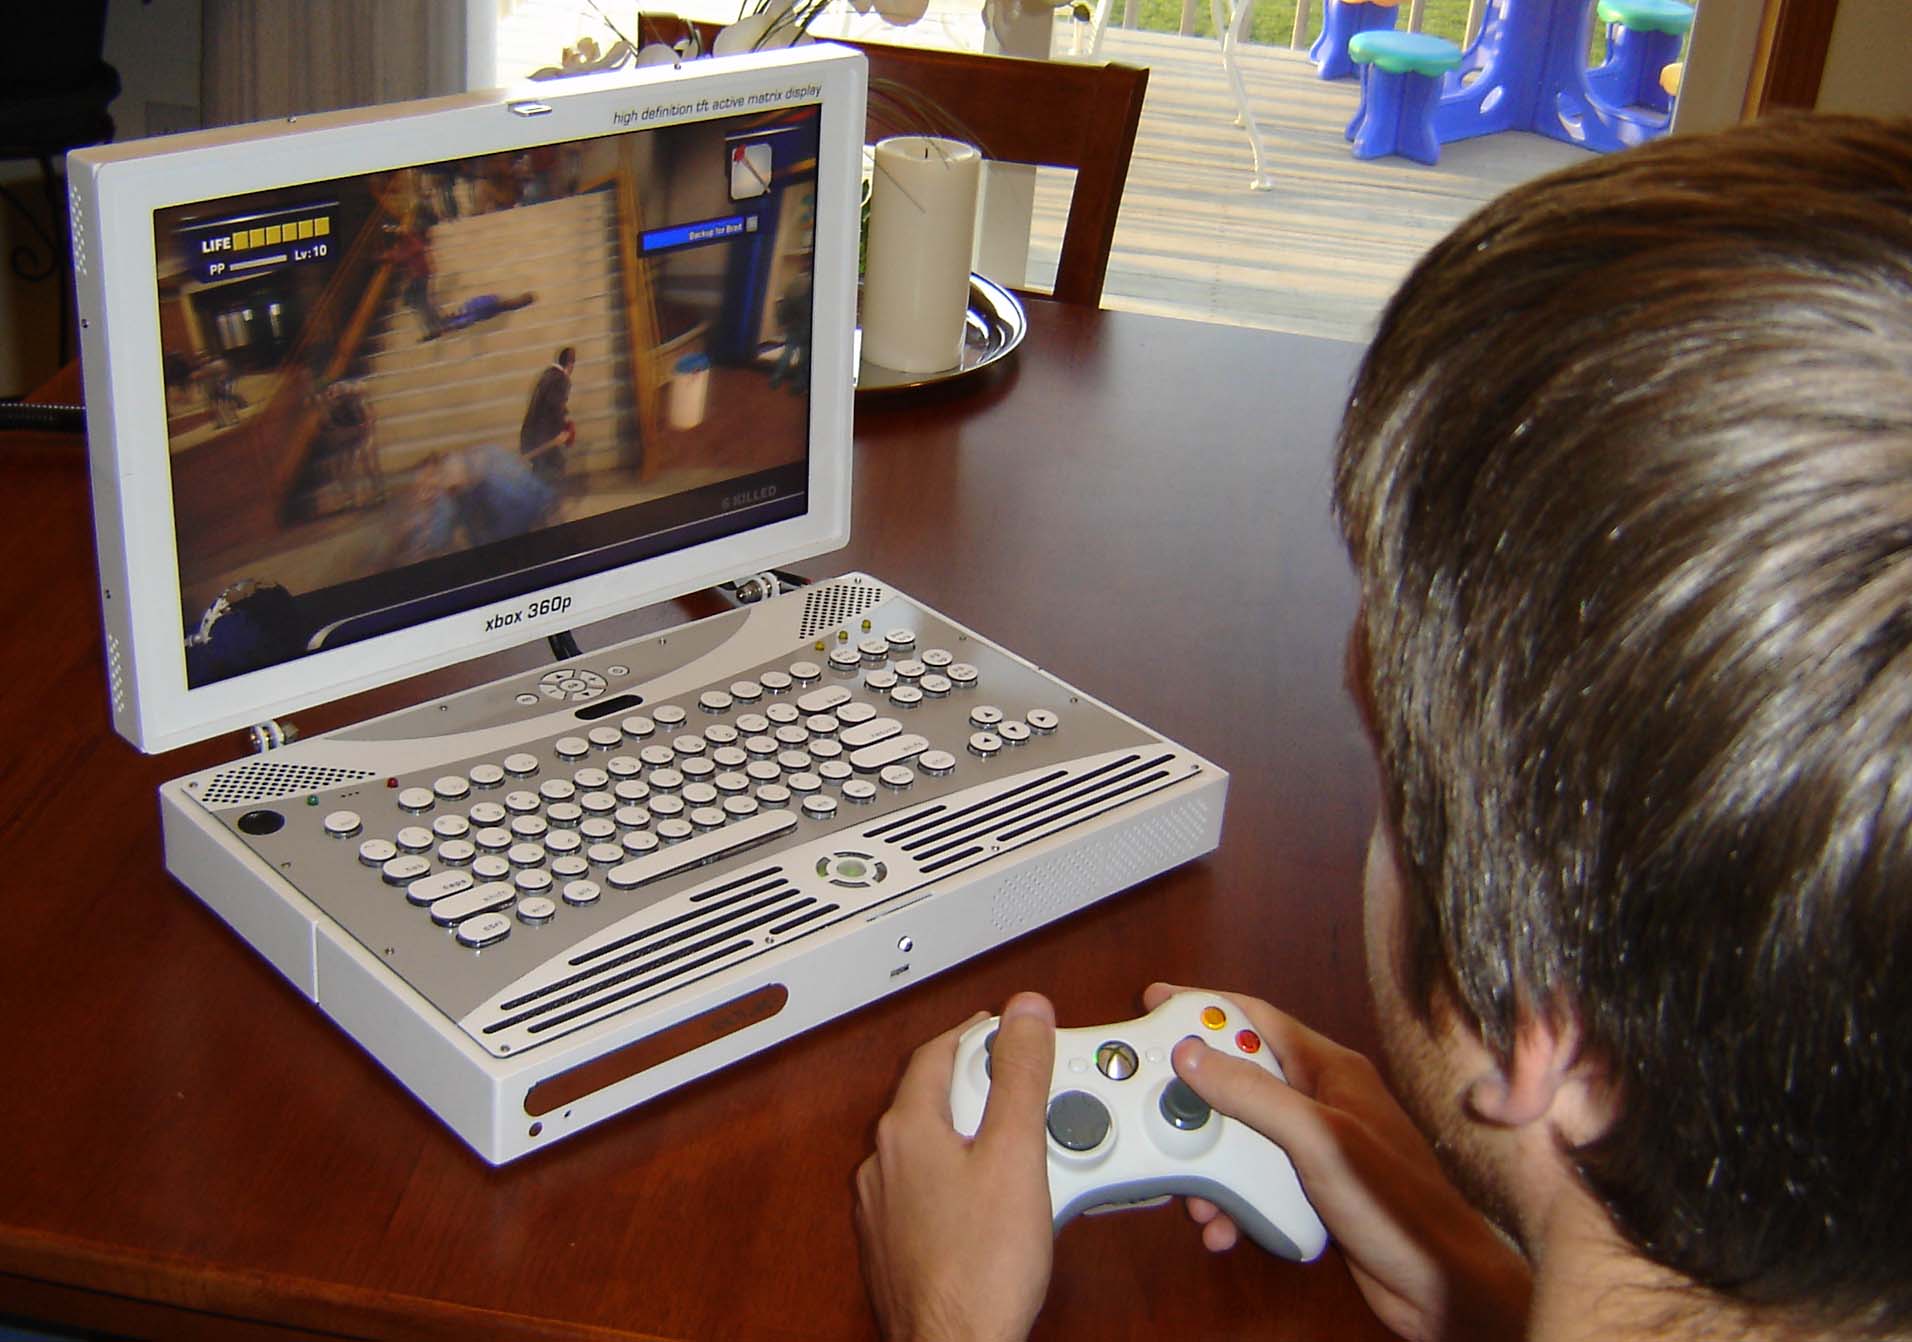
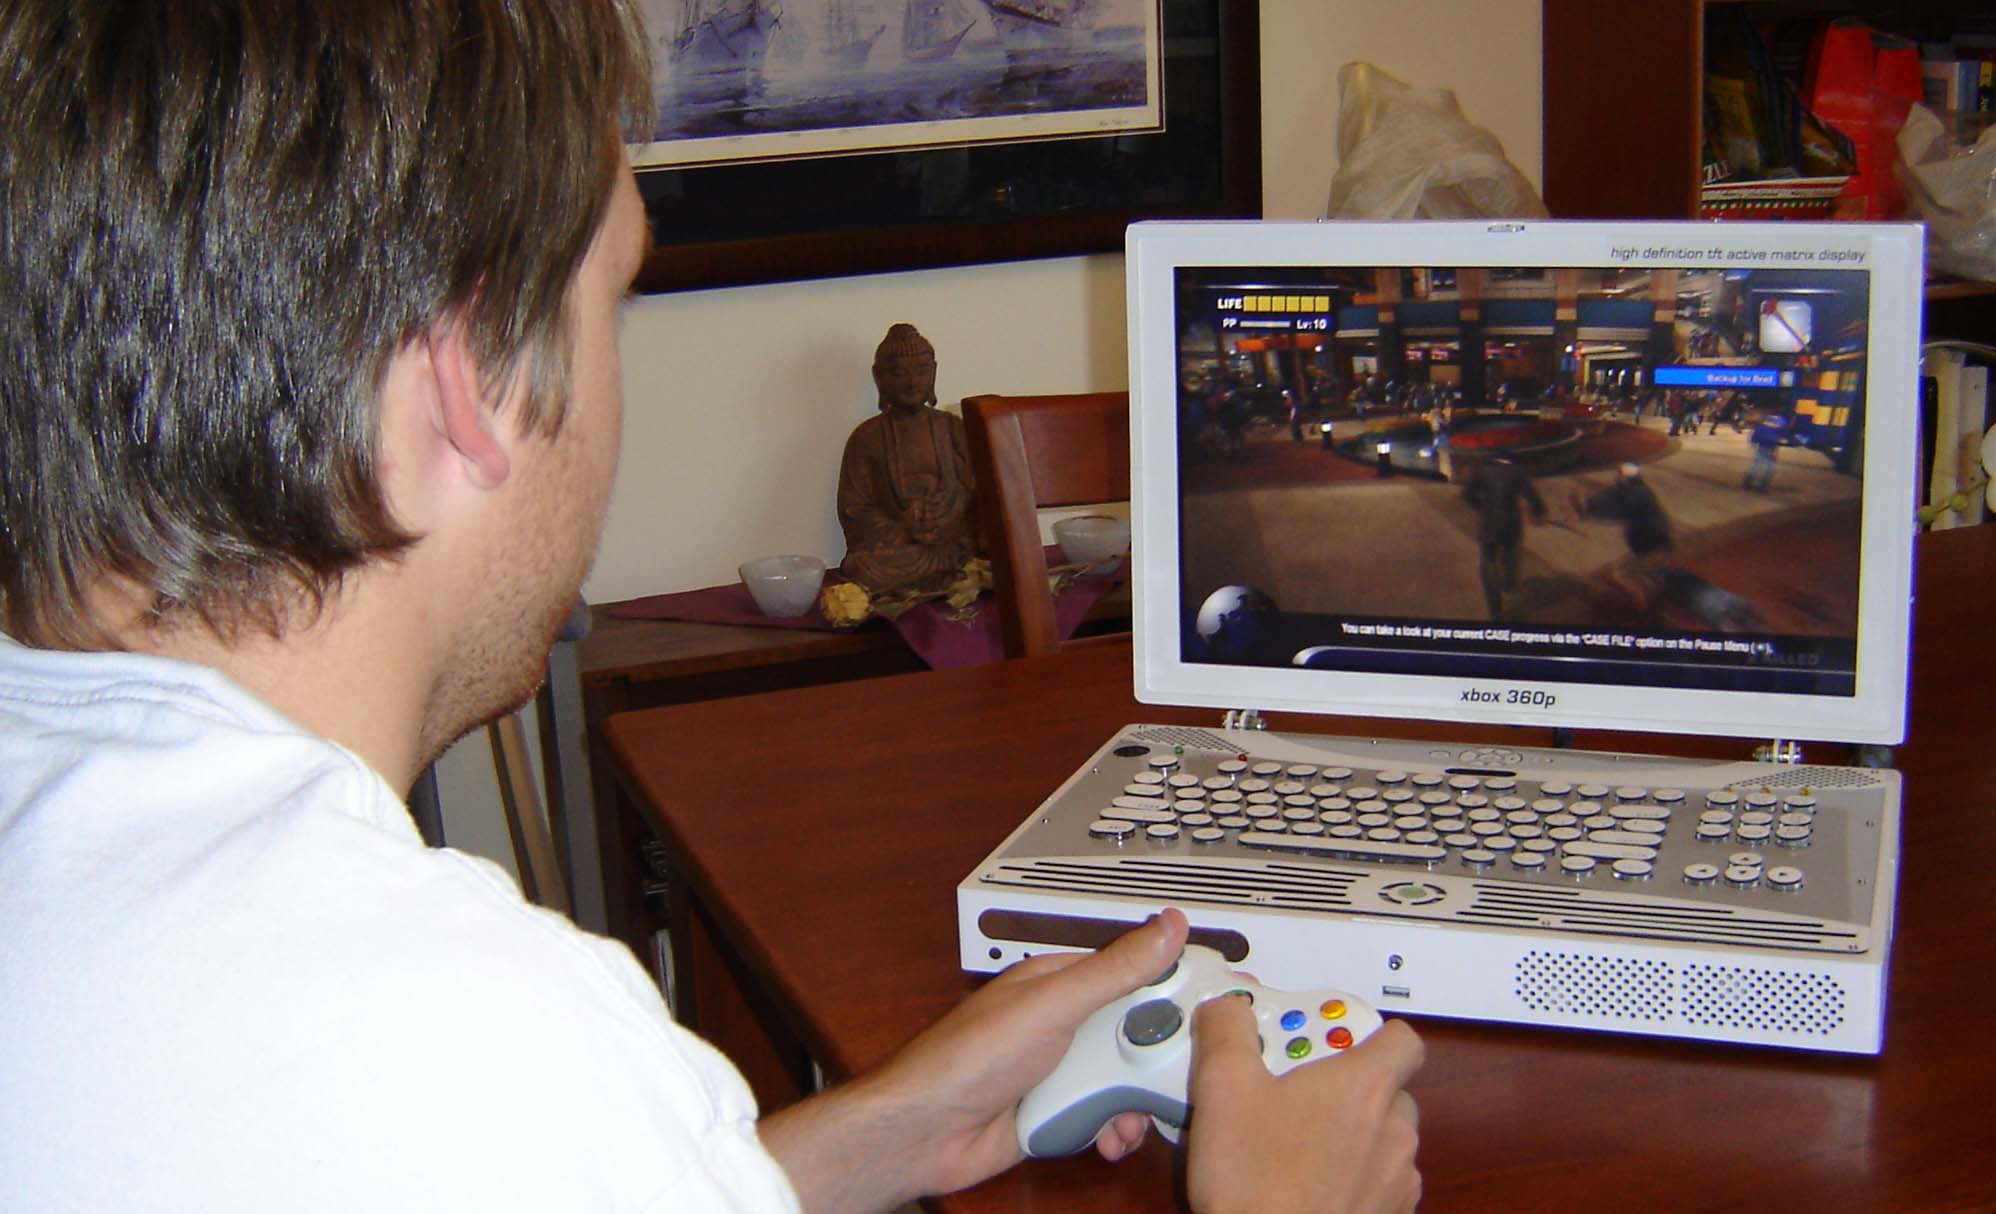
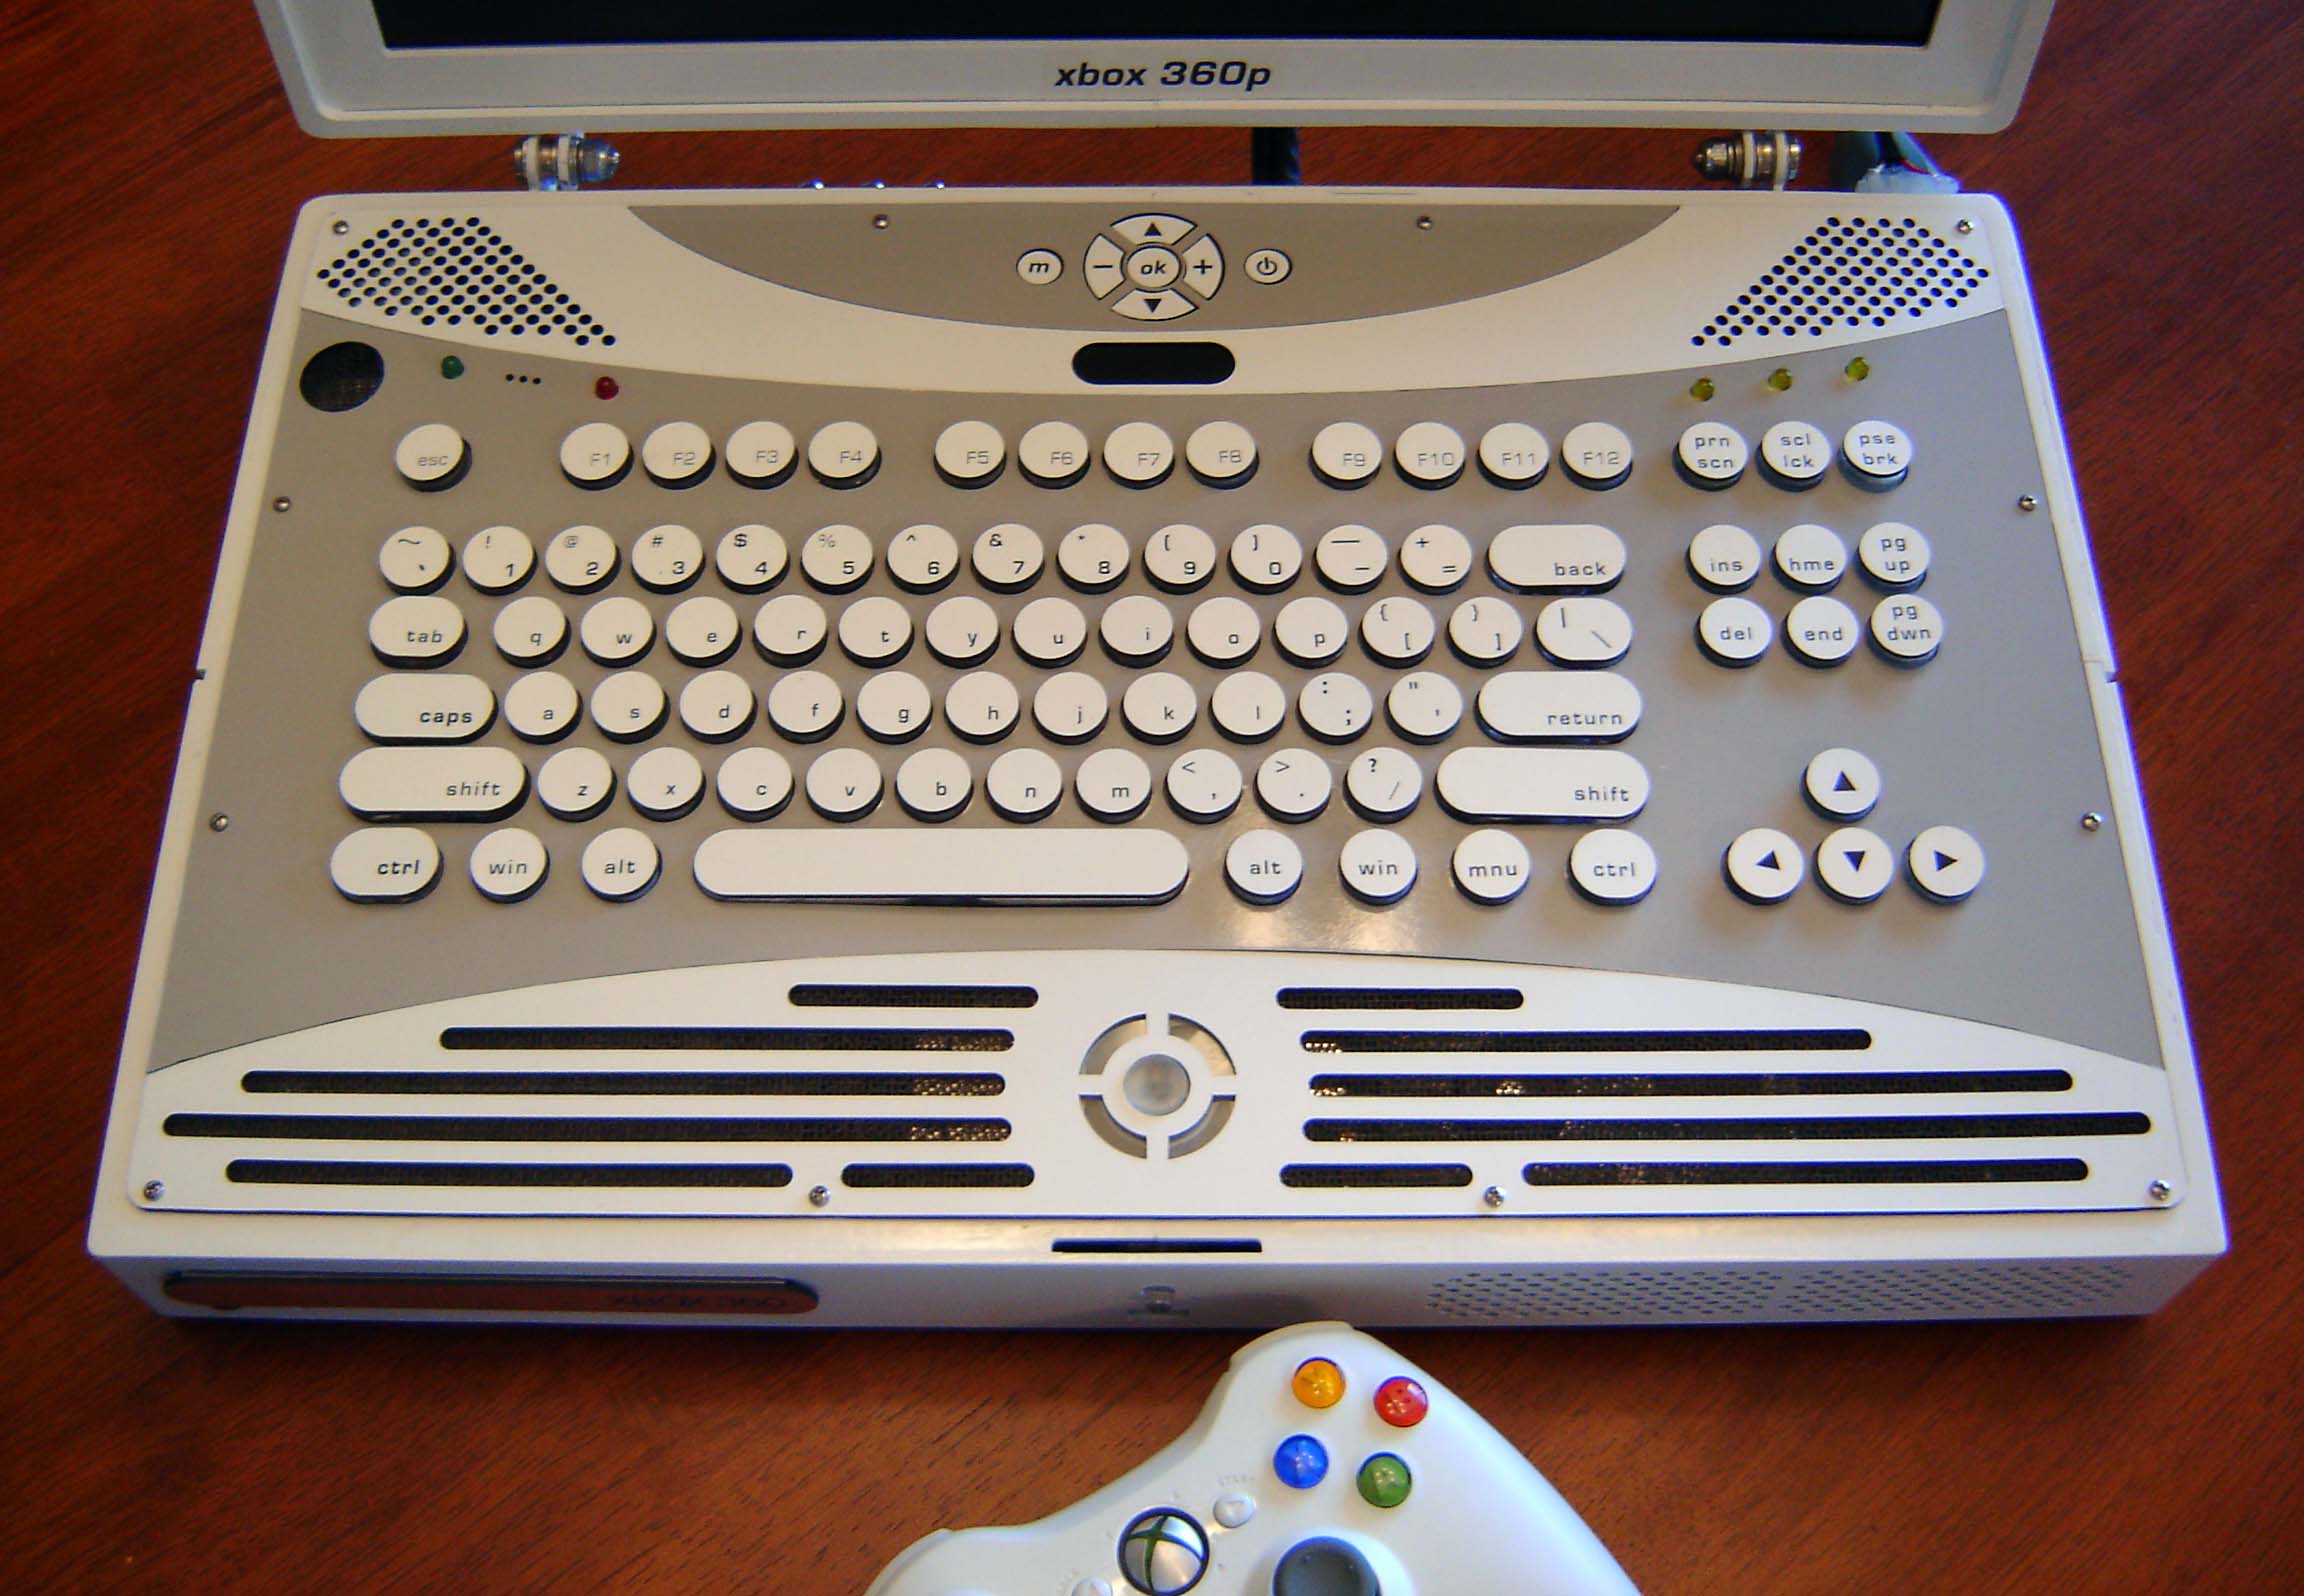
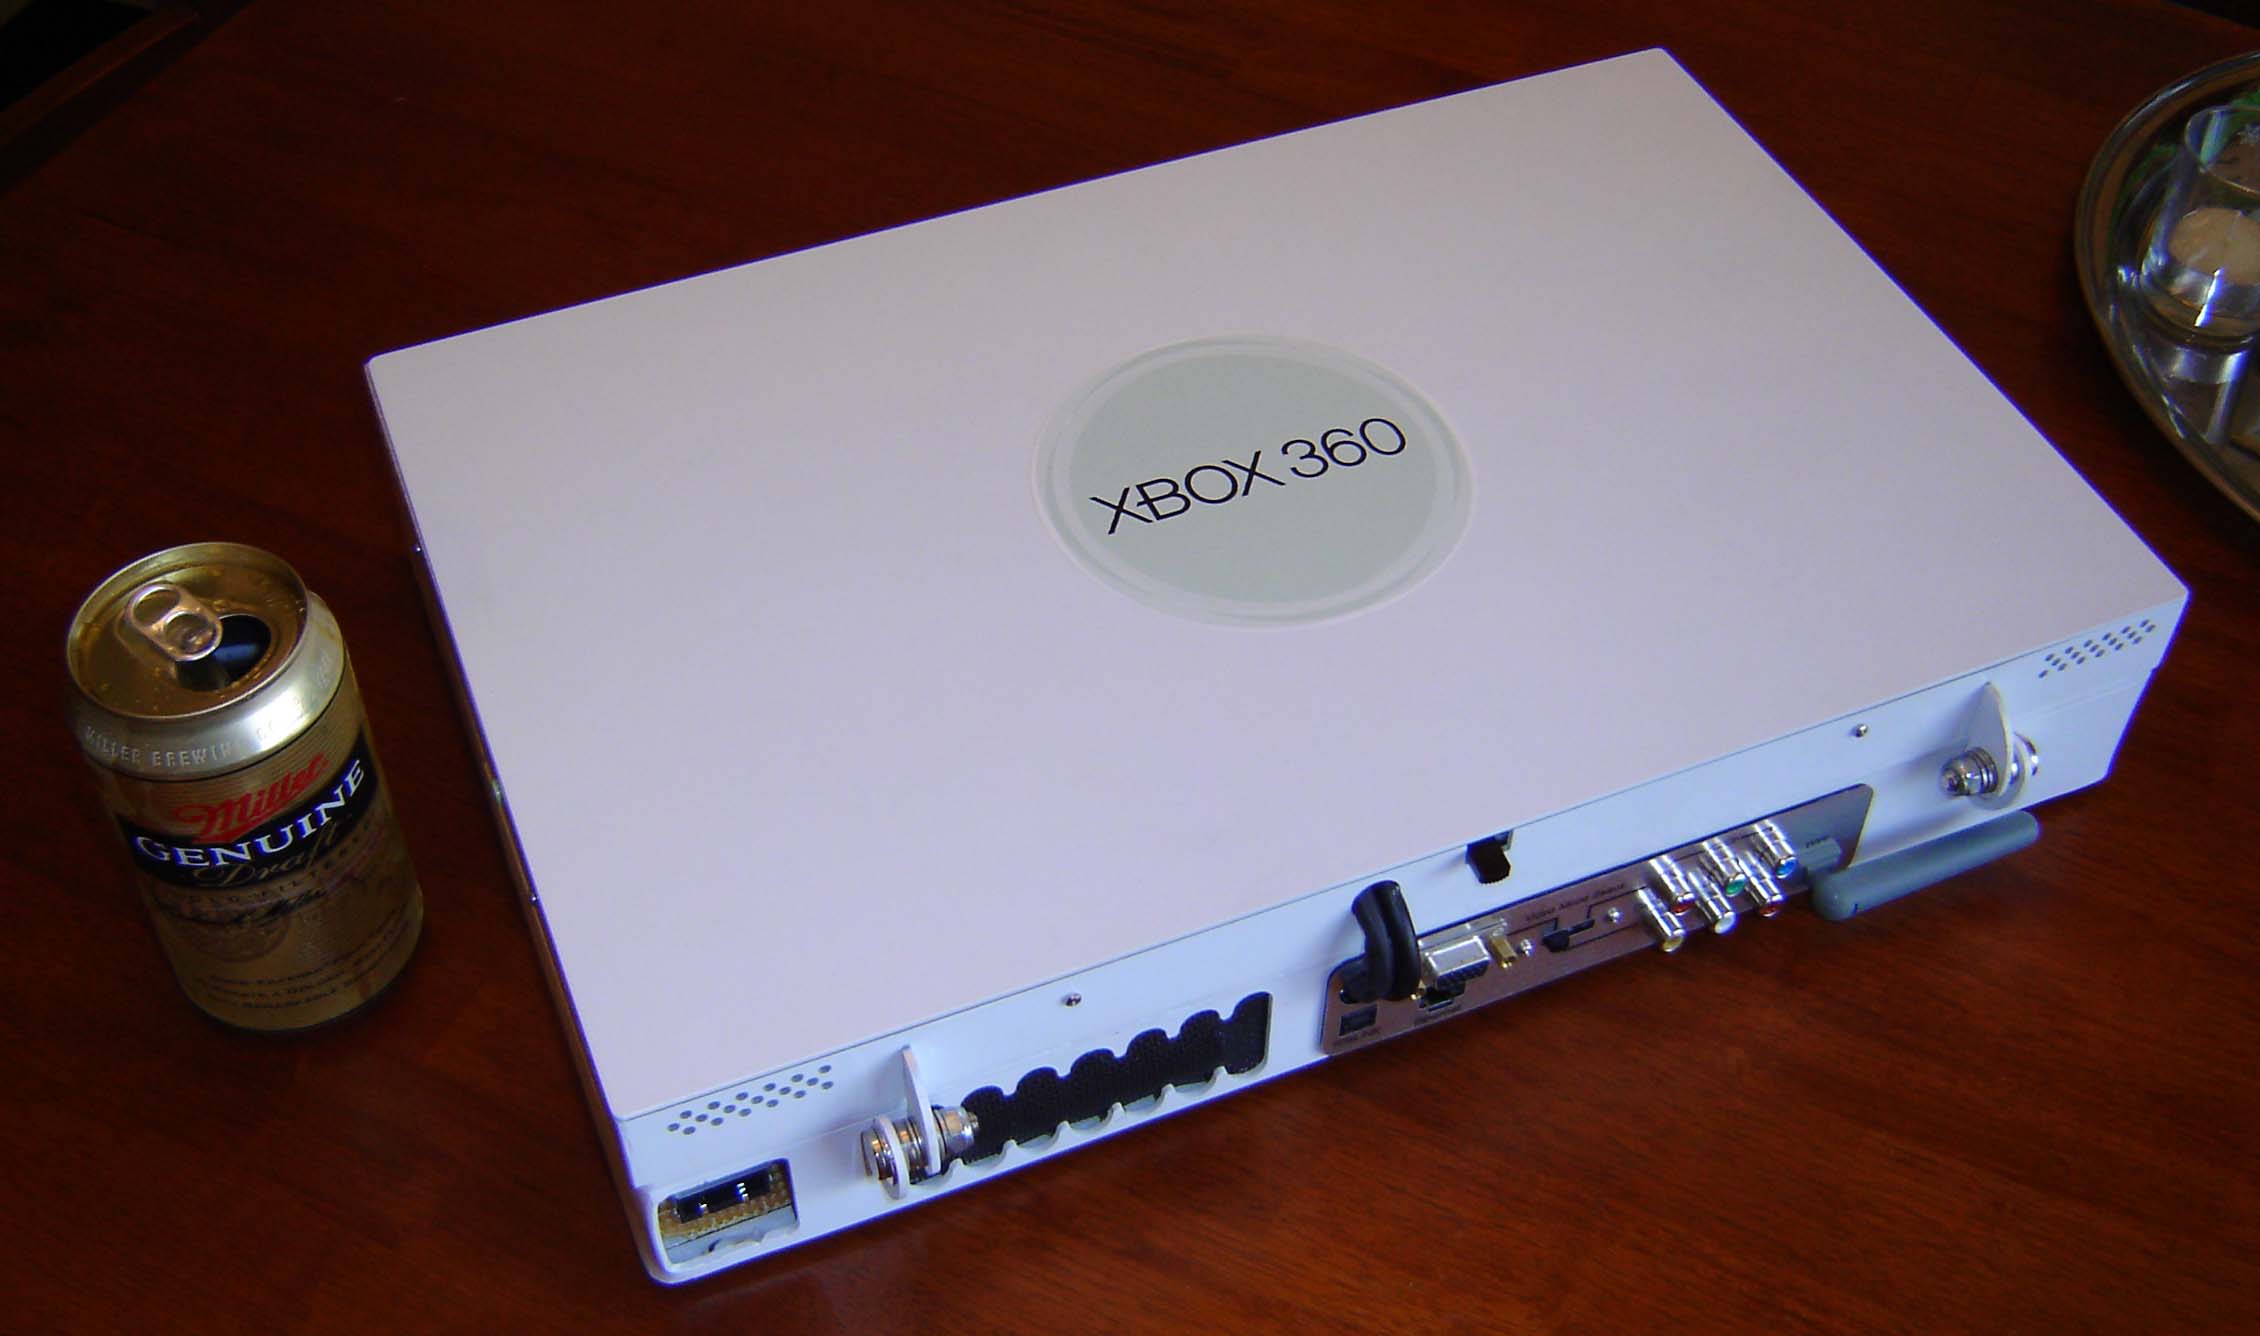
Dateline: Early September, 2006 With all the troubleshooting done I could finally assemble the last bits of the unit, seal it up and complete it. FINALLY. This mostly involved installing the front plates such as the keyboard, ring of light and screen controls. Here are several photos of the completed unit:
The finished unit, loaded with distilled water, weighs about 14 lbs, according to my bathroom scale. Of course, I'm not always inclined to believe THAT thing ;)
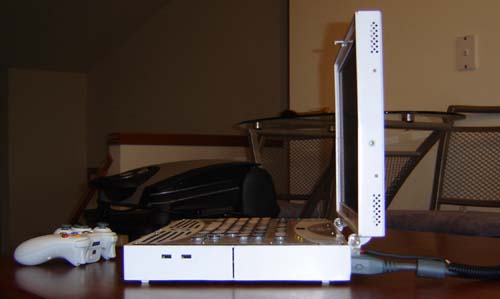
The total thickness of the final unit is 2.8 inches. My goal was for it to be under 3, so I'm happy.
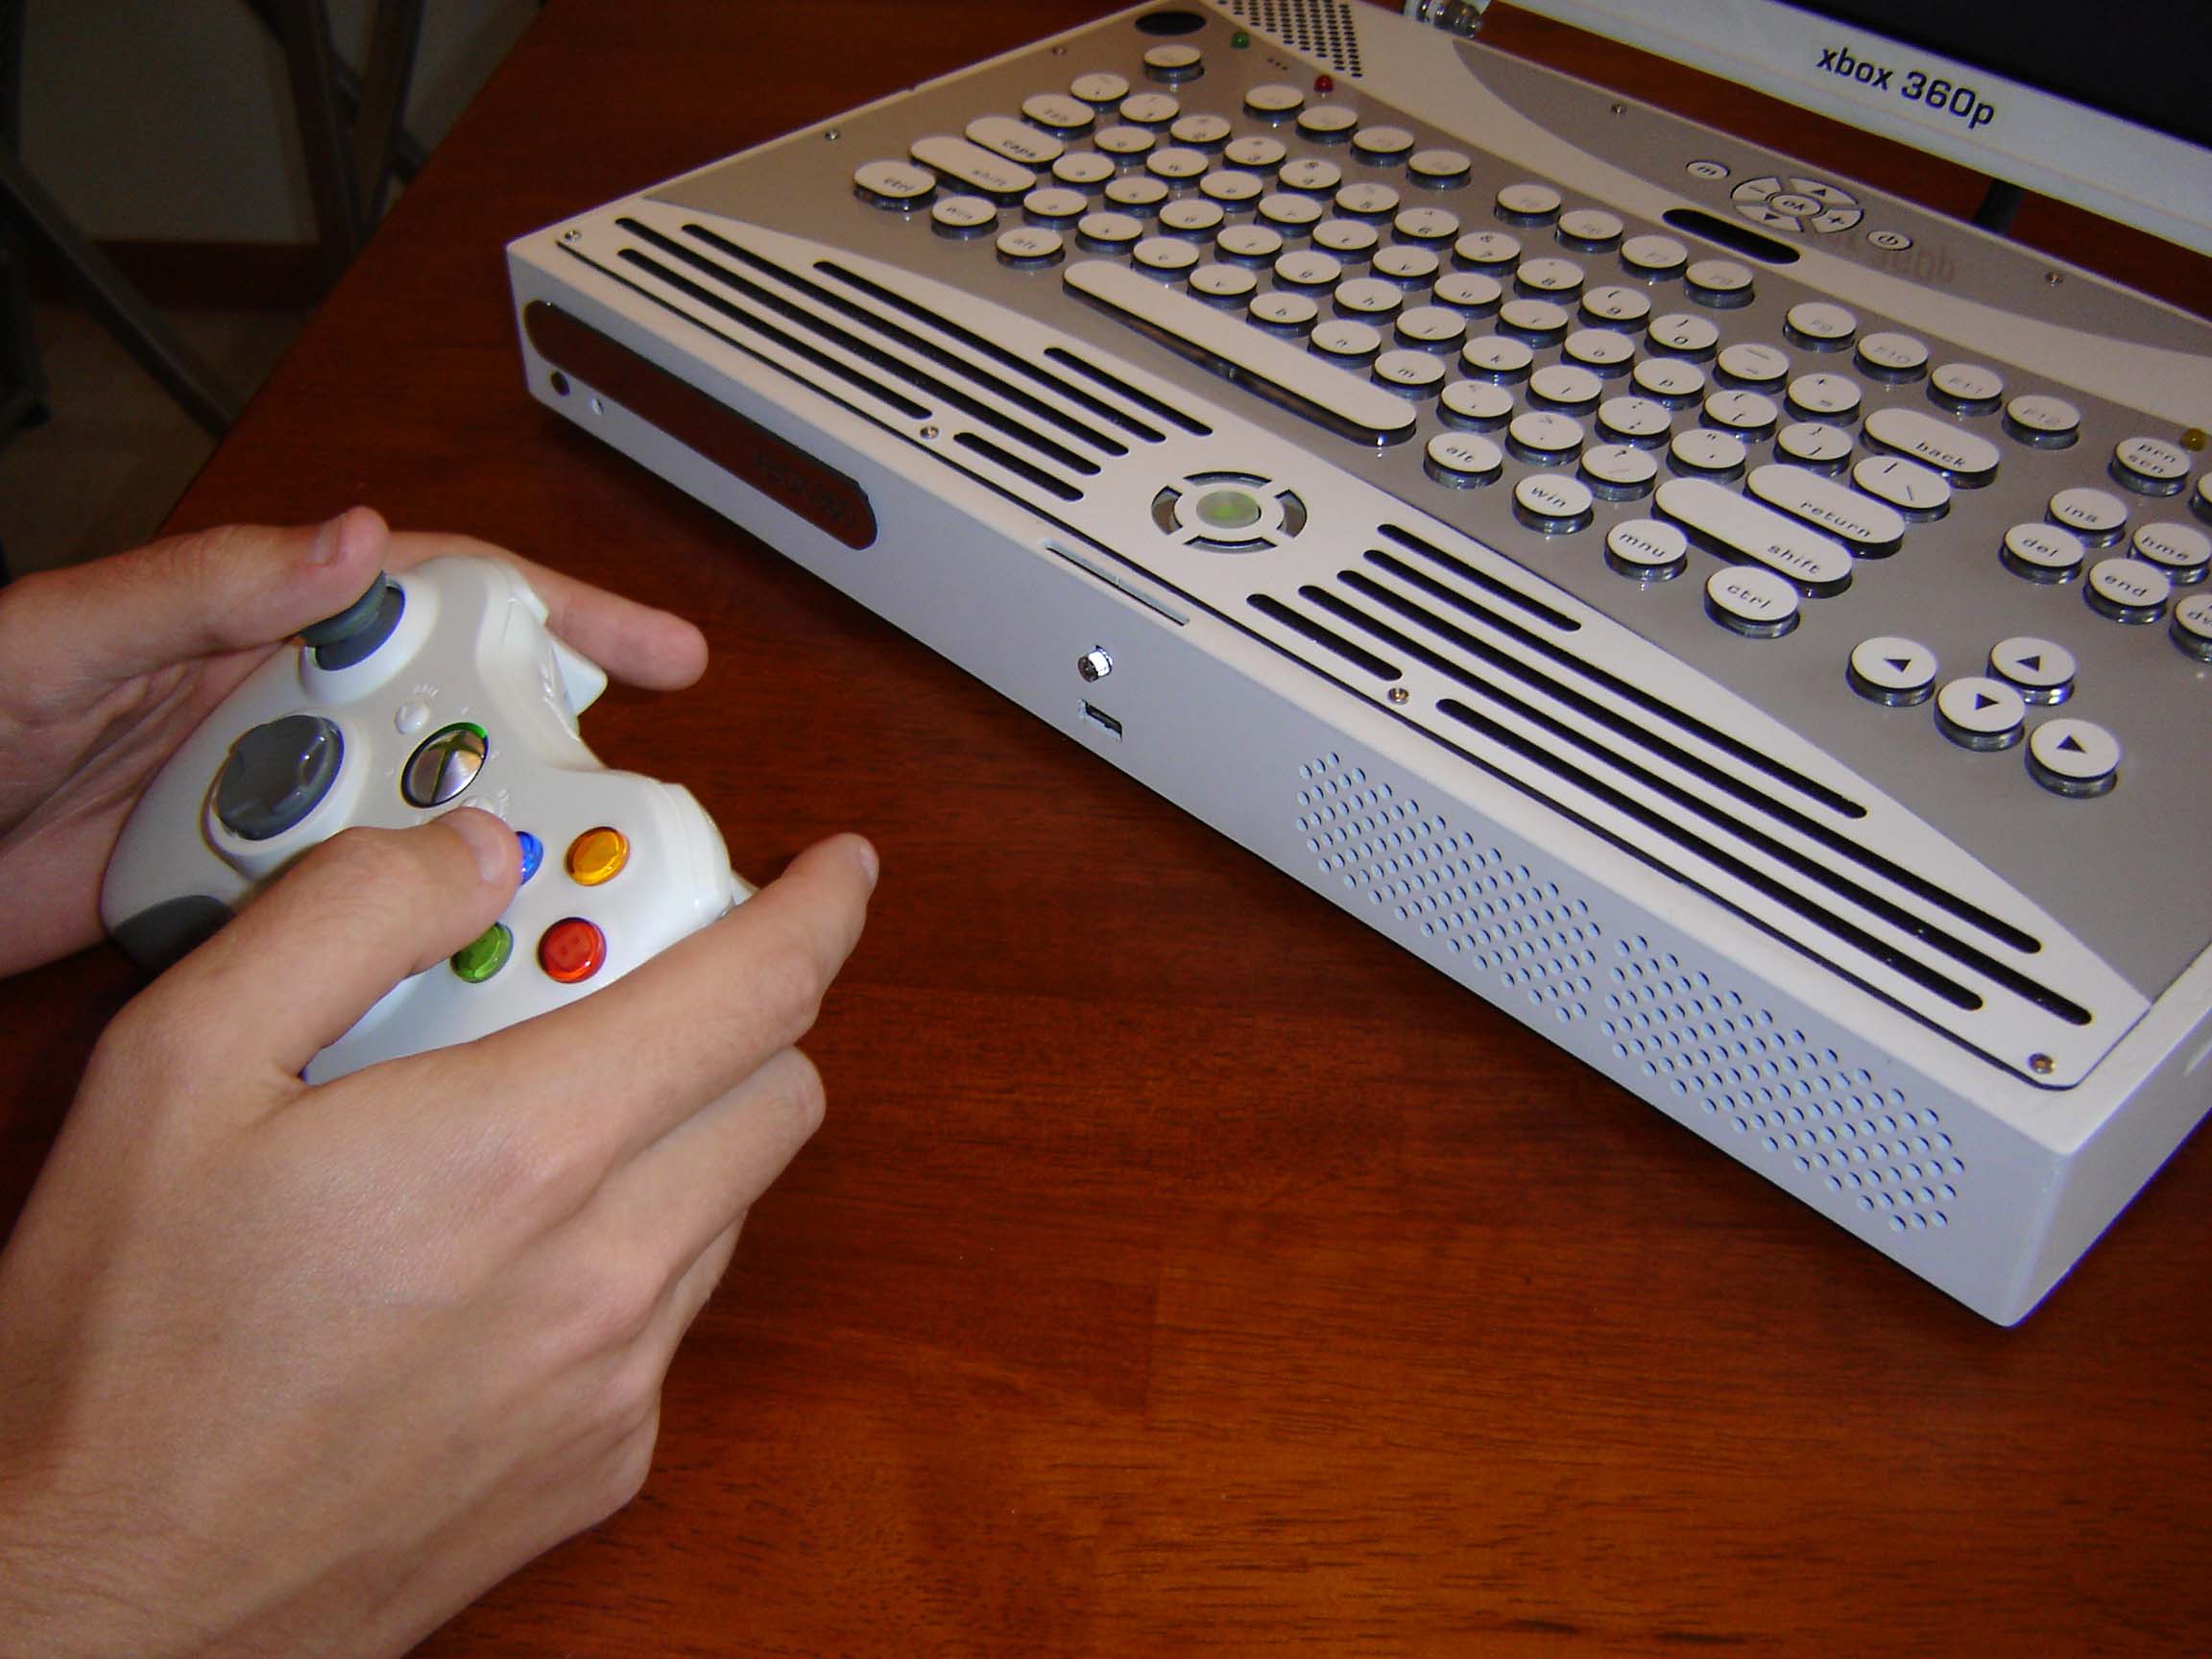
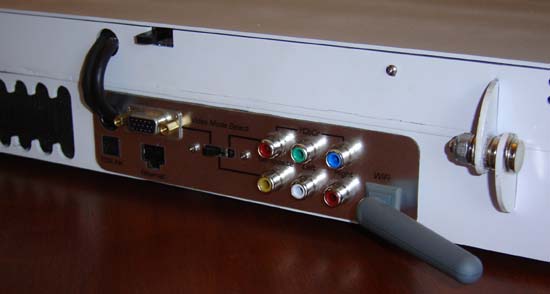
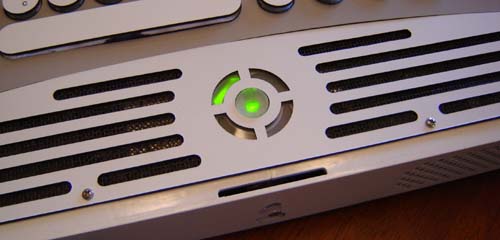
Here you can see the eject button for the lid (front, near the Ring of Light) and front exhaust holes which have their own fan. Inside one of the holes is the "Bind" button for the controllers.
The DVD tray BARELY fit through the hole I had cut, even after I hand-Dremeled an extra bit of room at the top. Oh well, I'll take barely fits over DOESN'T fit any day!
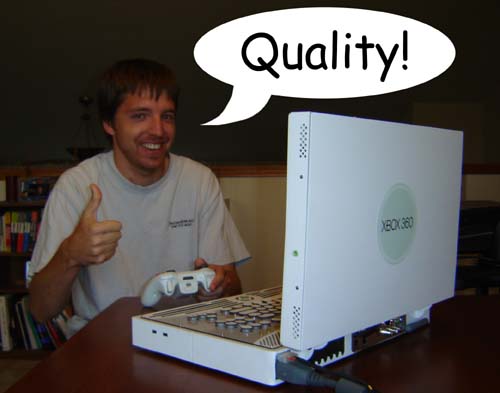
- Videos - Here's a video of the Xbox 360 laptop running with the enclosure plates removed. I tried to zoom in so you could see water rushing around, but without bubbles it's kind of hard to see. You'll get the point regardless. - Photo Pack - Should you like to see original high resolution pictures of the unit I have prepared a "photo pack" Also if you write an article about this you can simply grab these photos without having to ask me to send them (just ask permission to re-use them) Xbox 360 Laptop Photo Pack (local copy) Xbox 360 Laptop Photo Pack (mirror 1) Xbox 360 Laptop Photo Pack (directory unzipped mirror) Conclusion All in all this project took me just over 3 months to complete. That is a record, even the very first Atari 2600 portable I built, back when I was a nOOb, only took two months. But you know, what's the point of doing things if you don't keep challenging yourself? Resting on your laurels leads to... well, smashed laurels I guess. I hope this "making of" hasn't been too boring for you. Thanks for your time, have a swell day! -Ben What a journey! Click on the
arrow to return to the homepage
|
|||||