|
|
|||||
Some history: I had toyed with the notion of doing an XBox portable for a while. The main draw for me was the sheer insanity of it as the Xbox is quite the beefy system - it could probably double as an anchor for an aircraft carrier, or perhaps 10th planet of the solar system. (OK I'm exaggerating - maybe just a moon) That alone wasn't really enough to get my gears going, but then last fall one of my previous customers asked if I'd be willing to help him build such a thing. The deal was he'd do the BIOS stuff (something I have no knowledge of nor want to mess with) and I'd figure out how to compact things and build a case for the final unit. Then I'd send it all back for him to complete. So here on my site I'll cover the making of for what I did, then refer you to his site for the rest of the details. Sound like fun? Too bad, here it comes anyway!
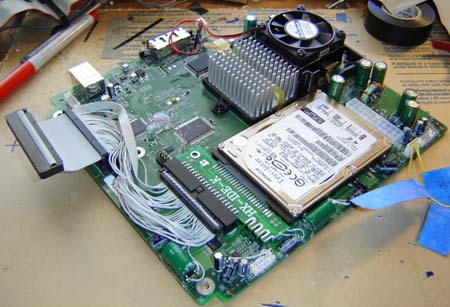
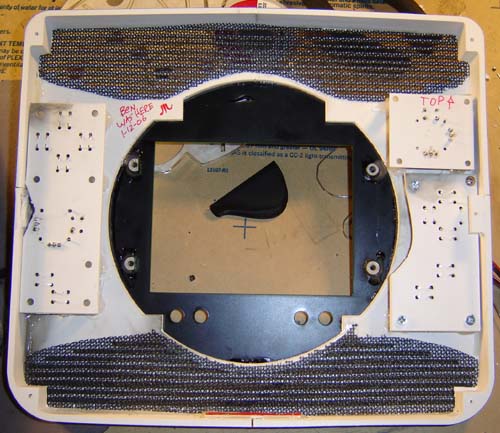
1) Initial Layout and Surmising of the Situation Wil (the Mrs. Havisham-esque benefactor of this project, sans moldy wedding cake) sent me the Xbox motherboard, the formatted 2.5" laptop hard drive and various controllers, wires and packing peanuts. The first thing I did was to "flatten" the board a bit, that is, rewire large capacitors sideways and make room for things such as the flush-mounted hard drive as shown above. You can see it has a 2.5" to 3.5" IDE adapter on it. This probably could have been hard-wired to save space, but we, he he, "had SOME room" so we left it in.
Here you can see the controller's main PCB nestled flush with the rest of the stuff (it's the item in the middle left spewing all the octopus-like wires everywhere) Also shown is the mod chip and the custom header connection I rigged for it.
This was about it for my involvement with the wiring/technical of the unit, that was completed by Wil and is shown on his site (link at end of article) Let's move on, shall we? 2) Making the Xpod Case I should take this moment to say I came up with the name "Xpod" several months before I slapped together my "nPod" In fact, I am already sick of using that overdone term and promise no more "pod"-afied names from hereafter. (Nor any that might be confused with bodily functions - that's right, I went there) That said, I think I came up with a pretty cool logo, here's a PDF of it in case you want to get a tattoo done or something.
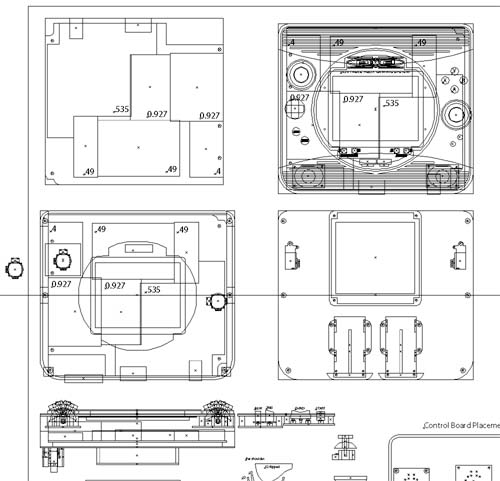
Download- PRINTABLE XPOD LOGO SUITABLE FOR TATTOO-ING Hey, let it never be said I don't provide my readers with stuff! Note how even when upside down the "Xpod" logo still works. (This is clearly in case you're performing some sort of "X-Treme" bike stunt and do a flip) Anyway, I designed the case for the Xpod using, shock of shocks, Adobe Illustrator. This was done in 2D, required me to draw several versions of the case from different angles. Here's the line drawing version:
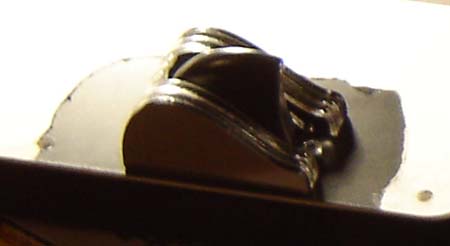
The large, Windex-style shoulder buttons required some thought to work out. Finally I just opted to mount them to the back of the case and build "shrouds" for them.
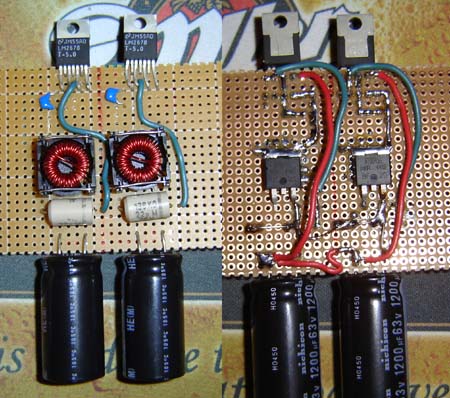
This has nothing to do with the case, but here's a front and back photo of my failed power supply for this beast. Sigh. I'm sure Wil has a photo of his triumphantly WORKING PSU on his site ;)
For the case construction I used a mix of CNC bit-routed plastic (the side walls) and laser-cut engraving plastic (everything else) Here's a view from the inside of the front of the case. Note the massive amount of air holes (with double-layered plastic screen door materal thank you very much) I figured the more the better, I mean hey, take the 360's case for example - it looks like a block of Swiss cheese left on the beaches of Normandy. Moral of the story - air holes are good (Until we get true superconductors - then screw air holes)
In the above photo you can also see the control boards that hold the analog sticks and buttons. The sloped shape of the Xbox controller results in buttons and pads that are various length to fit the molding. Thus I had to be a little creative (and hacksaw-happy) to get some of the buttons to fit. I also left a slot open for the Ethernet port, for some hard-core Xbox Live Portable action. (Sorry, no Wi-Fi. Maybe next time...)
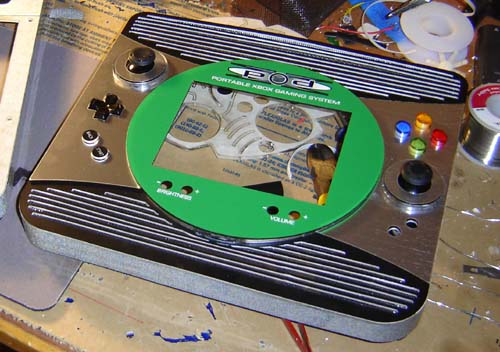
Here's the front half of the case - my work here is done. The brushed aluminum slopes in to a) resemble an Xbox 360 b) make the unit look smaller. Since the portable uses a standard 5" PSOne screen it's important that the display doesn't look too small, or swim around in the layout. You can also see the slight raised portions for the analog sticks - this frees up some space inside the unit. OK that's all I have to say. For the rest of the story, including how the batteries attach on and finished photos, check out Wil's site using this link. Enjoy! Oh, and please direct all questions such as "Can I buy this?" "Will you build me one?" "Can you send me complete plans in TXT format via email?" to Wil also as this is his baby. Thanks!
|
|||||